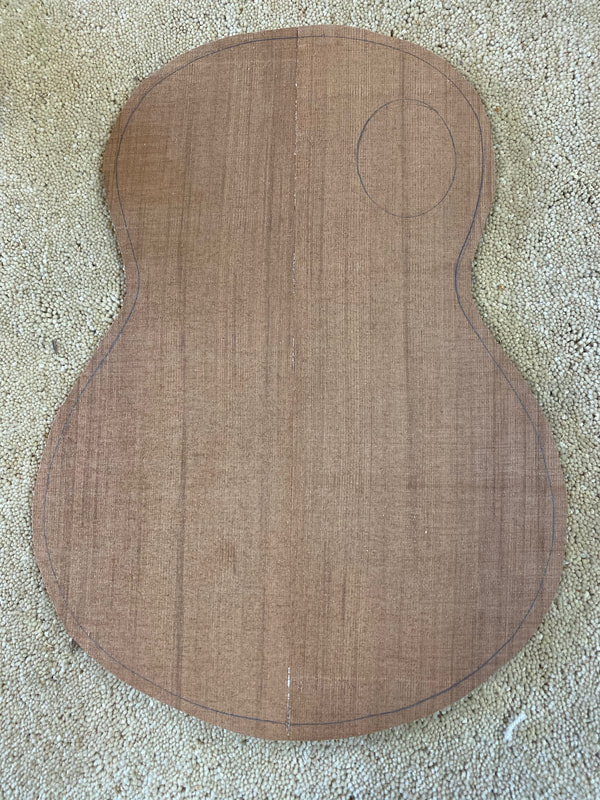
The two book matched pieces of Redwood have been glued together. Now we can run the joined wood through the thickness sander smoothing both sides but still keeping it quite thick. Now using a template, draw the shape of the soundboard, and band saw to shape leaving a 1/4 inch margin outside the pencil lines.
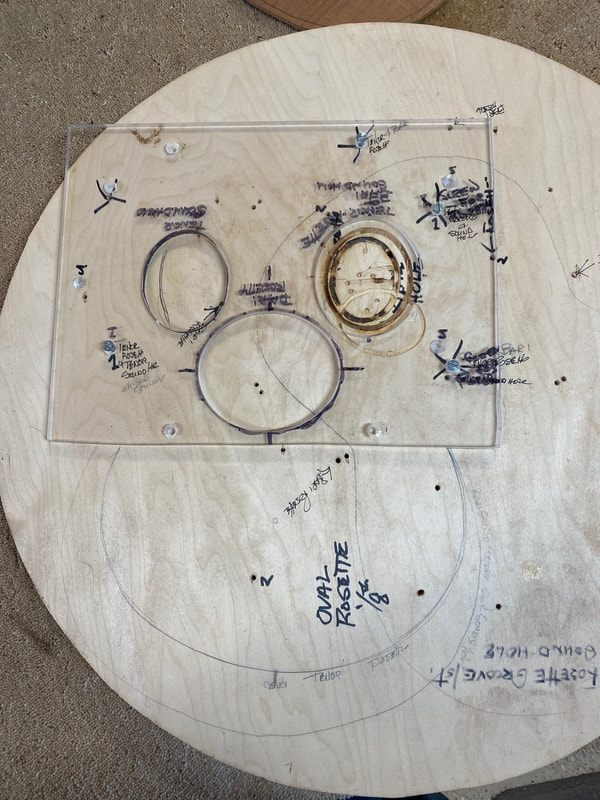
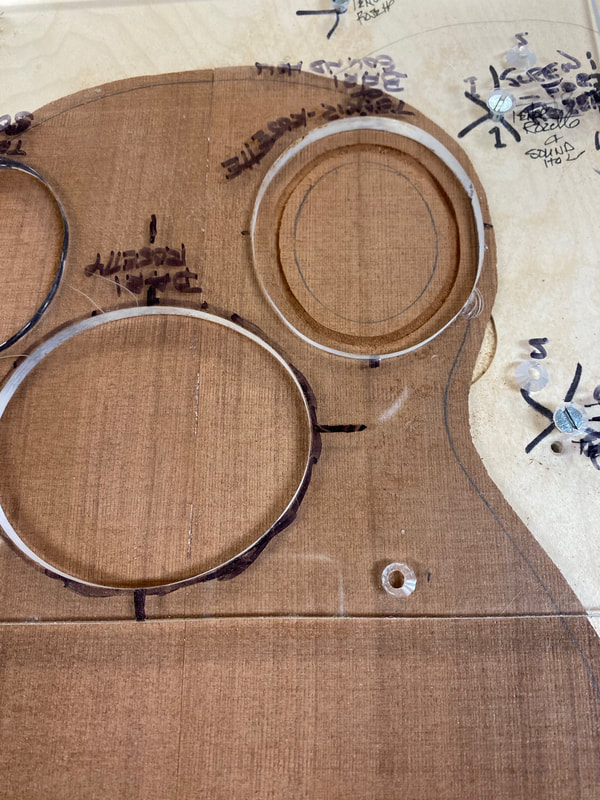
Here is the jig used to rout the decorative strip around the sound hole and the oval sound holes themselves. Several different size options on this jig. Tenor or Baritone sizes,
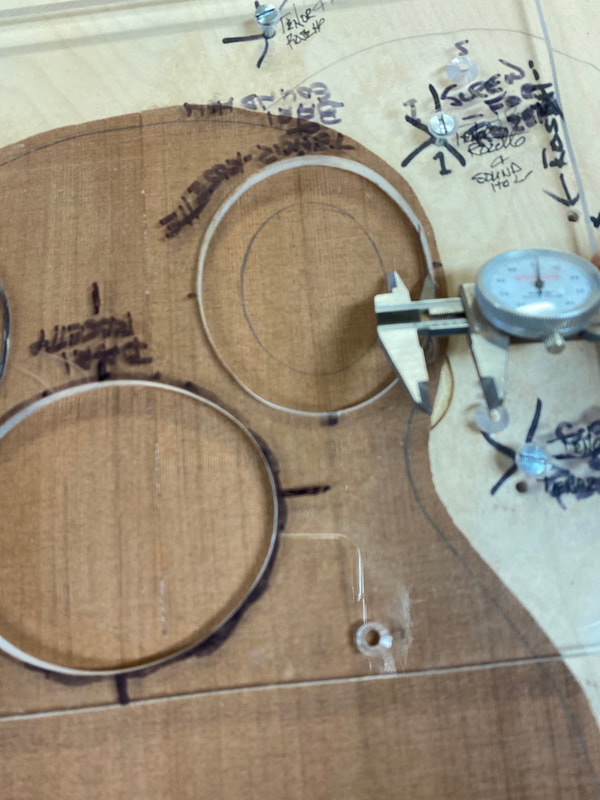
The soundboard is slipped under the 1/4 inch acrylic sheet and the wood is positioned under the proper hole. Important that it is carefully measured and exactly in its proper position, then the screws are tightened and the wood is half firmly in place.
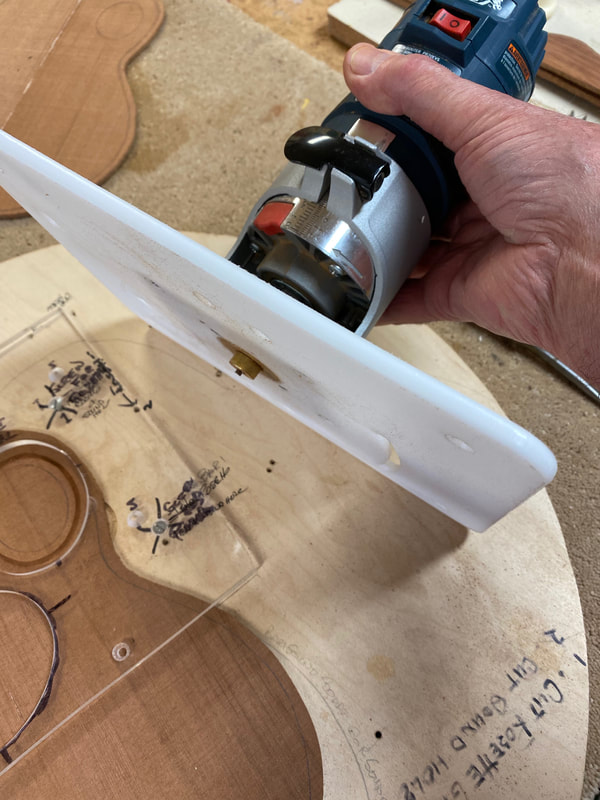
Now the router with its guide is utilized to cut the groove for the rosette. The groove is just the depth and width of the "rope" purfling we will use.
 |  |
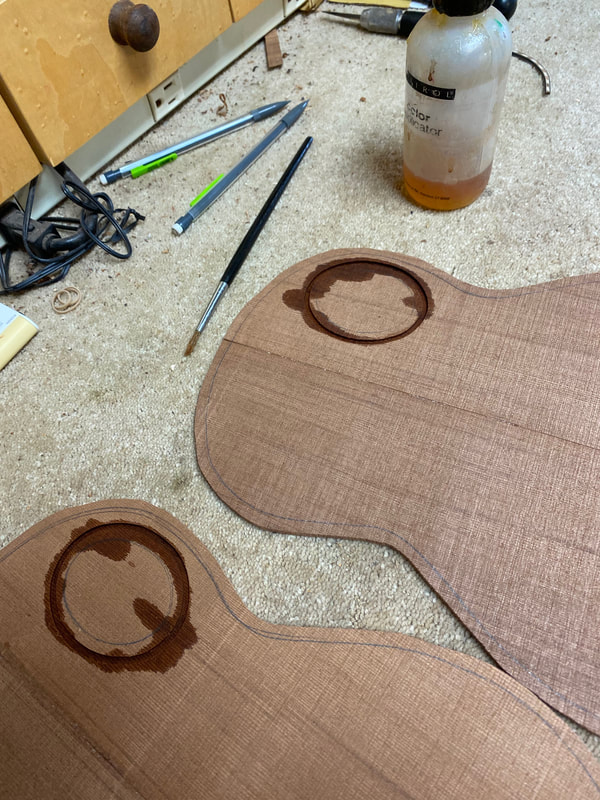
A liberal amount of dilute shellac is brushed into the groove to seal the wood pores and prevent the super glue we will use from migrating into the surrounding wood and leaving a stain. Then the "rope" purfling is pressed into the groove and medium superglue cements it in.
 |  |
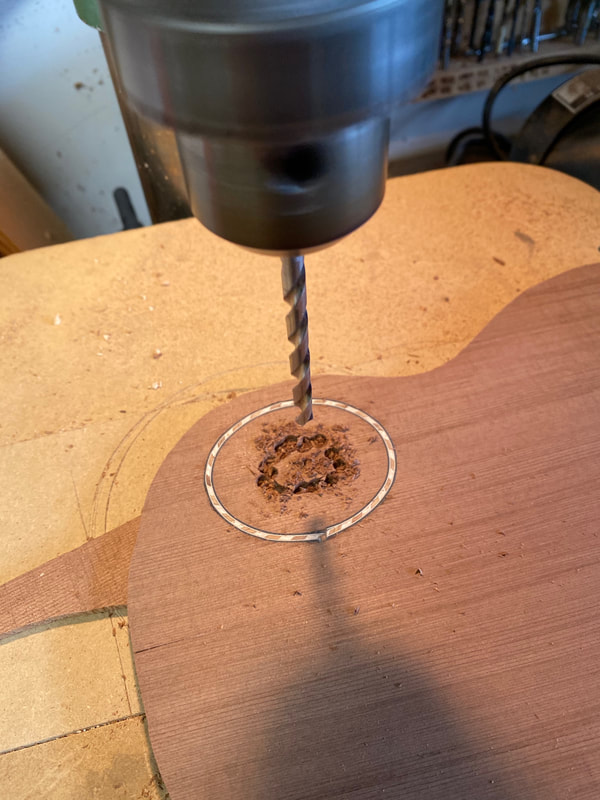
Now to cut the sound hole. I find it easier and safer to do this by cutting a hole with the drill press to accept the circular sanding tube. Then you can enlarge the hole by eye.
 | 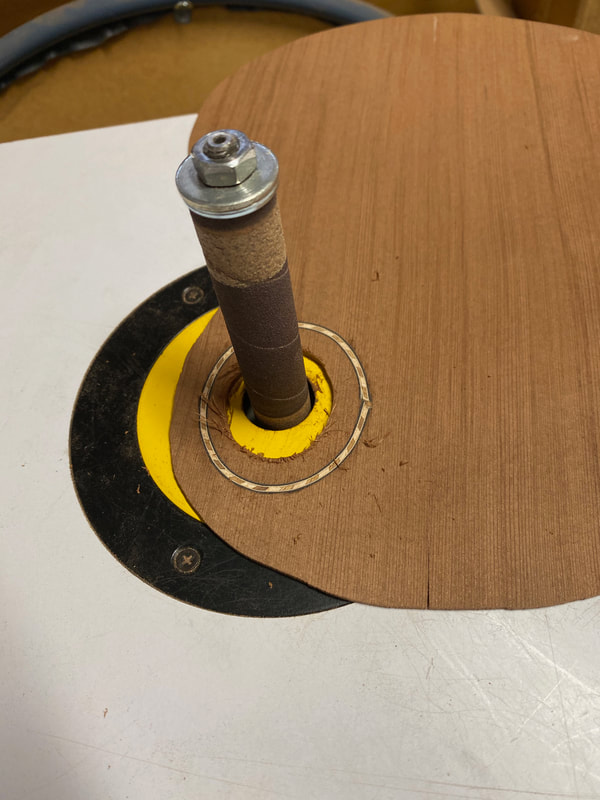 |
And once that is done the soundboards can be taken back to the thickness sander and sanded down to their final thickness, .085.
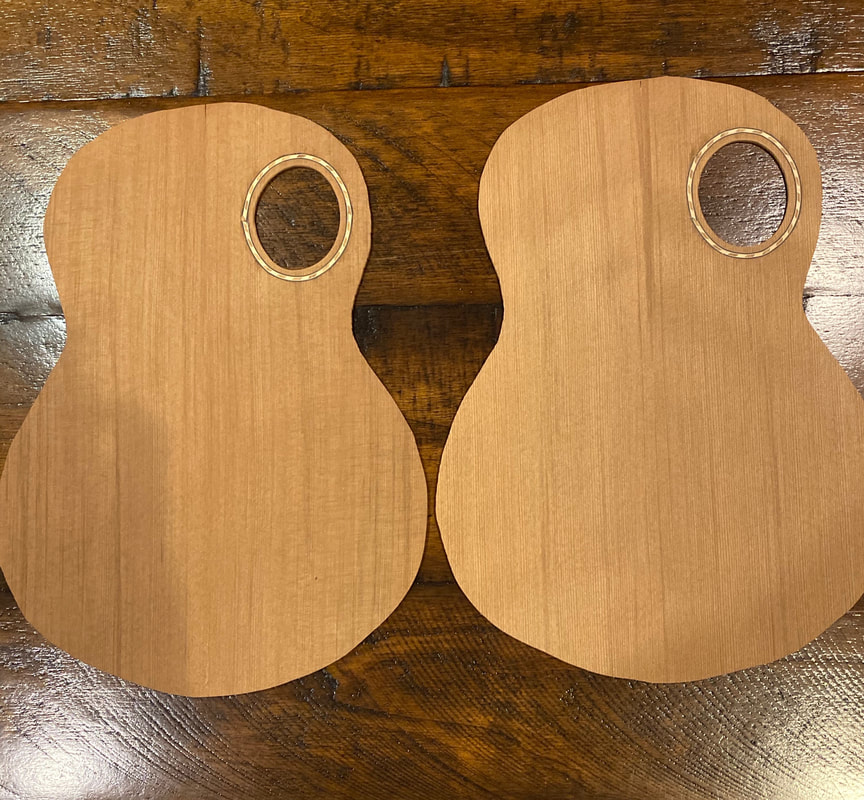
Next step, whittling the 12 tone bars
