WHEN WE LEFT OFF we had just cut out the rough hole in the side and were cutting a patch brace for the side.
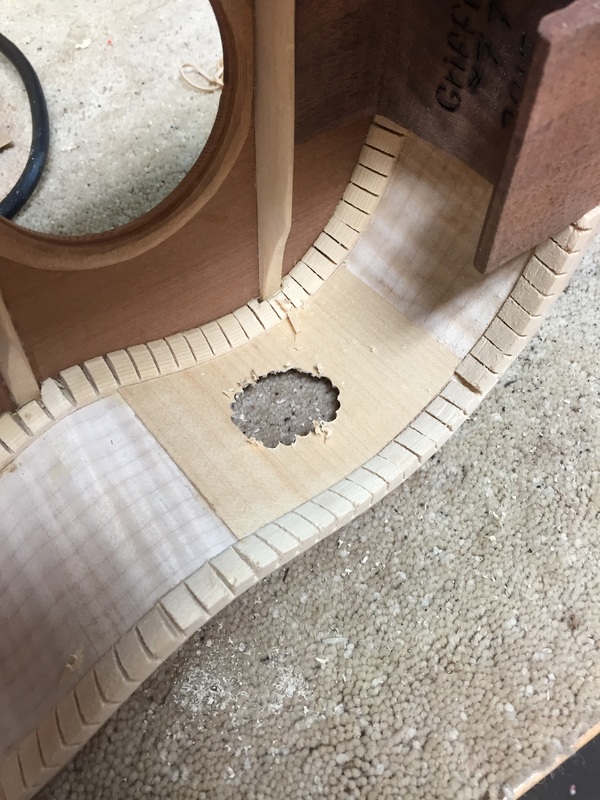
Now the patch is glued in and I have rough cut a hole in the patch with a drill bit in the Dremel. This tough maple veneer will prevent splitting of the side around the sound hole as its grain goes counter to the side grain.
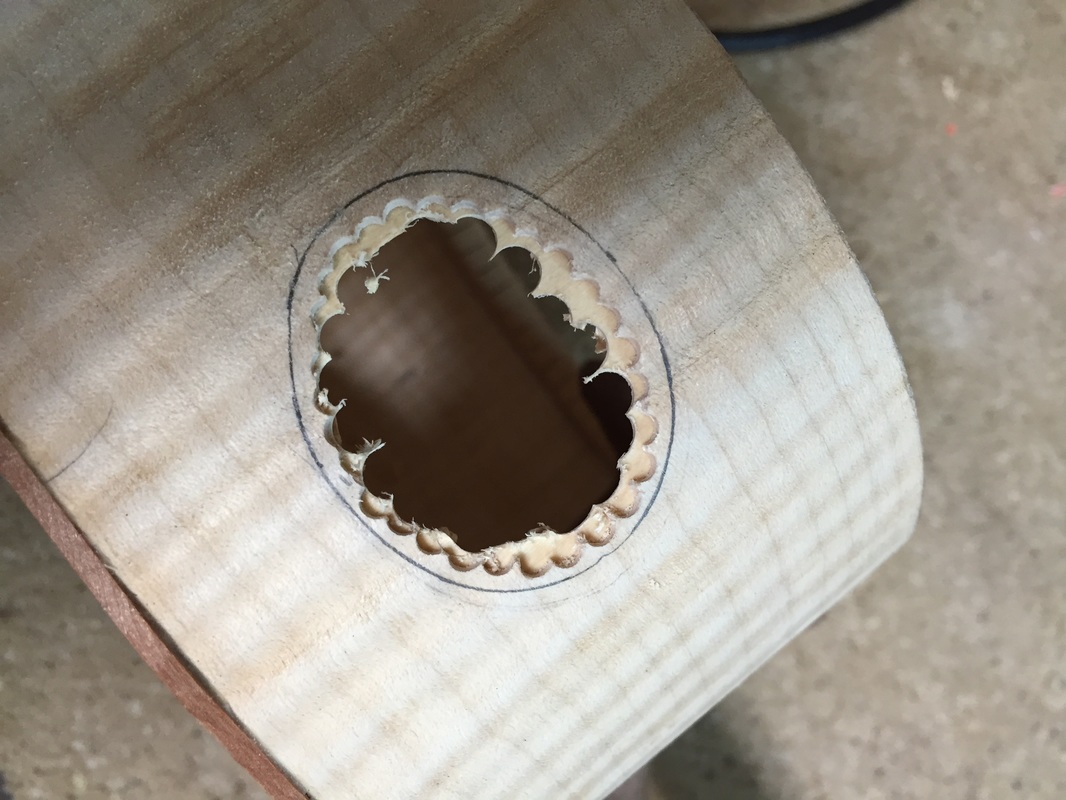 Here is the rough hole we have to work with. and to the right you can see a rough sanding disk on a Dremel delicately sanding out to the pencil line. | 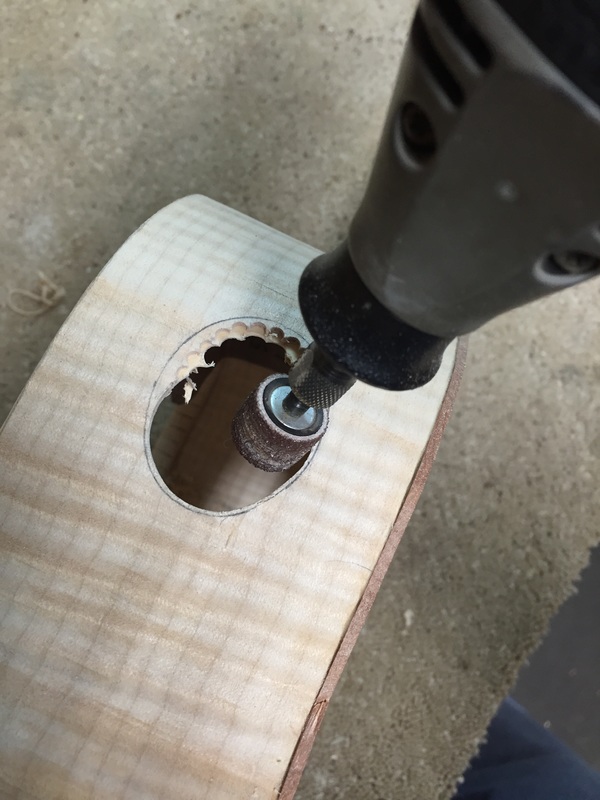 |
Again and again you take the soundport ring to the hole, slowly sanding off more and more of the side until the ring just slips into the hole
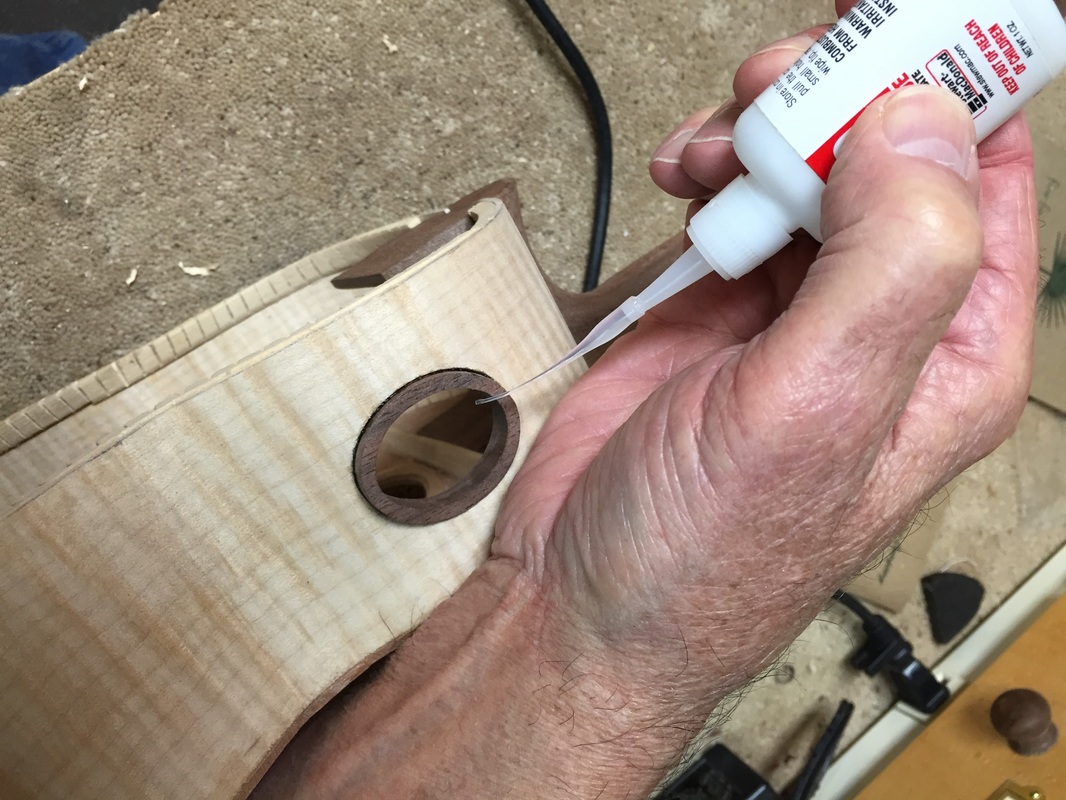
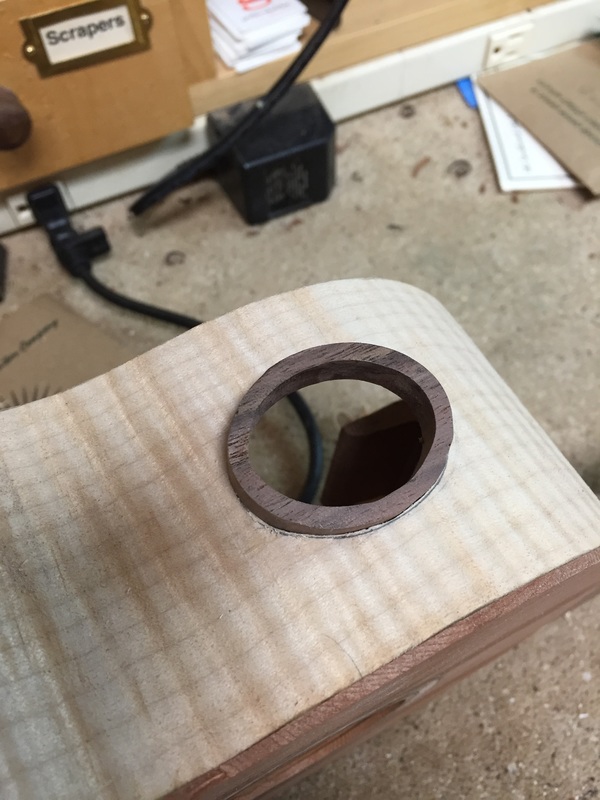
Once it just slips into the hole you carefully glue it in with superglue around the edge. These slip on pipettes are wonderfully handy, you don't waste glue and you don't make a mess.
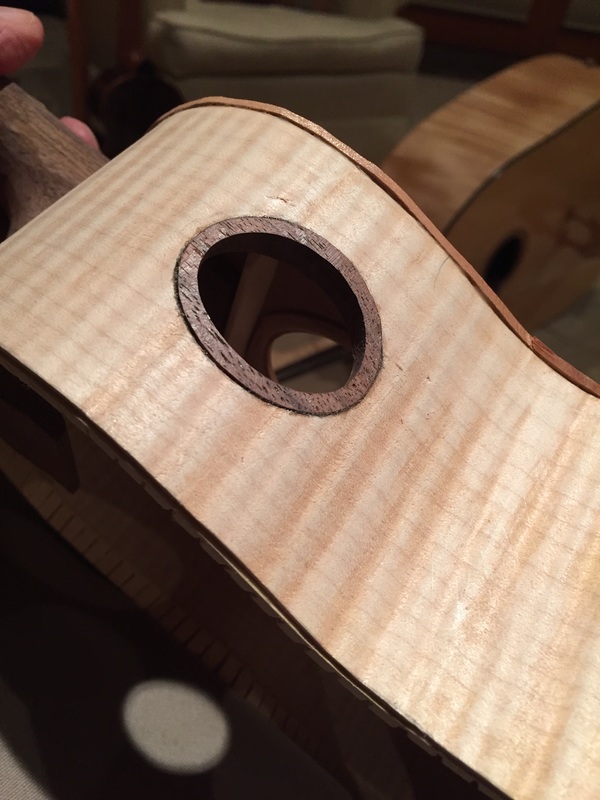 | 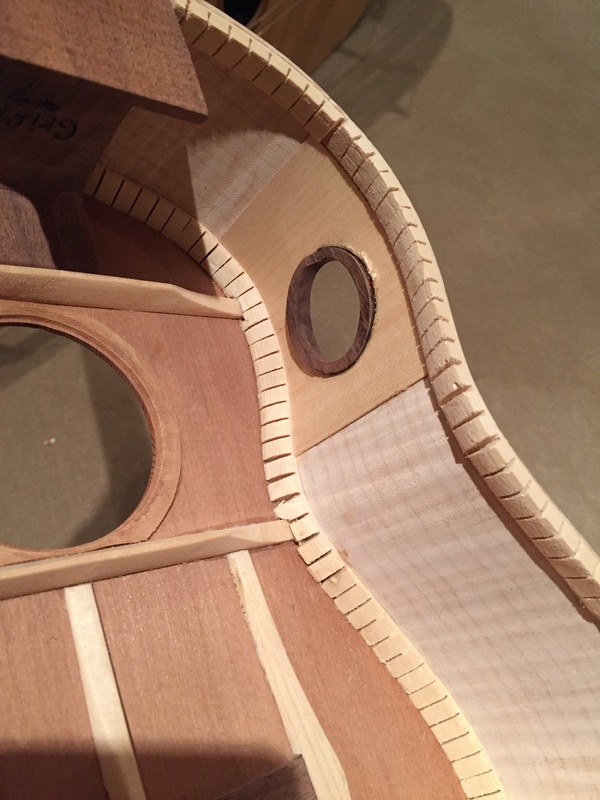 |
So here it is inside and out. With a little vigorous sanding it will be entirely flush on both sides and look very slick. Now for doing the same on the other two tenors, I have the braces in and the holes cut. Just have to fit the ring.
These ukes will be ready to box up before you know it.
These ukes will be ready to box up before you know it.
