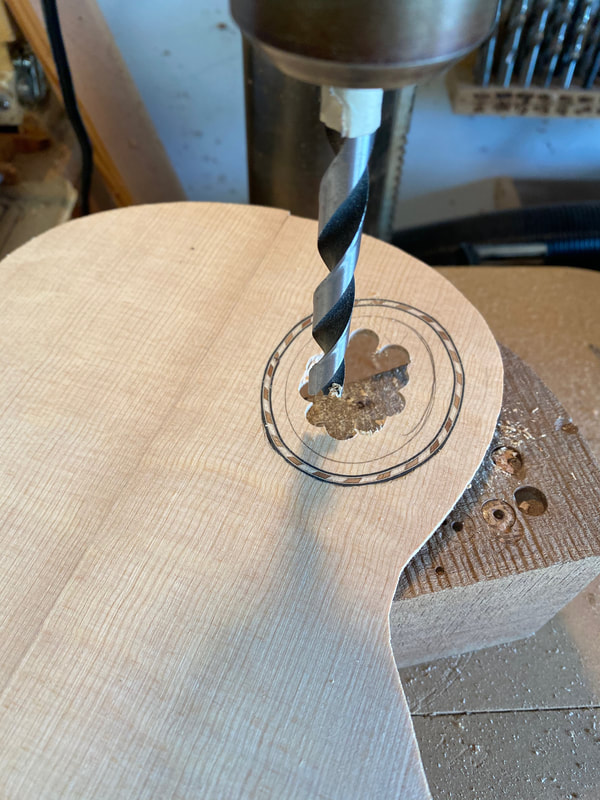
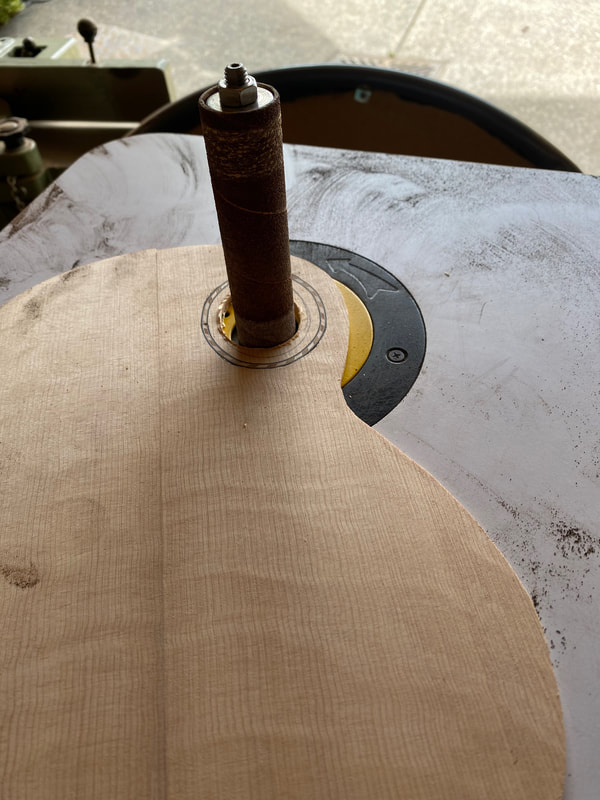
after sanding the sound board to final thickness I need to open up the sound hole. First the drill pass. Then the sander to take it to the proper oval. This works far better than doing the oval with a router.
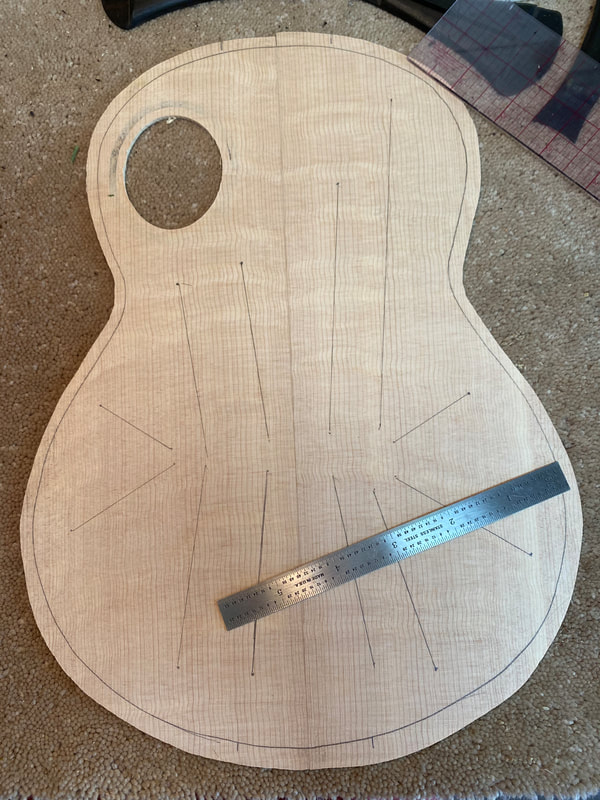
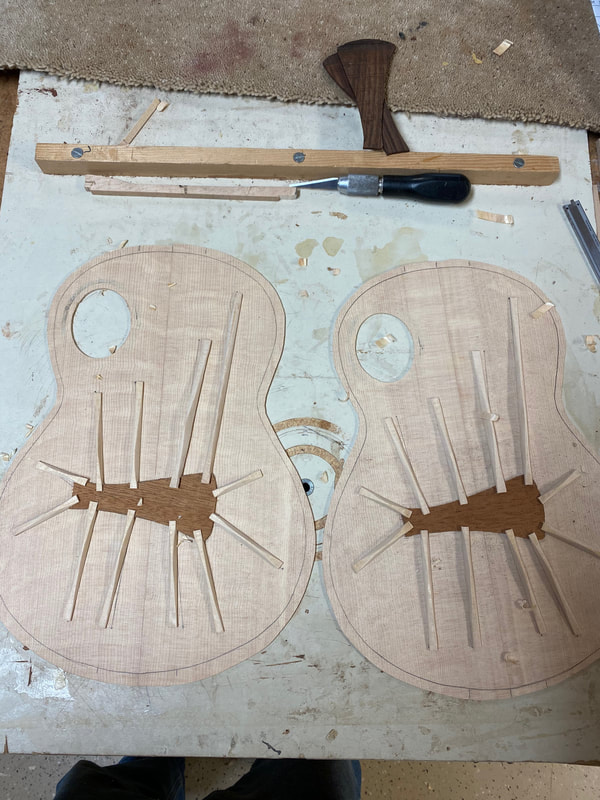
Now the location of the tone bars is plotted on the underside and the tone bar stock is cut to length.
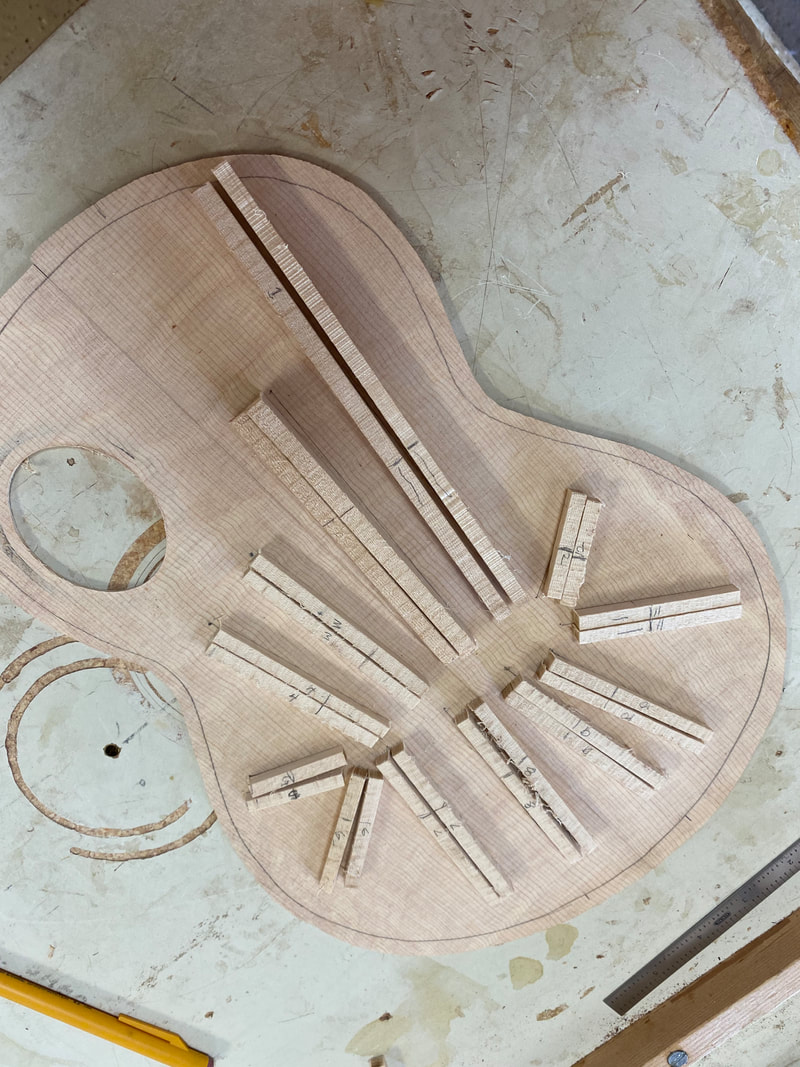
Here they are, enough for both ukuleles. Fine grain Sitka spruce with the grain set vertically to provide strength and rigidity
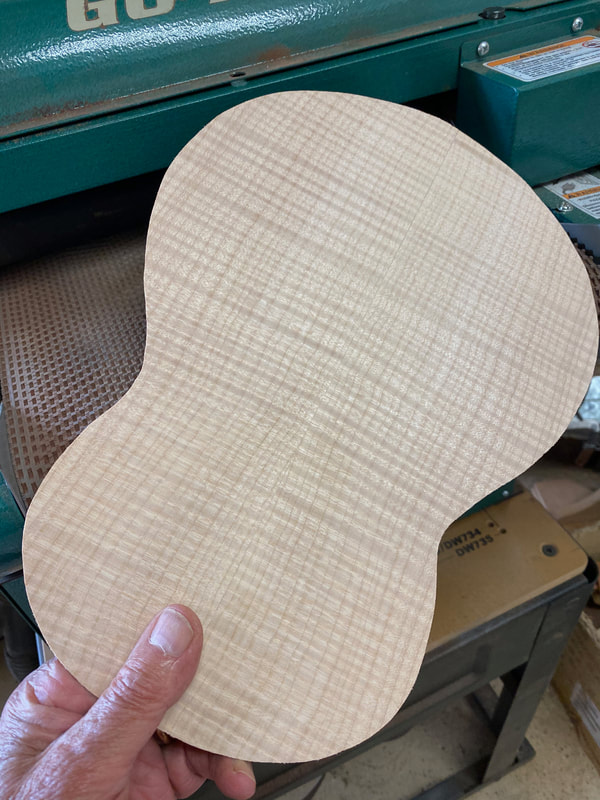
got the back out of the clamps, cut it to shape and thinned it to .90 on the big sander. Isn't tiger stripe maple lovely?
After lots and lots of delicate whittling and sanding, here they are ready to be glued on.
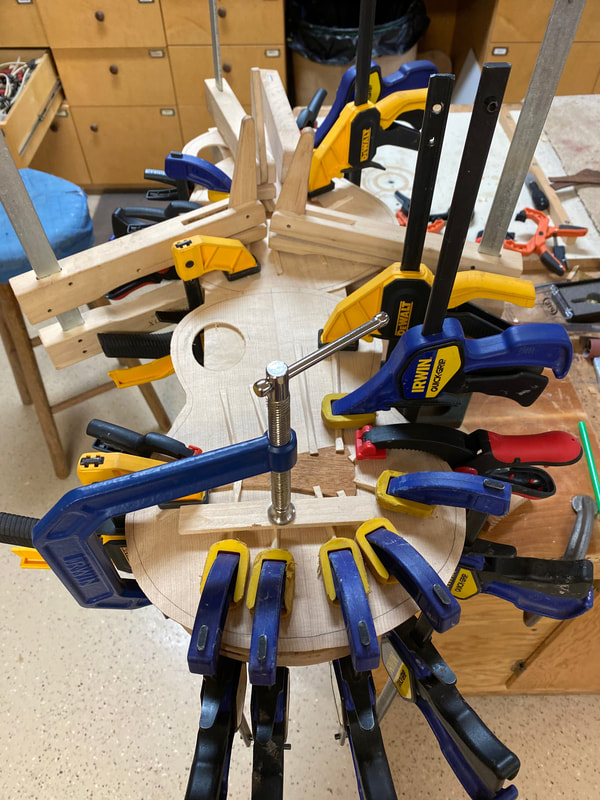
You never have enough clamps for this job. It will take two sessions.
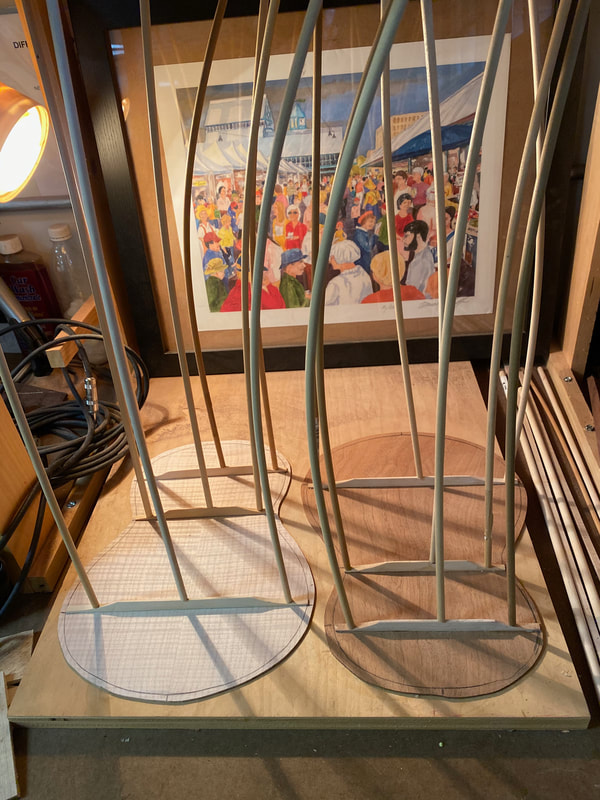
The back braces are much easier to whittle and easy to clamp in the "go-bar" box. I have no idea how this clamping technique got its name, "go-bar", but it works very well
