I HAD ALL DAY TO WORK IN THE SHOP TODAY, and boy, did I get a lot done. I finished putting the tentalones on the last of the six pinecones, and then I started on the backs. What follows is a pictorial report on my day
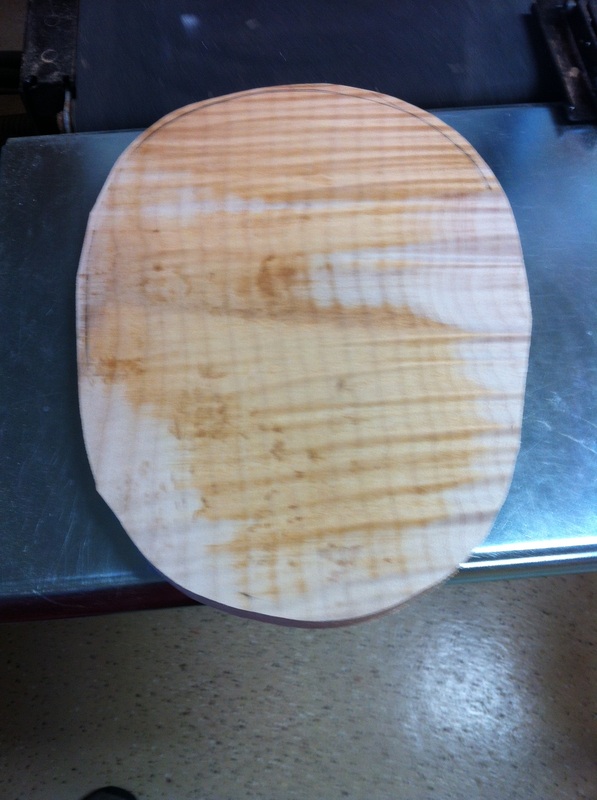
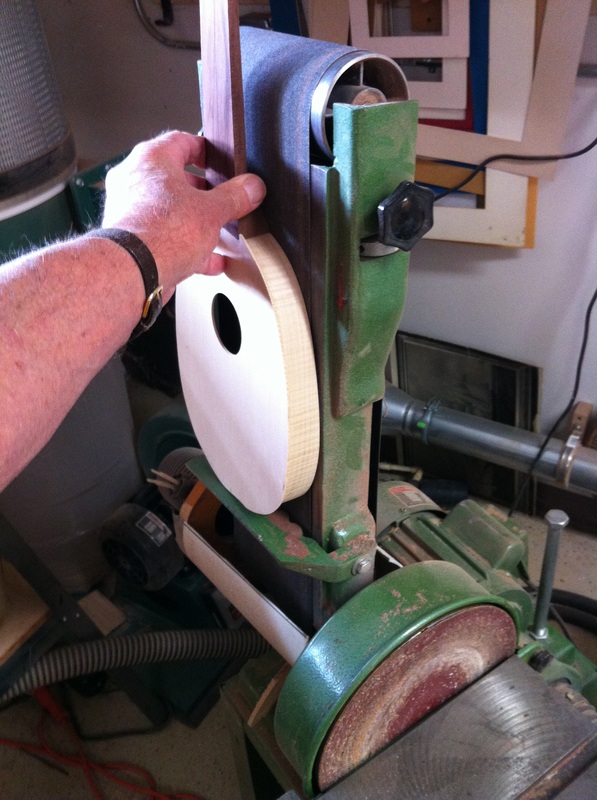
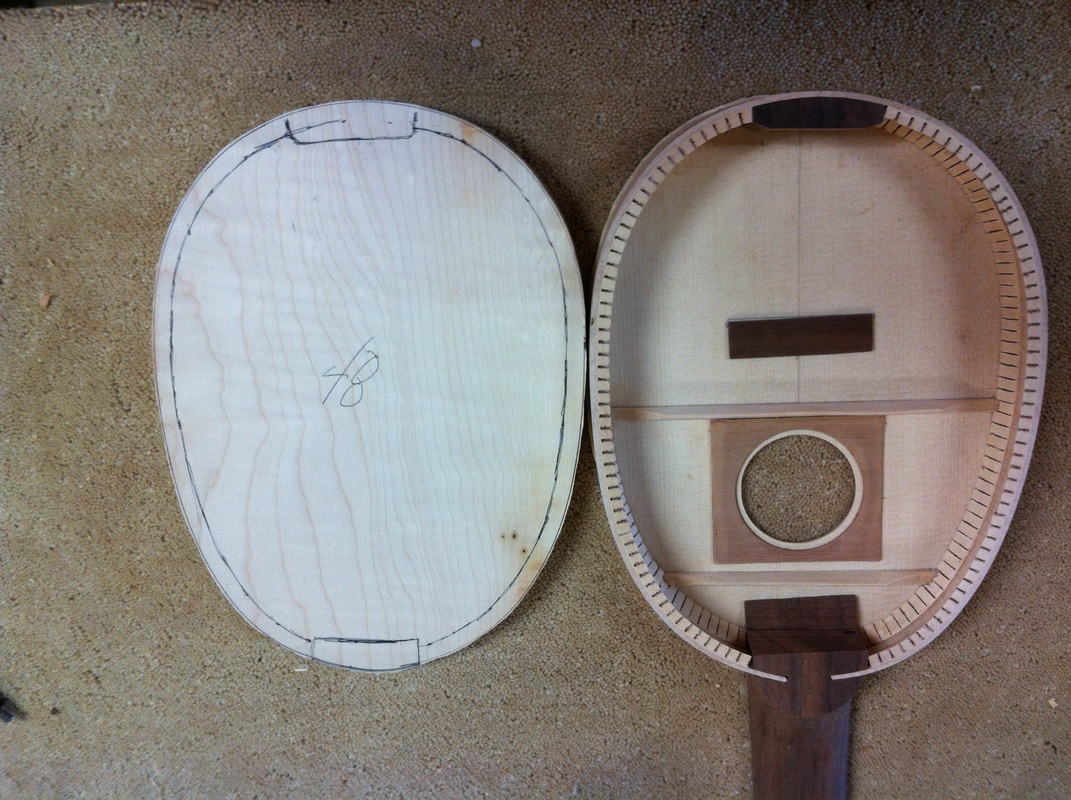
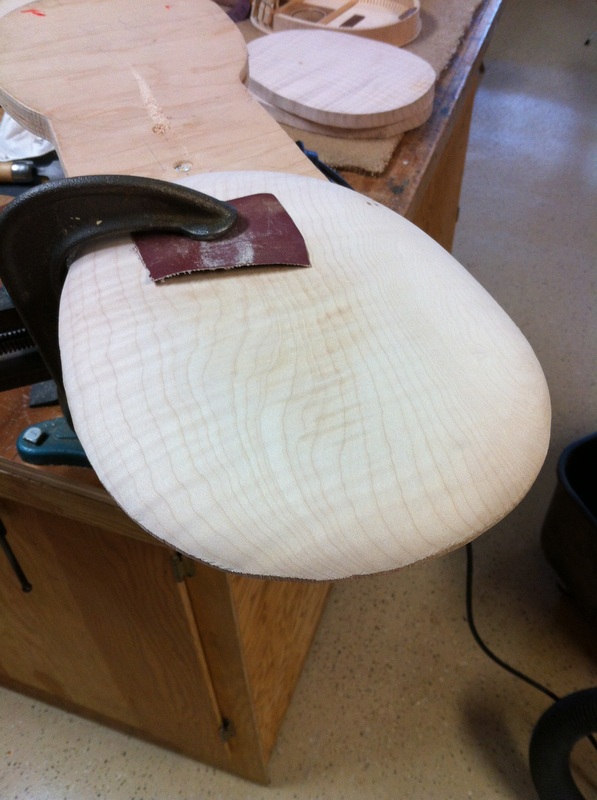
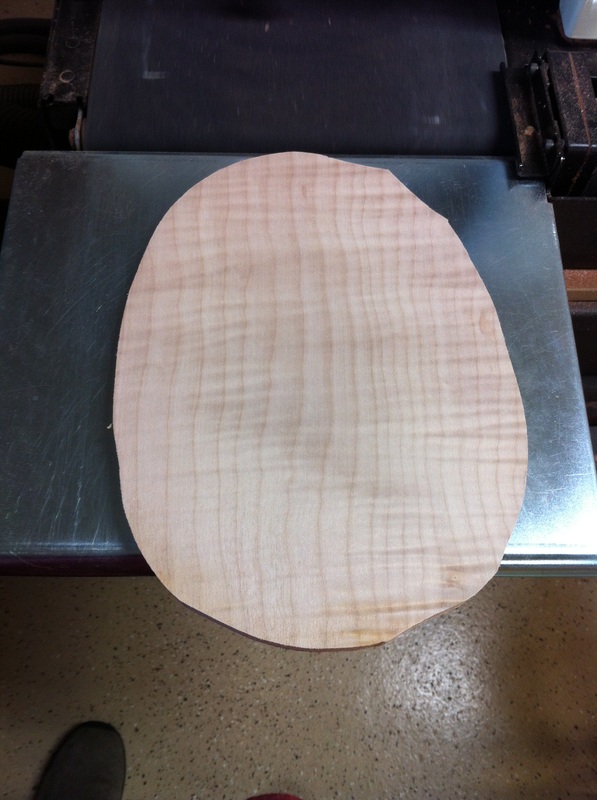
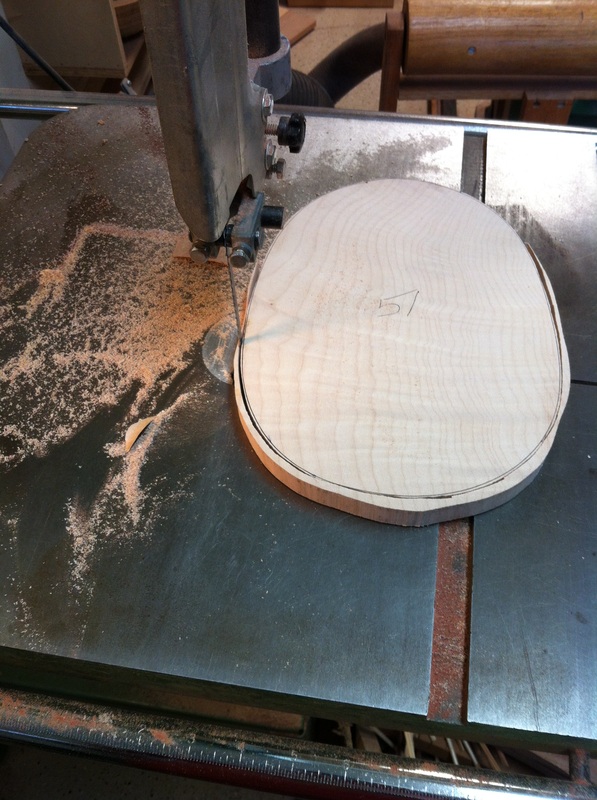
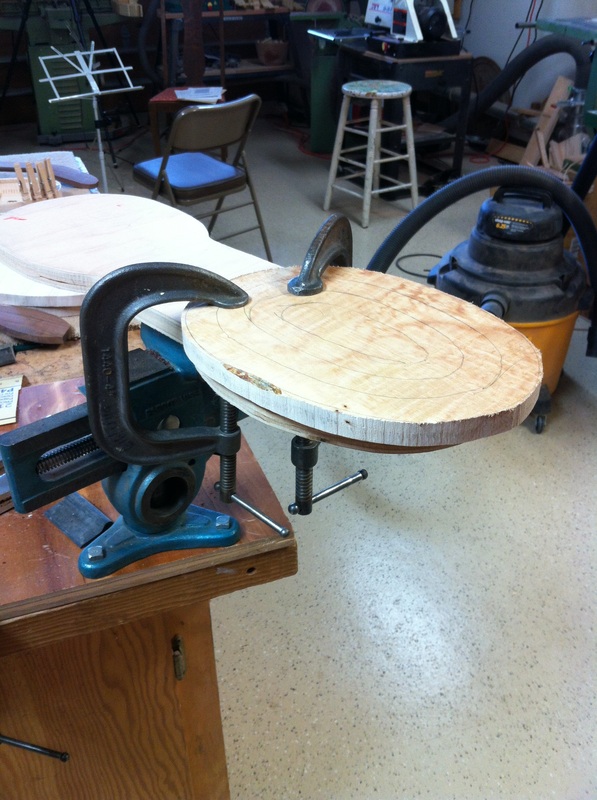
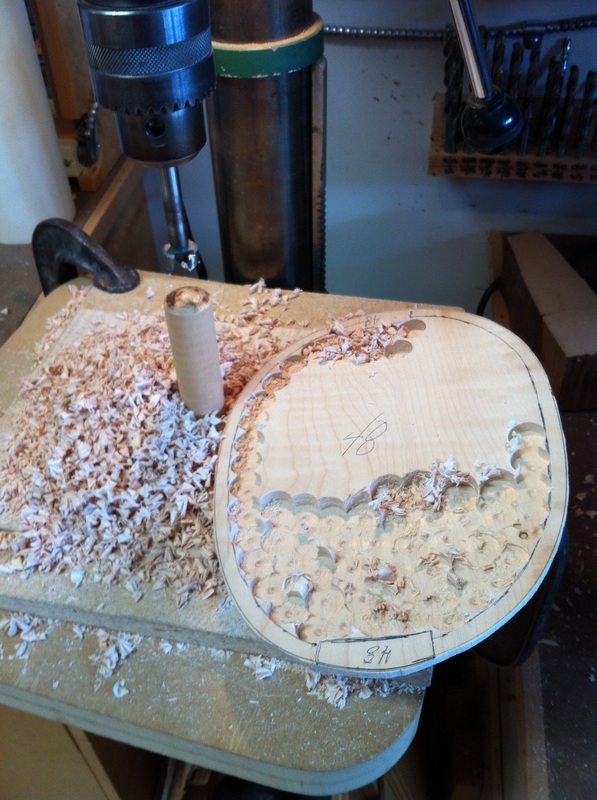
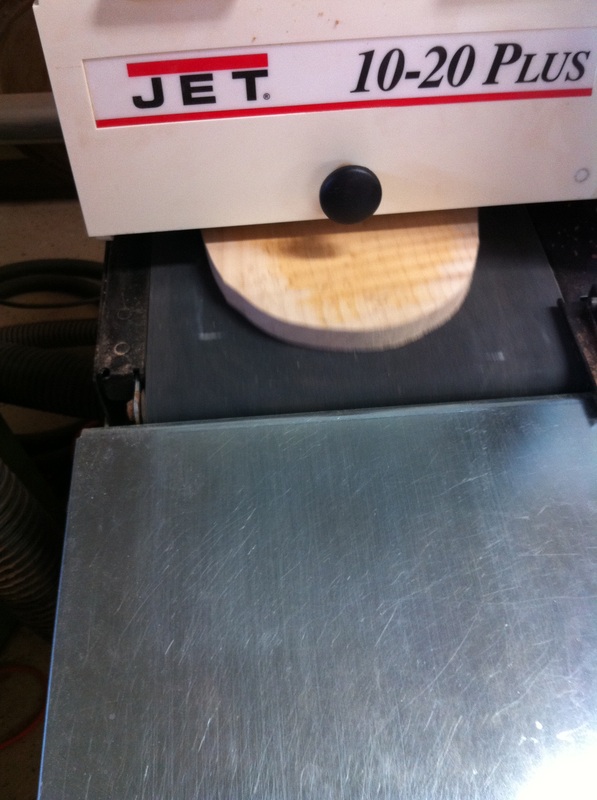
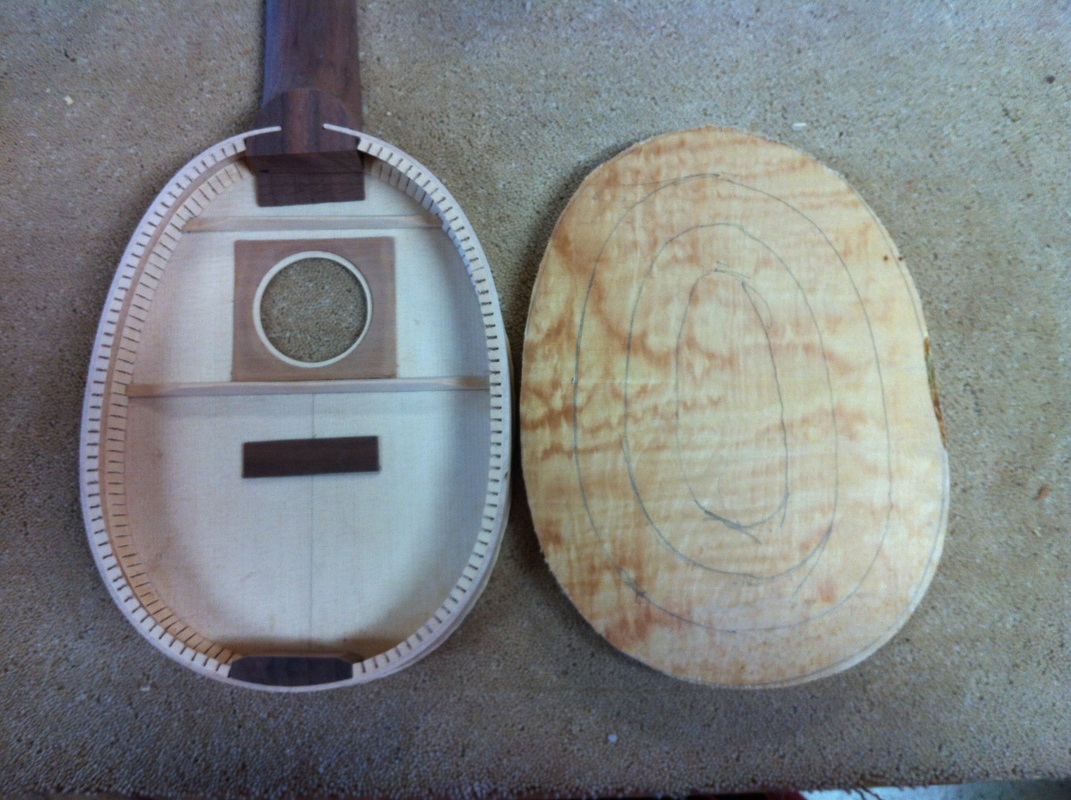
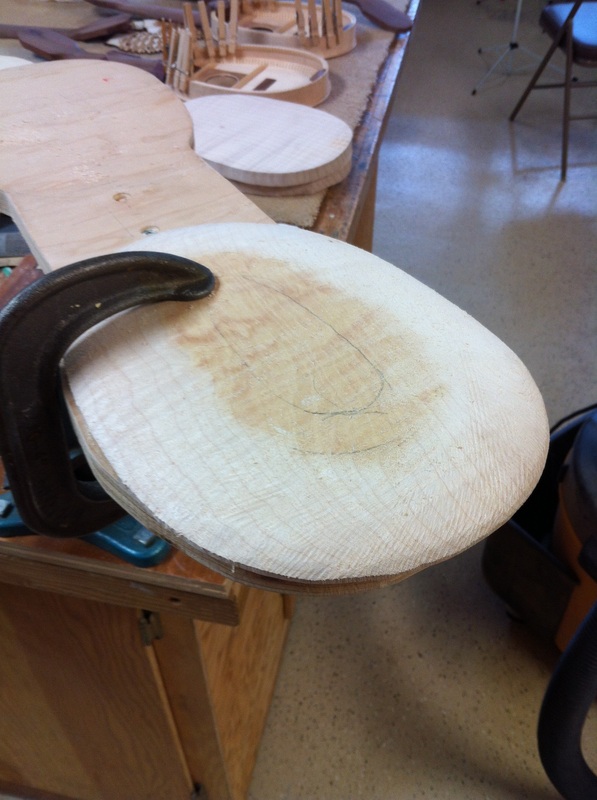
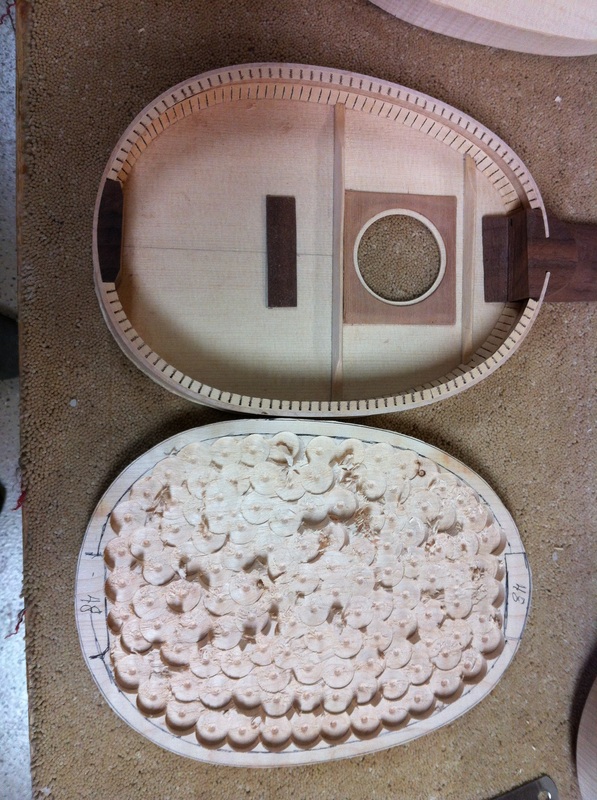
| 1. You must flatten the underside of the back so it will fit seamlessly to the top 4. The back of the uke needs to be sanded perfectly flat to accept the perfectly flat backs when they are finished. I finish this sanding by hand on a large 20 inch circular sanding disc mounted on plywood. 7. Turn the back over and you can see on the underside the guide marks I have made for the hollowing process later. 10. Here is the outside of the back, curved, sanded and ready to hollow | 2. This one has been sanded smooth and flat 5. Each uke is assigned a number and now one of the backs is assigned to each uke and numbered. It is then fitted to it's uke and sawn to size, with just a tiny bit of safety margin. 8. I clamp the back to this carving hold and start in with a rough rasp that really hogs off the wood. Note the pencil marks 11. Hollowing begins on the drill press, set to stop at just the right place. | Here is one going through the thickness sander. 6. Here is Uke # 52 with its back sitting beside it rough side out. Now it is time to carve the outside convex surface 9. The pencil marks guide the carver to make an evenly curved back. When it is almost where I want it, I switch to a smoother rasp and finally to a random orbital sander 12. Now I must smooth out the interior with a rough sanding disc on a right angle grinder. This gets a little dusty, better wear a face mask and have the vacuum ready. |
