BUT IT SURE WAS FUN. At the risk of boring folks with detail I will report on the various steps taken today to bring Bob's uke to the playing stage. Bob, I am happy to tell you it sounds lovely, Nice rich lows, sharp ringing highs and the intonation is spot on all the way up the neck. I am especially pleased with the feel of those flat wound strings and the neck. I got the action really low and with the radiused neck it plays very smoothly. I think you are going to be happy. What follows is the days activity starting with taking off the bridge clamps and finding the bridge properly placed and glued to the soundboard.
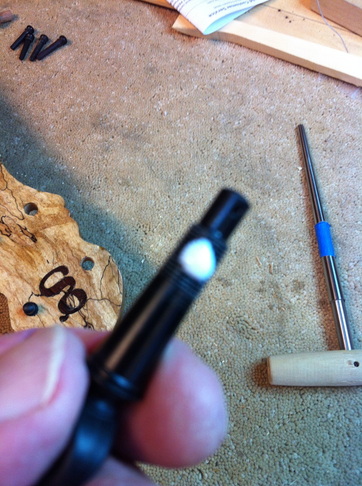
You need a starting point to set up the strings. That point is the tuners. Here I am reaming the previously drilled holes to the exact size for the Peghed tuners. The have a slightly tapered and threaded body which is virtually screwed into the wood. The tapered reamer must have exactly the same taper that the Peghed does. This reamer does the job perfectly. You twist the tuner in two or three times cutting tiny threads into the side of the hole. If you cannot screw it in to the proper point you screw it out again and turn the reamer in the hole just a tiny bit, re inserting the tuner until it fits perfectly,
Once the tuner, screwed in as tightly as you can do it with your fingers, is in the proper place with the thread shoulders just showing on the face of the peghead plate you twist it back out one last time, put just a tiny drop of luthiers glue on the threads and screw it back in again. It is now permanent, held tightly in place by the tiny threads and you can't back it out once the glue dries.
The secret to the whole thing is the proper reamer. Note the blue tape which marks the maximum depth. If you should make the hole too large you would have real problems.
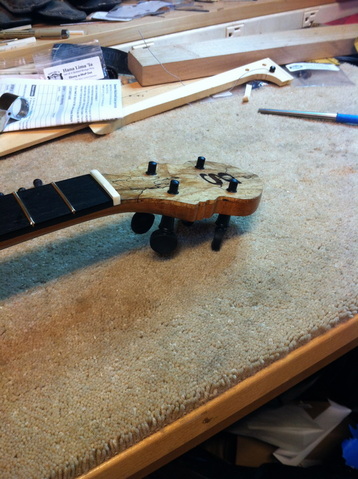
Now all the tuners are installed and it is time to notch the buffalo bone "Nut". I made the nut a month ago. It fits very nicely but we need to decide where the strings are to go. I like the #1 string to be in from the fretboard edge a bit to avoid dragging it off when you play I determine that location and mark it with a pencil, Then I mark where I want the #4 string to cross the nut.
You carefully measure the distance between the two marks and divide by three. That gives you the distance between the strings. Now you can mark the locations of the other strings.
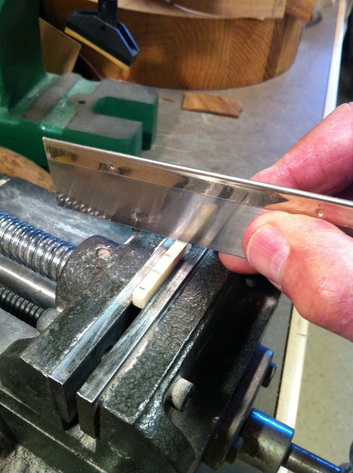
With a very thin and fine toothed saw I cut the #1 string slot to almost the depth I have marked. Then I do the same with the #4 string slot. Then with a micrometer I double check the remaining two marks making very sure that all strings are the same distance apart.
When the saw cuts are made I use tiny files resting on the saw cut, to widen the cut to a width that will accept the strings. Filing the notches down to my expected depth I am now ready to put a string in a tuner, stretch it over the nut in its notch, and extend it along the fret board to the saddle. Stretching the string over the saddle and sighting its proper position along the edge of the fret board you can now put a pencil mark on the bridge where the string should go into the bridge.
When the saw cuts are made I use tiny files resting on the saw cut, to widen the cut to a width that will accept the strings. Filing the notches down to my expected depth I am now ready to put a string in a tuner, stretch it over the nut in its notch, and extend it along the fret board to the saddle. Stretching the string over the saddle and sighting its proper position along the edge of the fret board you can now put a pencil mark on the bridge where the string should go into the bridge.
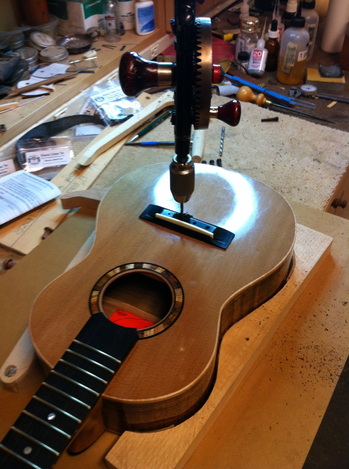
With each string carefully marked, and making a calculation for the width of the string pin, you mark the hard ebony with a sharp awl to pinpoint the drill center. Then with a very small drill bit and a finger drill you make the first small hole . Once those guide holes are drilled, you move to a larger bit and the hand drill. I have better control with this old fashioned tool than with a high speed modern drill.
Finally you widen this hole with the final sized bit in the hand drill. You now have a hole large enough to accept the tapered reamer that will finish the job.
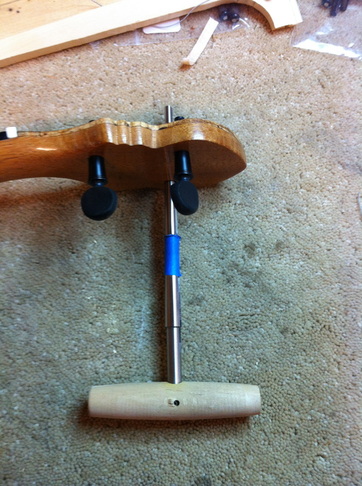
Notice that the uke is held in a clamp arrangement with a swinging arm and a jam cleat. I want to stabilize the instrument as I drill.
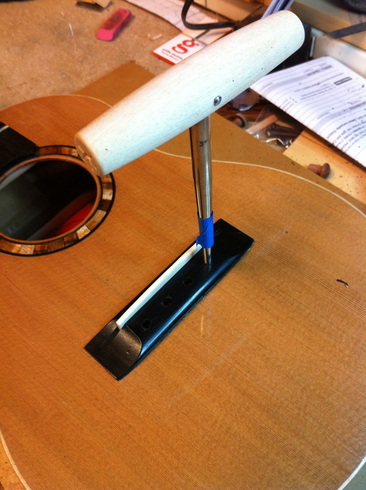
Here is the reamer, a smaller reamer than the one used for the tuners. This one has a 3 degree taper to match the string pins. Once again you must not drill too large a hole so going slow and trying th e pins in the hole is essential. Once again the blue tape marks the approximate maximum depth but never trust it ream and try the pin again and again until you can just seat the pin all the way.
Now we are ready to insert the strings. The two wound strings have metal knobs on their ends that fit nicely through the reamed holes. The unwound strings I tie a triple knot in, put them down the hole, insert the pin and pull it up tight to the tuner. Lets see how this thing sounds.
Now we are ready to insert the strings. The two wound strings have metal knobs on their ends that fit nicely through the reamed holes. The unwound strings I tie a triple knot in, put them down the hole, insert the pin and pull it up tight to the tuner. Lets see how this thing sounds.
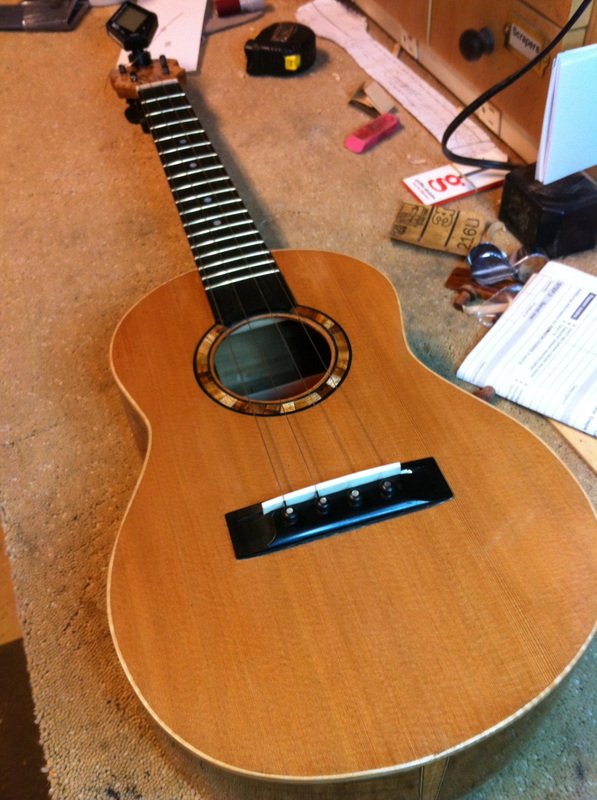
Here it is! Done at last. I am very happy with it. I have been stretching the strings, playing it with great pleasure. I even like the looks of the bridge pins, my first uke to use them. I can see an advantage in using them. We still have the security of the through the soundboard stringing but this does make it easier to change strings and experiment with different strings. I will consider using pins on the other two tenors.
NOW I'M GOING TO BED, IT HAS BEEN A LONG DAY!
NOW I'M GOING TO BED, IT HAS BEEN A LONG DAY!
