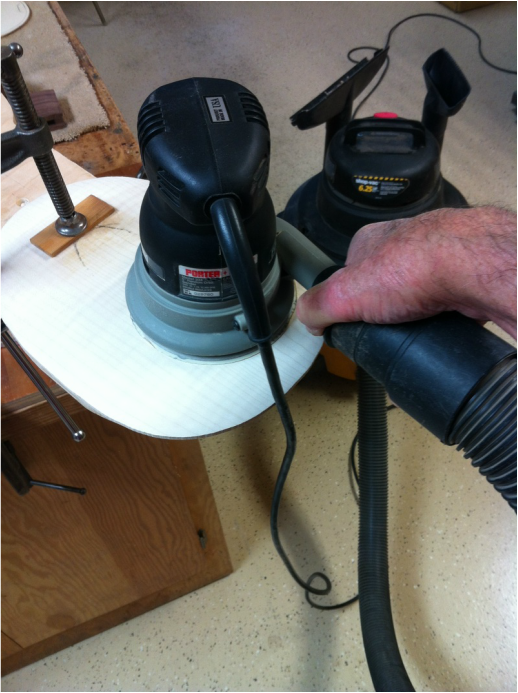
I finally got to the workshop this afternoon and made some good progress on the Pinecone backs. After finishing shaping the third back with a rasp I got out the sander with 120 grit paper and smoothed them up. Here is a great way to do it without dust. I just hold my shop vac. hose to the dust port with one hand and handle the sander with the other. Neat, clean and effective. The three backs were sanded smooth in just a few minutes.
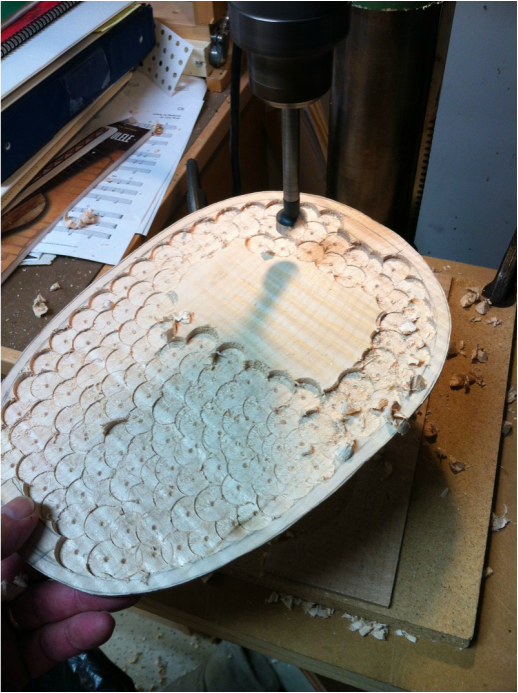
Next- to the drill press to hog out the bulk of the interior following the curve I just carved into the outside. You just set your drill press stop at the depth you want to cut. I use a forstner bit which I altered by filing down the center pin to the bare minimum. This thing chews out a lot of wood.
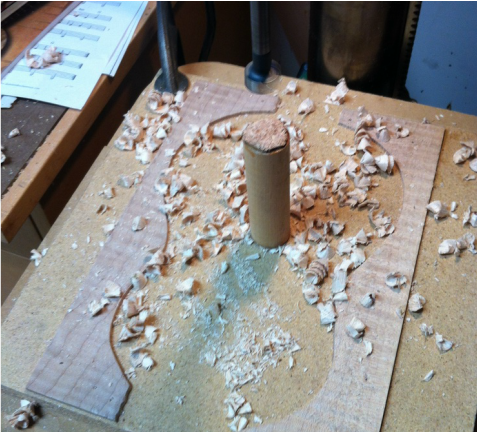
The trick here is this dowel mounted on a plate of plywood and clamped exactly centered under the drill bit. You set the drill press to stop the bit at the thickness you want your ukulele back to be. remember, the point of the bit will penetrate farther than the flat blade so grind that off a little and then plan on sanding down to where the point mark disappears on your back. Because this dowel is fairly narrow it follows the curve that you rasped on the outside. I glued a piece of cork on the top to prevent denting the surface of the uke back.
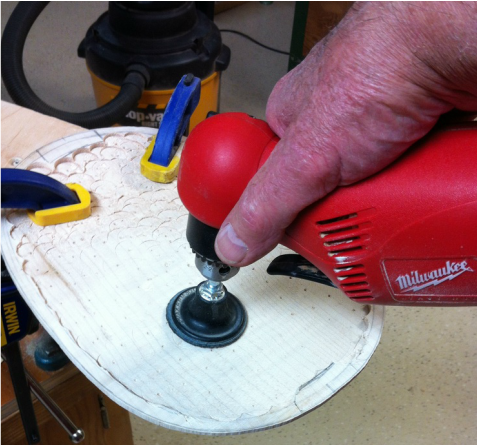
A few minutes with a 60 grit sanding disc smooths things off quickly. Try to take it down to where the center pin holes from the forester bit almost disappear- but be careful, You don't want to grind down too thin.
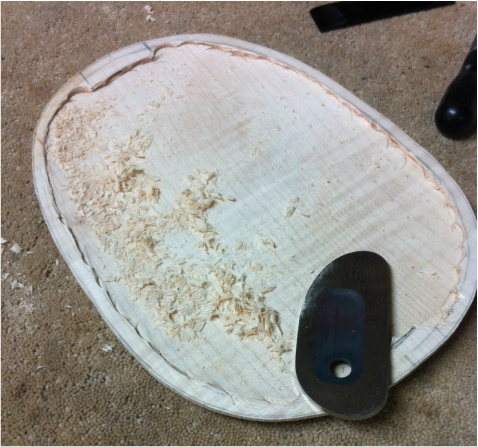
The final cleaning up I do with a curved scraper. It is amazing how much wood you can remove with one of these things, and how smooth it leaves even fiddleback maple. I made this many shavings in less than five minutes. I will shave it down until I cannot see those center pin marks any longer. Then I know the back is just exactly the thickness that I had the drill press set up to drill. Later I will clean up those scalloped edges with a grinder bit on my Dremel tool. Just takes ten minutes per back. makes it look better when you peer down the sound hole of the finished instrument.
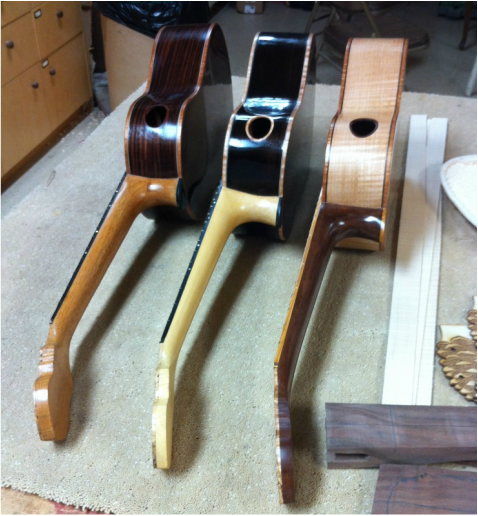
And I also got two more applications of French Polish on the tenors. Wow! I am amazed at how the rosewoods take a polish. They are all looking good. Another ten days of french Polish and these babies might be ready to sing.
