WELL, almost the whole day, but the rosettes are finished. Always a big job- here is how it is done.
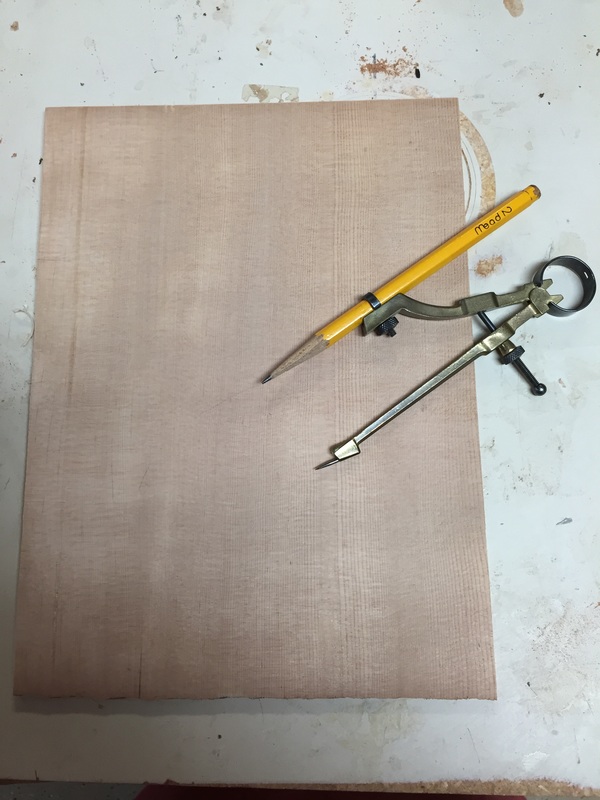
It begins with a scrap of sitka spruce and a compass. I ran the spruce through the sander to get it nice and smooth and then set to work with the compass. We are making circular rosettes here and cutting lots of circles so you want to buy a fairly good compass. This one adjusts nicely and holds its circle accurately.
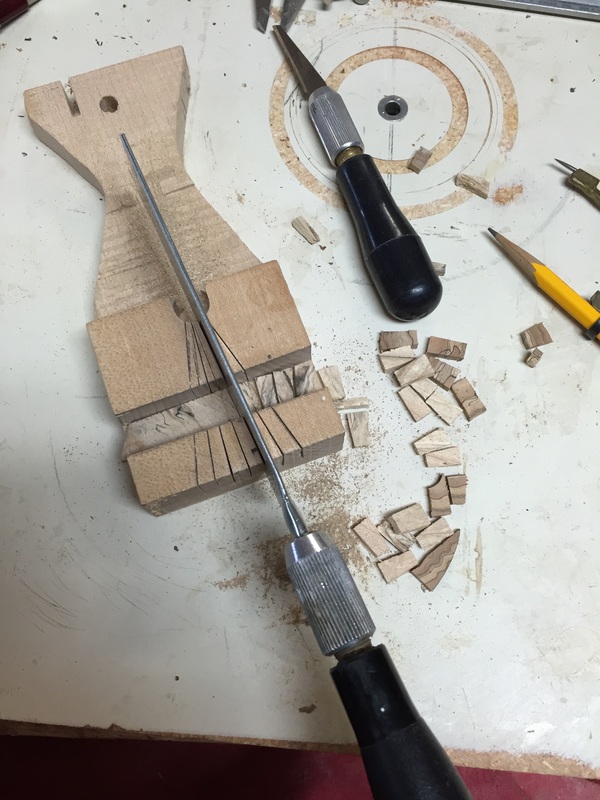
Then you need to cut about a jillion little pieces of spalted maple angled just right to go around one of those circles that you just drew on the piece of scrap sitka spruce. this takes a while. With this handy sawing jig you can vary the angle of the cut to adjust to the circle you are trying to cover.
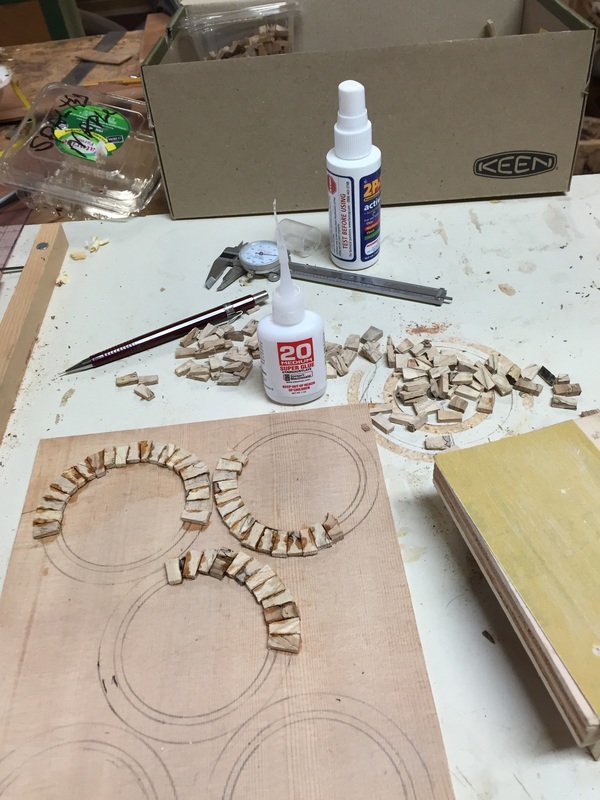
Now using medium thickness super glue, you patiently glue each piece to the circle you drew on the spruce. The goal is to cover the wider circled space. If you have a pretty design on one side of one of those pieces, glue it face down, as the side facing the spruce will ultimately be what you see on the uke.

 Now you must decide how wide you want your rosette to be, and carefully mark that width on the wood. | 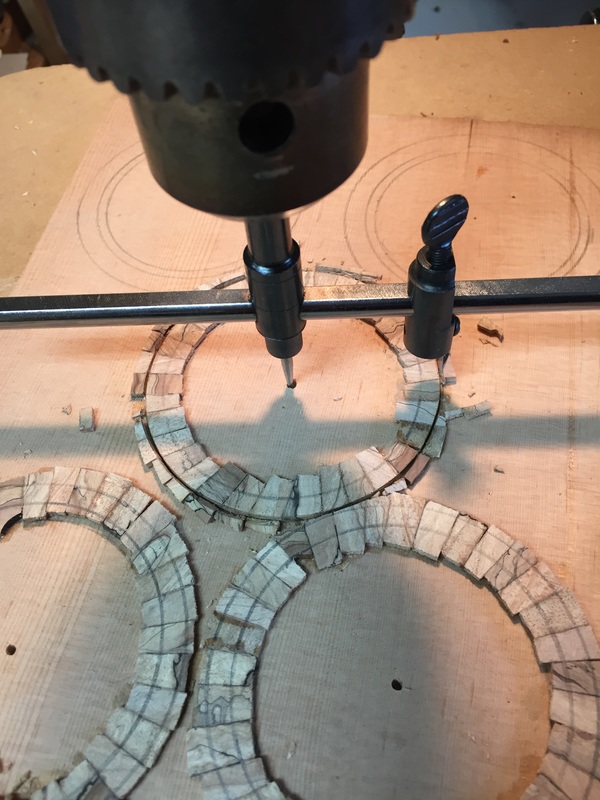 And then to the drill press and the gasket cutter. You must remember to turn the cutting blade so that you have a perfectly vertical cut. Also be very sure your blade is very sharp. The drill press is set to allow the blade to go all the wa y through the rosette material but only part way through the spruce backing. |
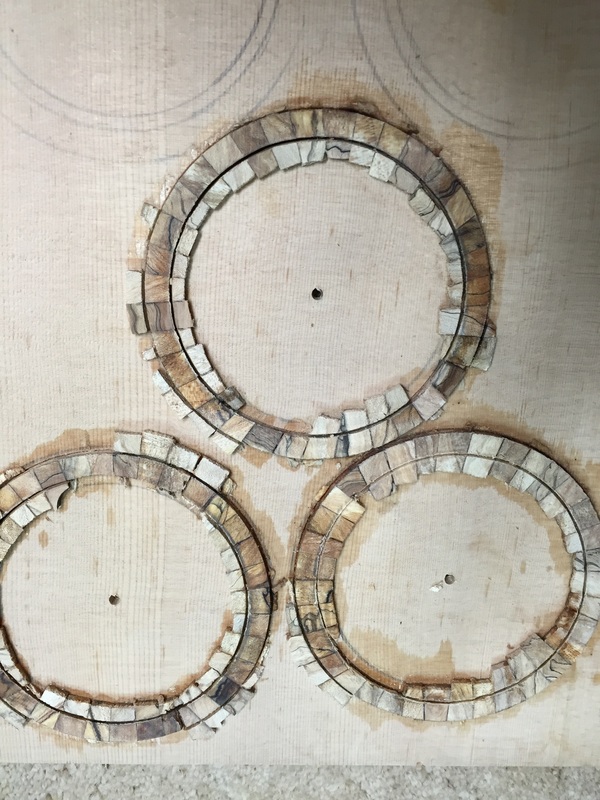
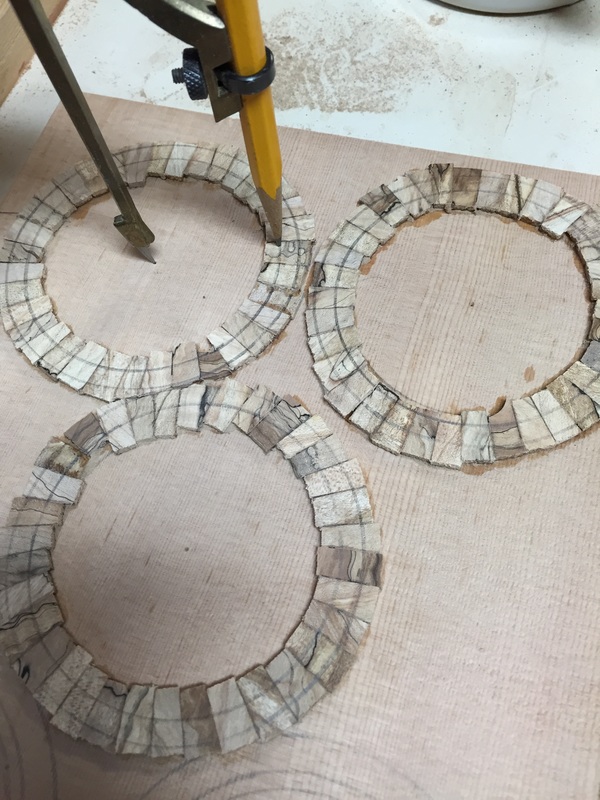
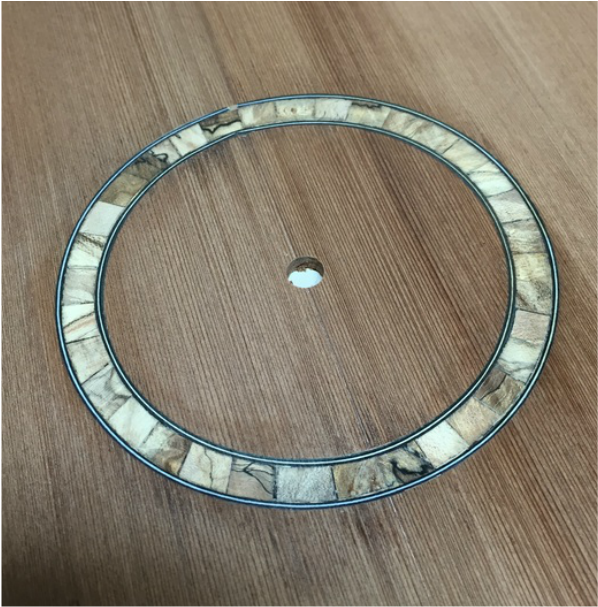
Here they are, cut on both sides. I had to turn the blade around to get a vertical cut on the second cut. Remember to do that!
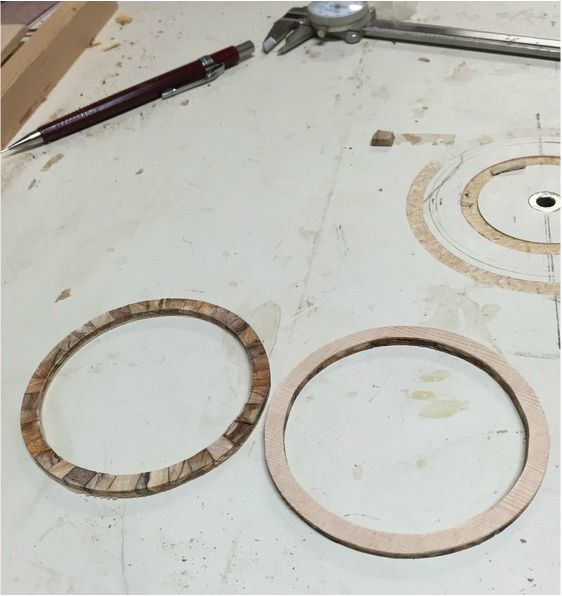
Now you pass the whole thing through the thickness sander time and again, sanding down the thickness of the backing until you get to the bottom of the cut made on the drill press. You can see the cut now appearing. Next pass these will separate AND
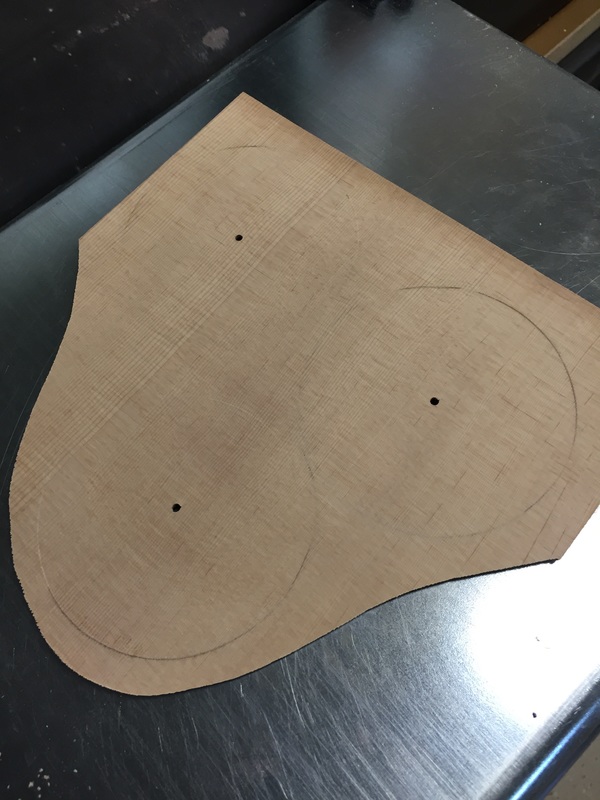
When this top is finished the spalted maple in the rosette will be very lovely. It is always a great feeling to get the rosettes finished as this it one of the places in the build that can cause great problems. I got three great tops this time. Tomorrow I will again use the router with the circle cutter to cut out the sound hole. I will not have to cut it all the way through as I left this top about three times thicker than it will eventually be. I will rout a circle almost through and then turn the top over and and away the bottom to open the hole, and also to take it down to about .80 thickness. where I think it will sound the best. Softer woods like redwood and cedar can be left a hair thicker than spruce or the hard woods. This was a rewarding day in the shop.
