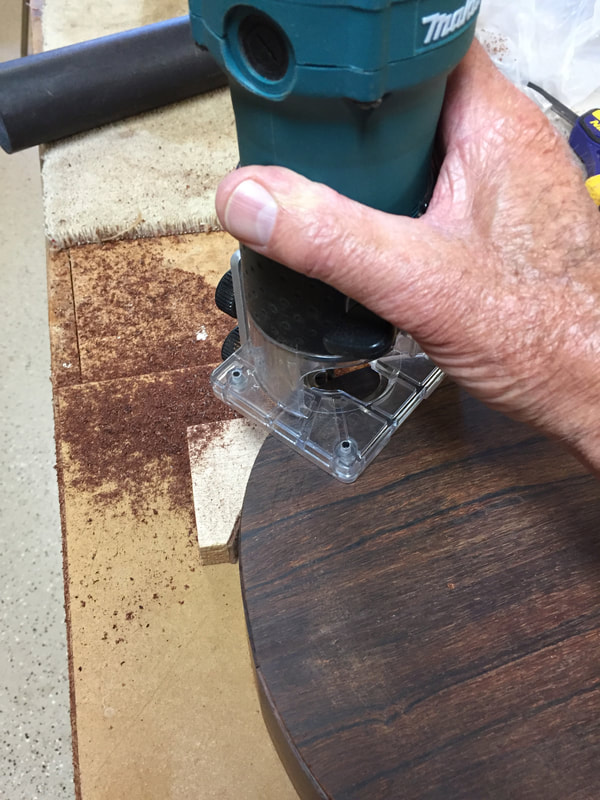
The router is attacking the edges of the instrument, cutting the deep groove to fit the binding into. Happily, all went well. Here is the process.
The down spiral router bit cuts deeply into the side guided by hand
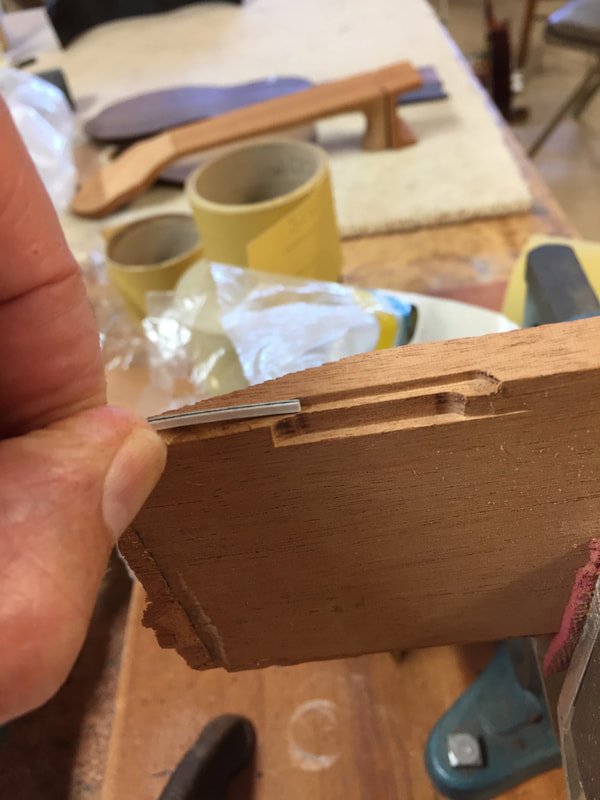
But firstly I make trial cuts on a scrap. Here are two cuts, one for the binding and a second for the purfling
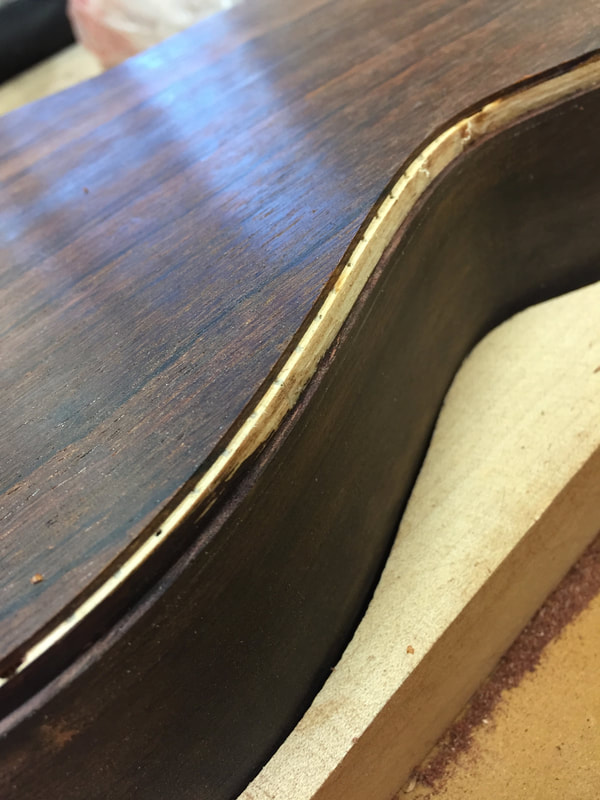
And here are the two cuts on the instrument. All went well.
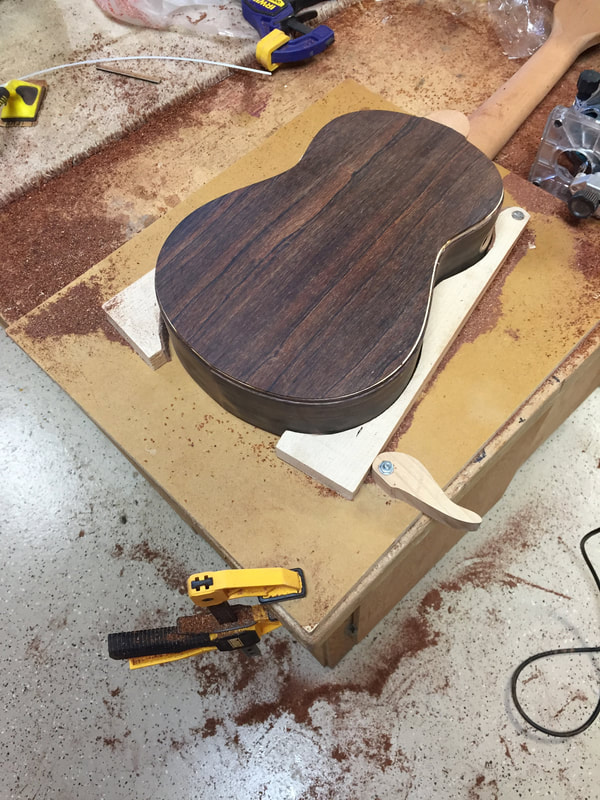
During all the cutting the instrument is held steady in this simple jig with a lever grip that I clamp to the work table. Routing the groove is a messy business throwing sawdust everywhere.
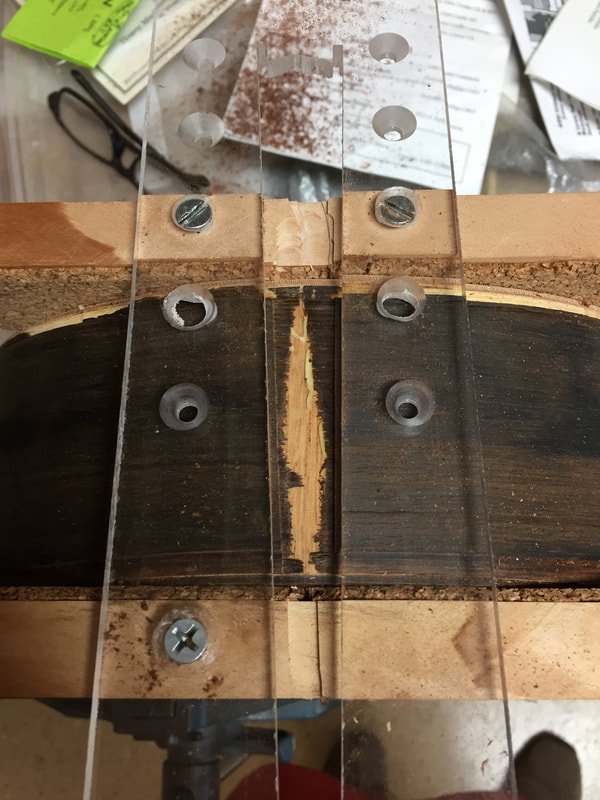
The last cut is made for the end piece made with this jig.
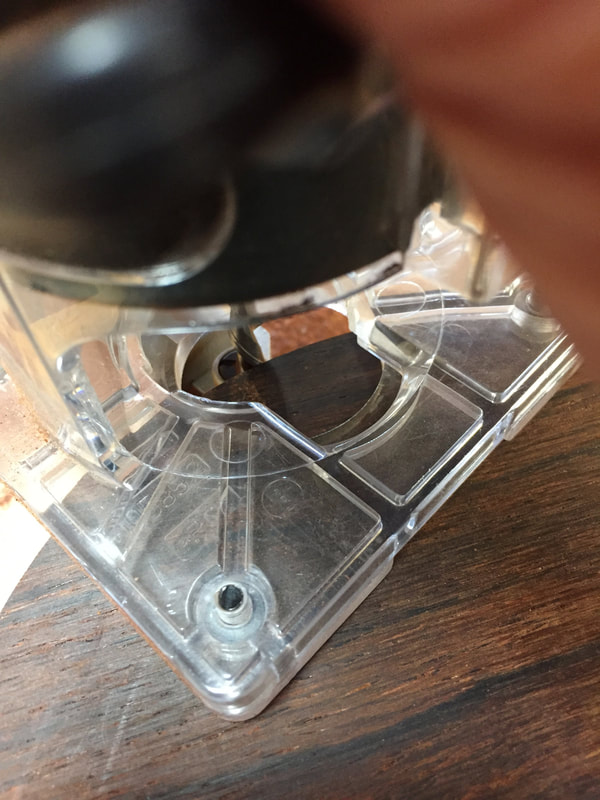
This is the router set up for the end cut. The guide rides along the edge of the jig.
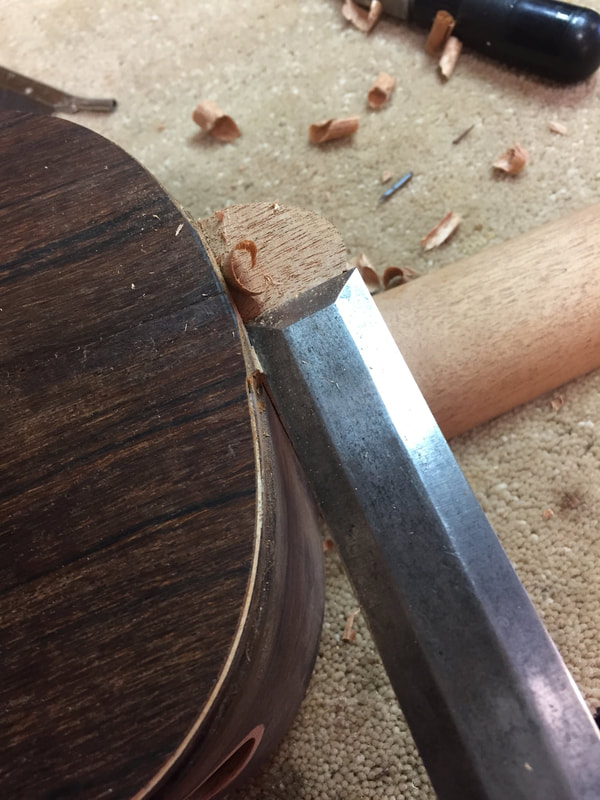
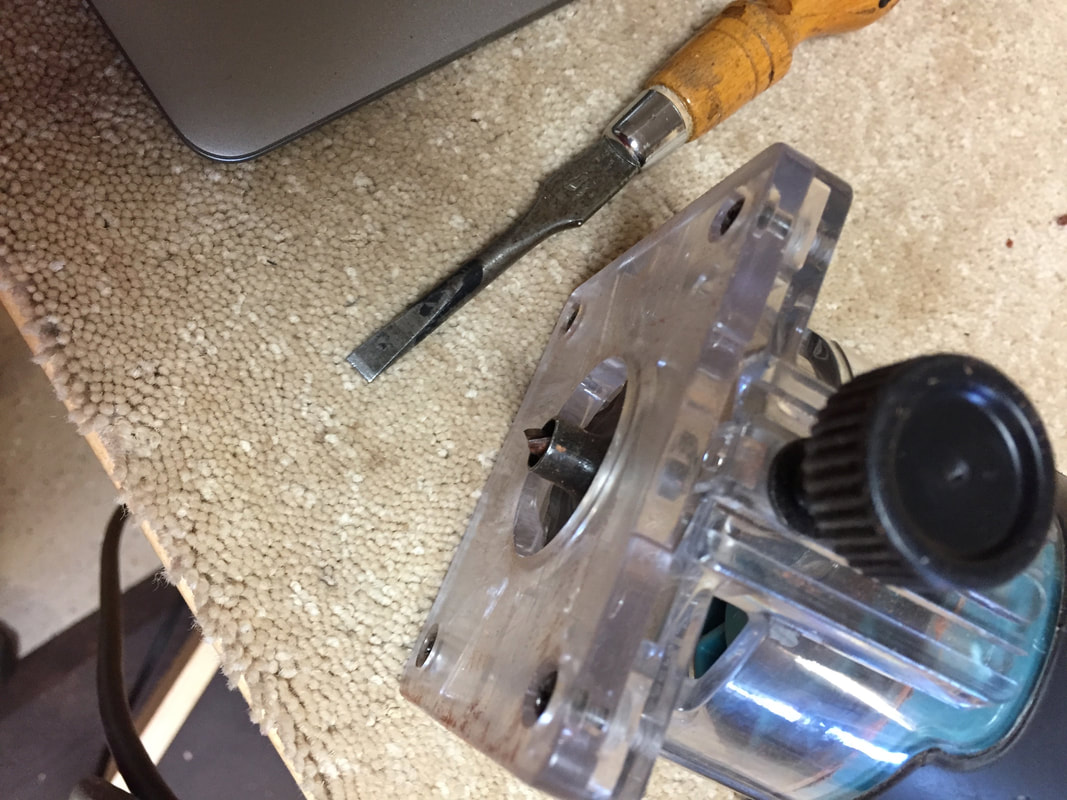
Next, it is time to cut down the heel to accept a heel cap the thickness of the binding. I am using a wonderful old chisel that I bought in England many years ago. It is made of Sheffield steel and takes a remarkable edge.
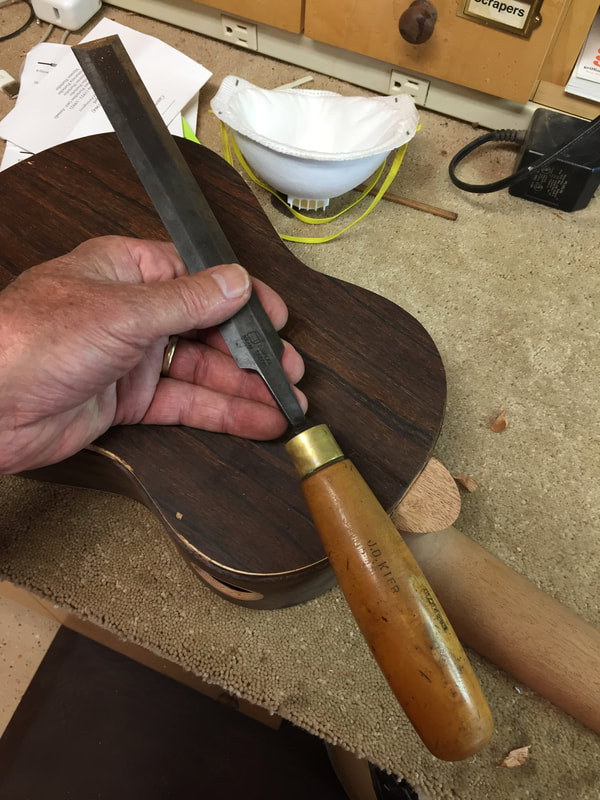
The name of it's original owner is stamped on the handle. J.D. Kier. I like to think he would be very pleased to know his fine tool is still being used and appreciated.
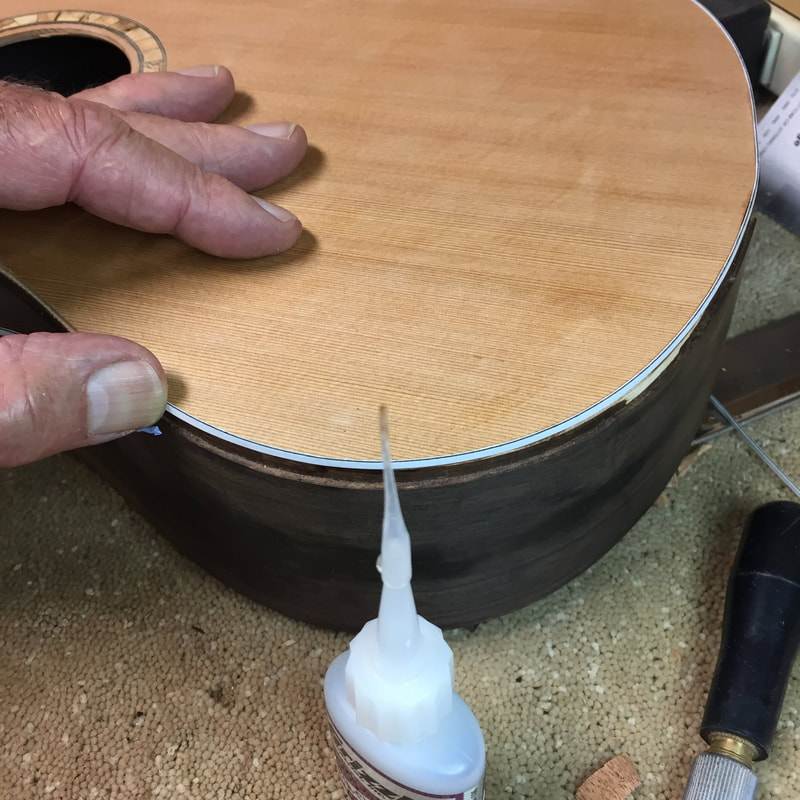
I have decided to attach the purfling first. Normally I put it on while attaching the binding. This is the first time for this technique. I will use super glue. I will see how it goes. I am using white/black/white purfling for this ukulele.
