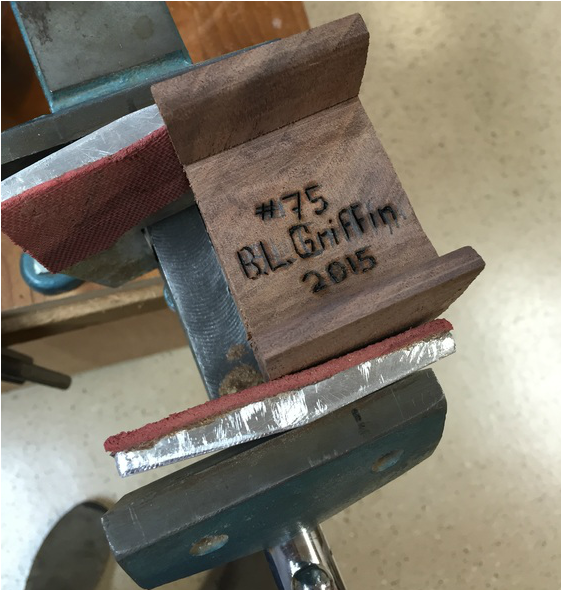
After years of burning my info into the rear of the neck with the sides and top in place I finally thought of doing this formerly awkward task before assembly. Sure a lot easier this way- reminds me of the old luthiers advice-
"After you have made 100 instruments you will know what you are doing" Well, I am 3/4 of the way there.
"After you have made 100 instruments you will know what you are doing" Well, I am 3/4 of the way there.
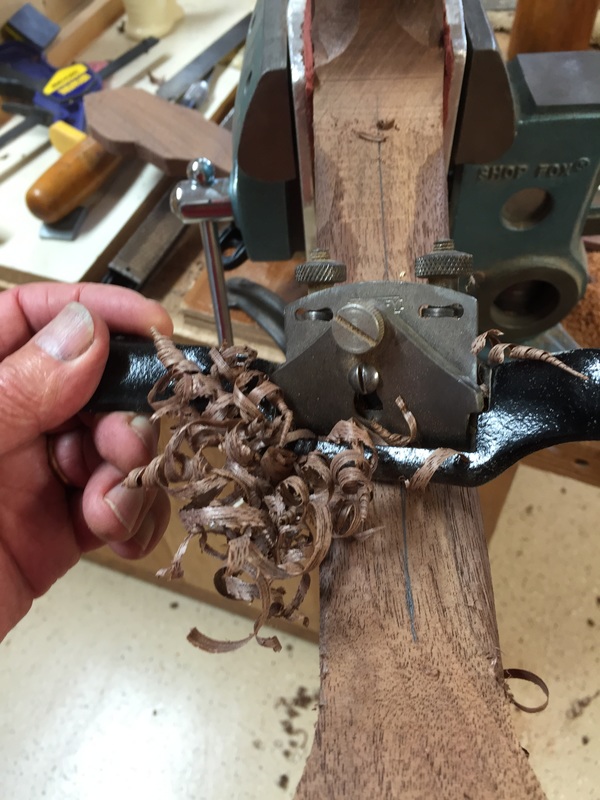
Now onward towards getting the necks in rough shape. I began with the trusty spokeshave-love to use this old time tool invented to shape the wooden spokes on wagon wheels. Still a great tool to have in the shop.
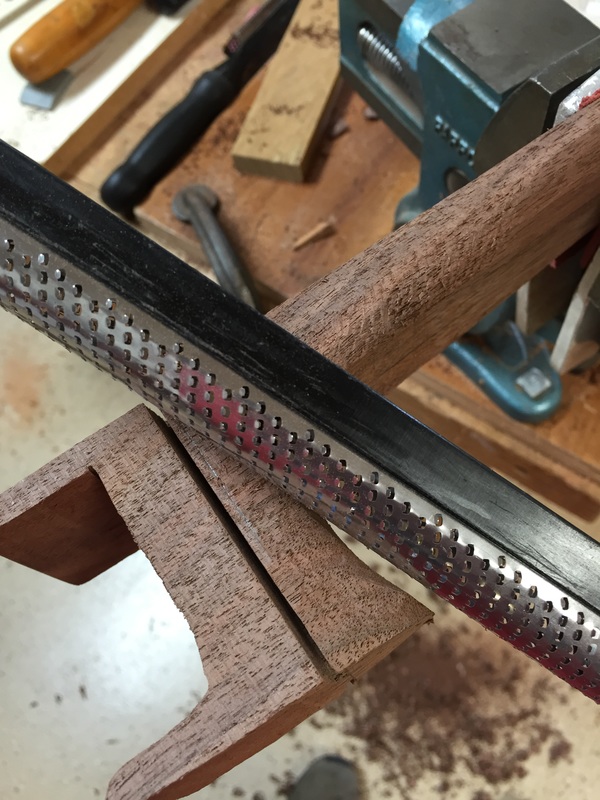
Next is a modern tool, the toothed rasp. Does a really nice job, and pretty smooth too.

Once the necks were roughly done using spokeshave, rasp, carving knife, chisel, and bow sander It was time to attach them to the sound boards or instrument tops. After fitting the neck to the top and getting it straight you drive brads through this glueing caul to fix the location. Now it is time for the glue
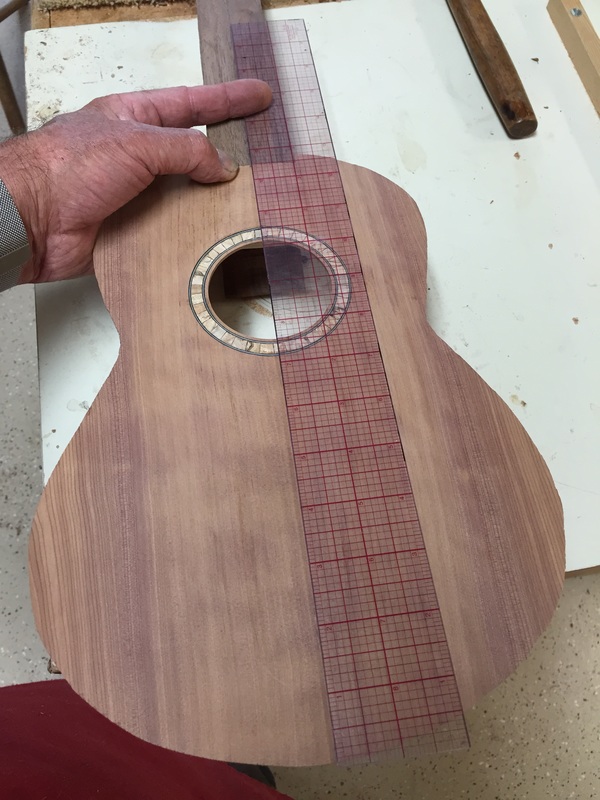
Check and check again cuz you don't want a crooked ukulele. This looks perfect. I will apply the glue and clamp it up.
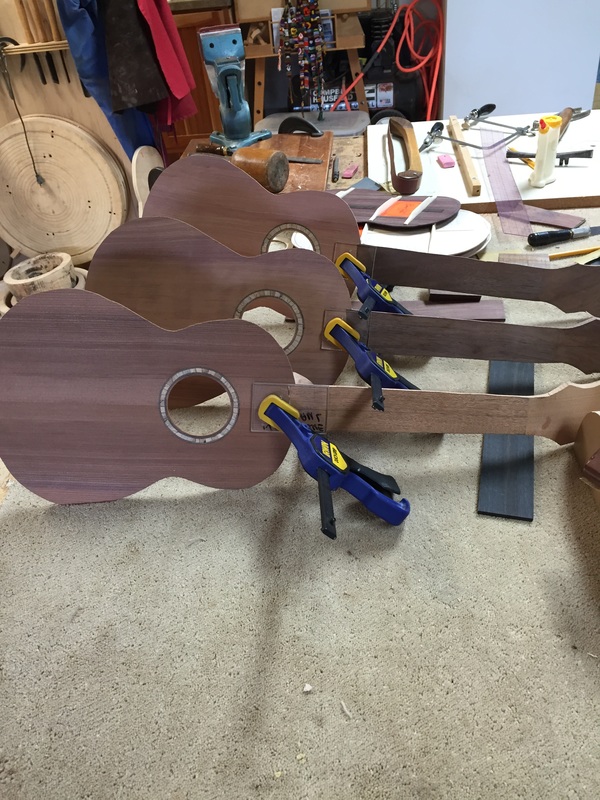
And here they are-all three necks and tops glued and perfectly alligned.
A good afternoons production.
A good afternoons production.
