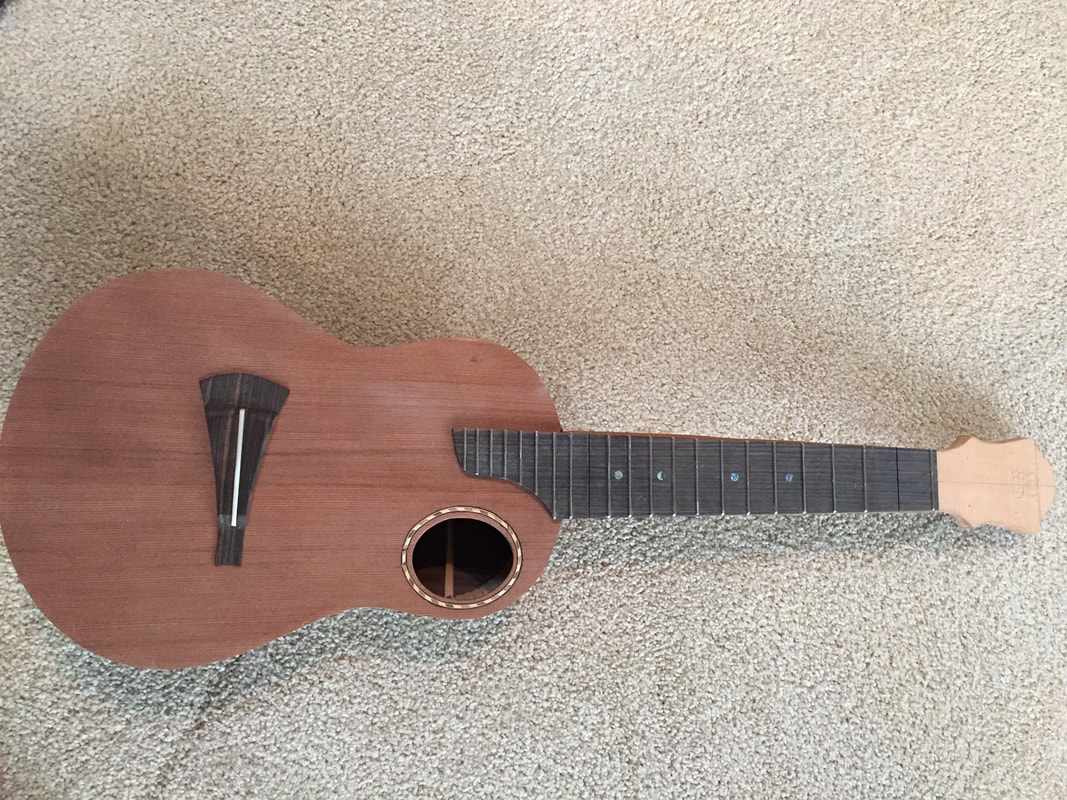
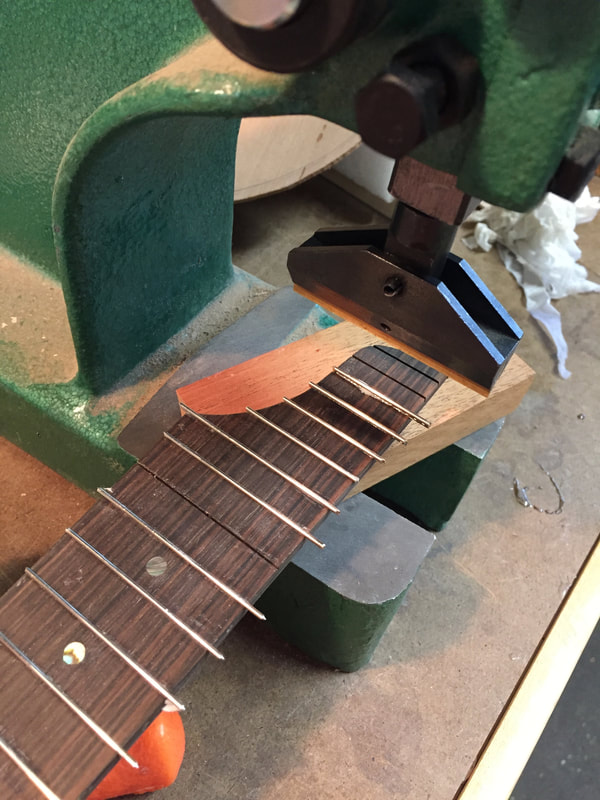
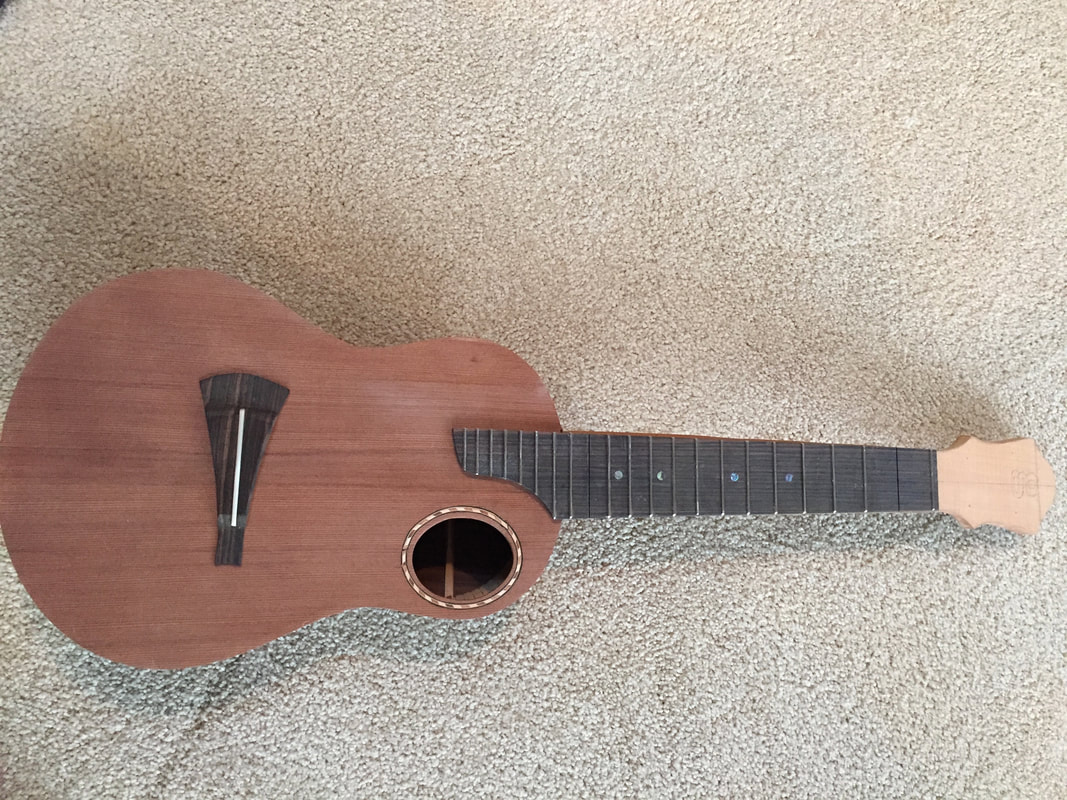
This odd, unconventional, non-traditional design is beginning to look good to me. Maybe because I am having fun building it, maybe because I find it an aesthetic challenge. Today I got the frets installed in the fret board. Not sure what those top frets are good for. Just thought it would be fun to run them to the end. Bridge and fingerboard are just laid on the instrument for the photo. Not attached yet. Note the zero fret and the new peg head design.
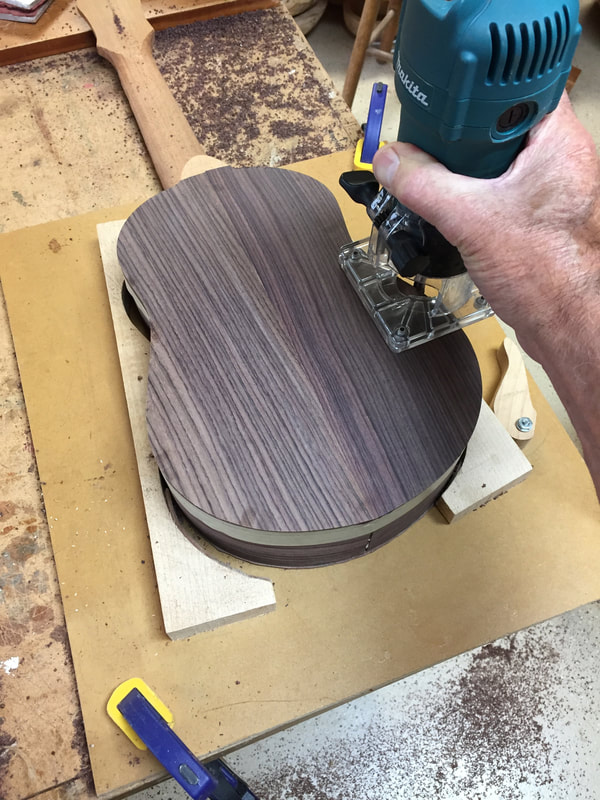
Last night, to avoid watching the destruction of the Wa. State football team, I went down to the workshop and attached the back. This morning I trimmed the edges
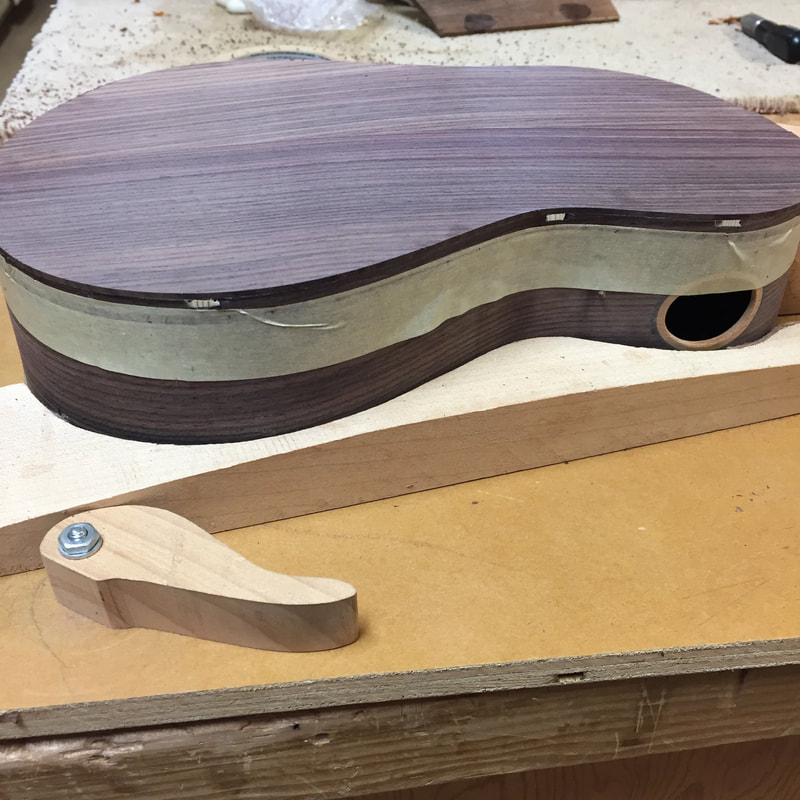
The masking tape functions to move the router cutter out away from the side wood just by the width of the tape. Then you hand sand down the tiny margin around the edges. Makes for a smoother side. Note the ends of the back braces. they will soon be covered by the binding.
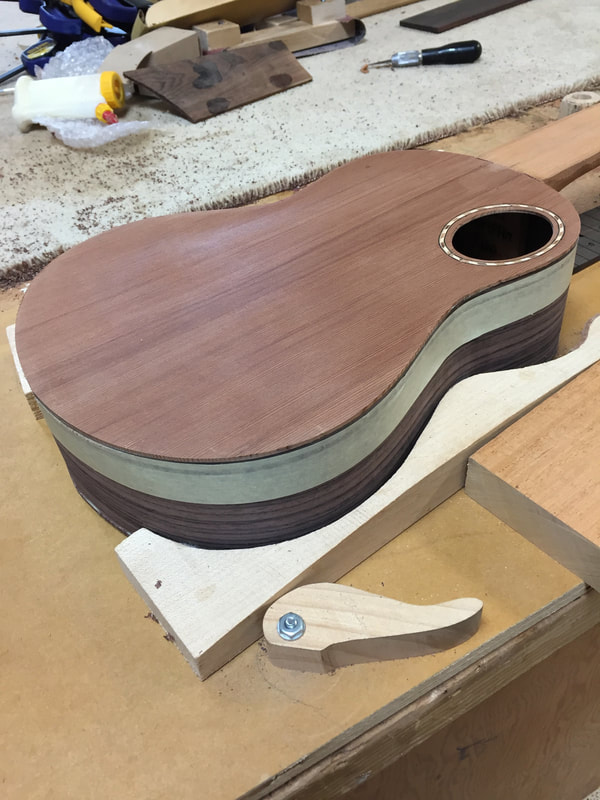
And here we are, The redwood toneboard now trimmed.
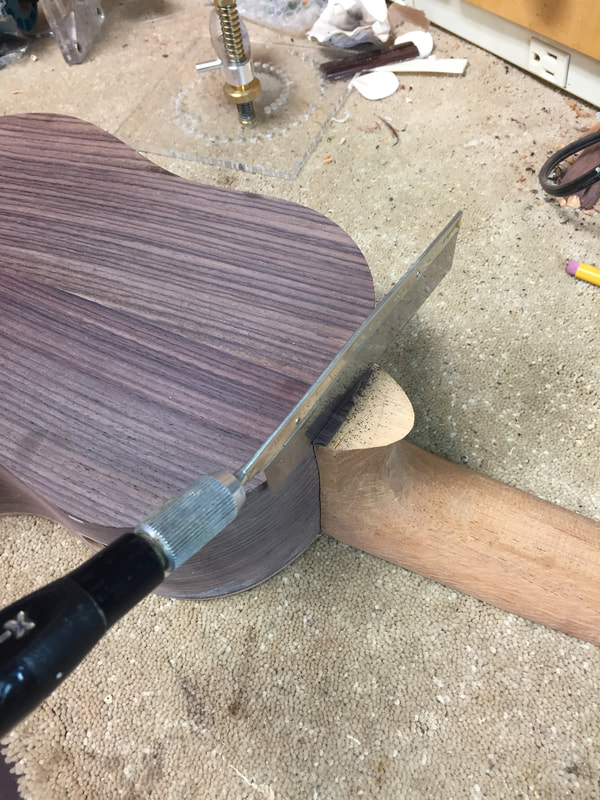
Once the back is on, we need to cut this tab from the neck end. I use an exacto saw and cut fr0m both sides to approximate the curve.
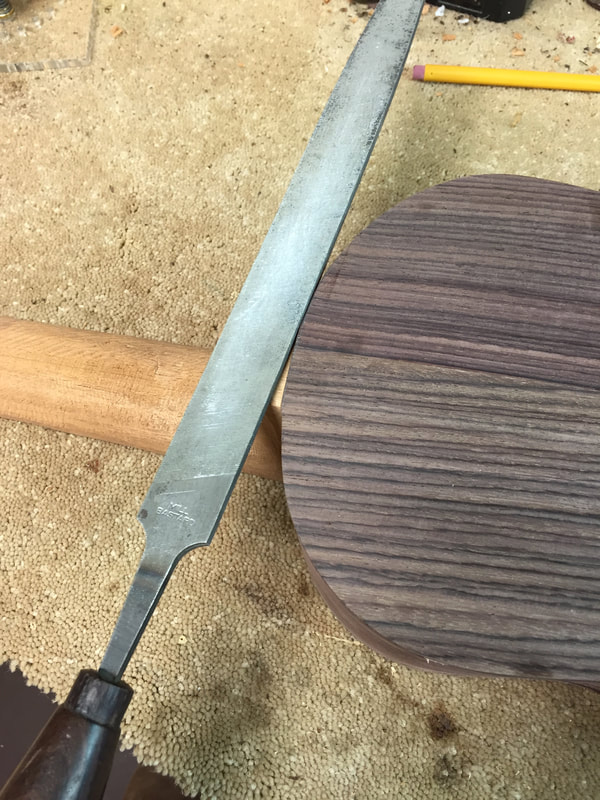
Then, with a bastard file (how did it ever get that name?) I complete and perfect the curve. I will be fitting a cap on the heel after the binding is on. The heel cap wants to match the depth of the binding.
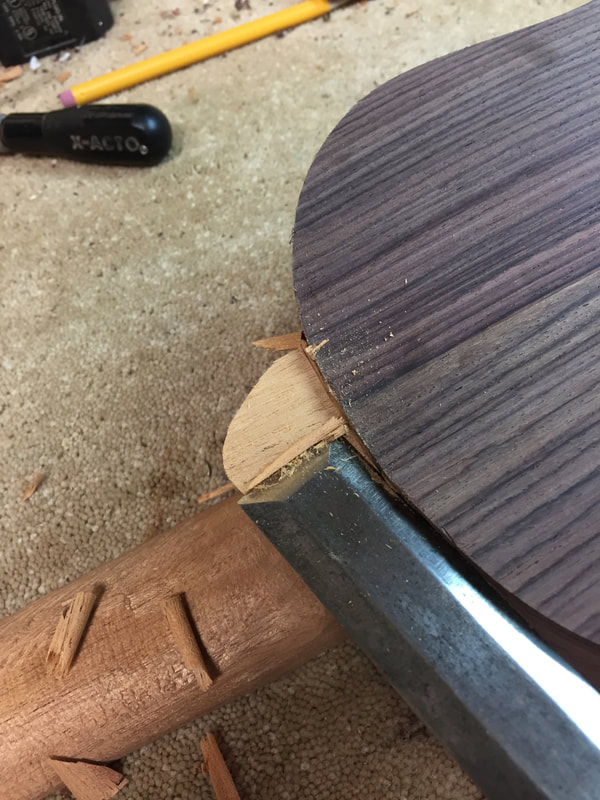
I will carve off a little of the heel just to prepare.
And now I will finish installing the frets. Two of the fret slots are not filled until the fingerboard is glued on. Those empty slots each contain a tiny drilled hole through which a brad will be nailed to establish and hold the proper position on the fretboard. Oh so important to have that right.
And so here we are tonight. Tomorrow, if I have the time, I will make the scary cuts for the binding and purfling around the edges, and maybe even get some of the Australian Blackwood binding I plan to use, installed. It is going well. Getting excited to think about its sound.
