"KIND OF " I said, but not real fun, just kind of fun.
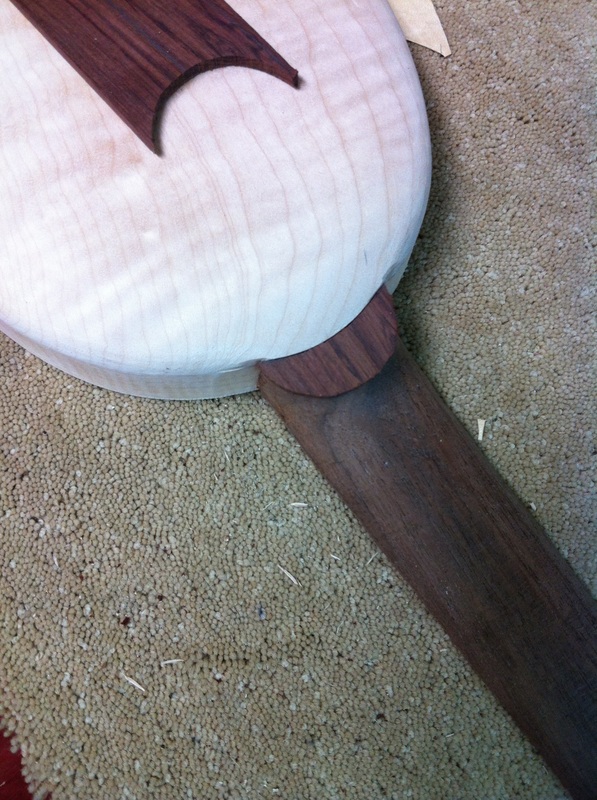
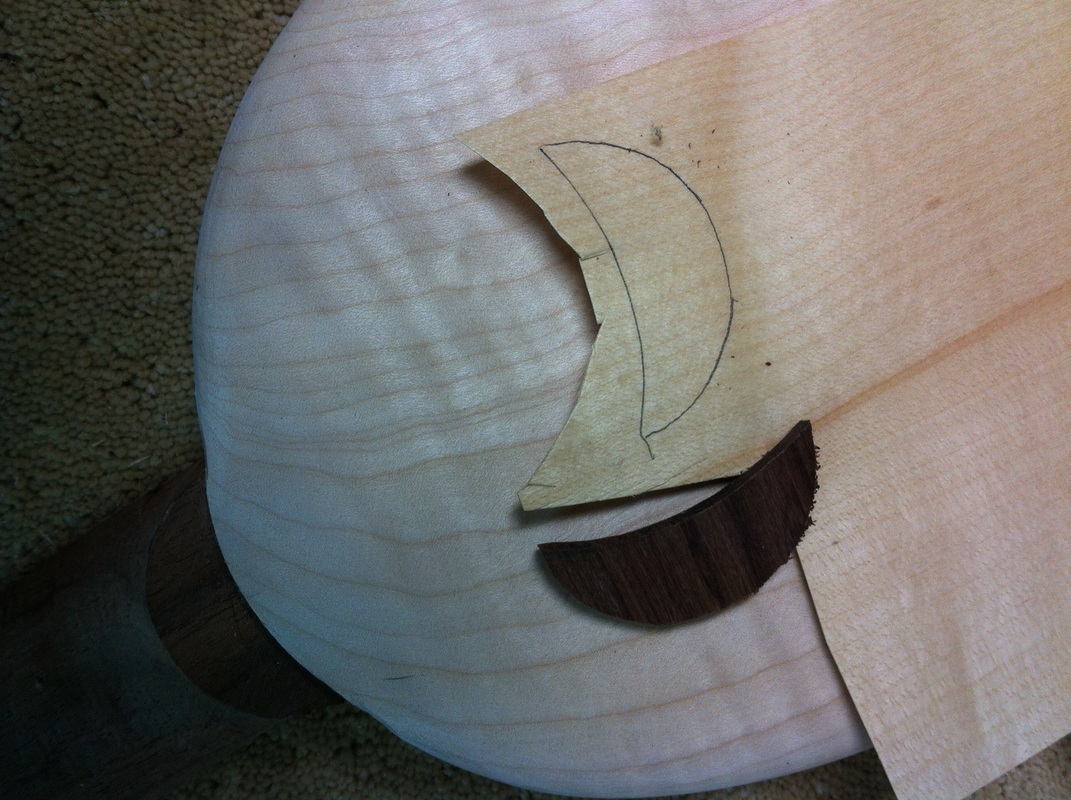
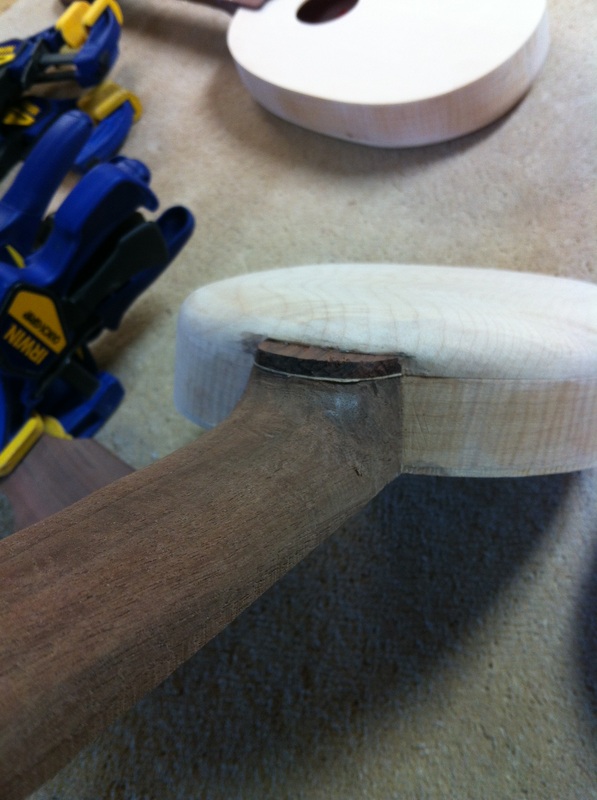
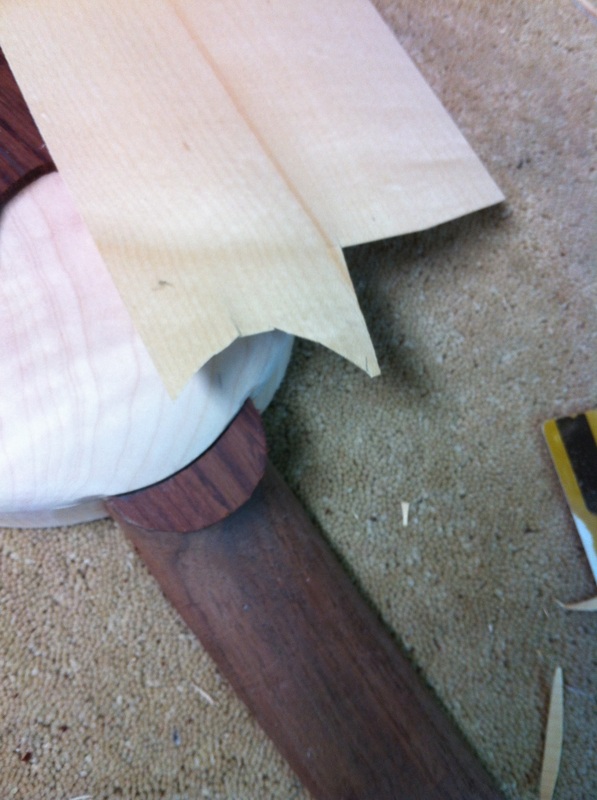
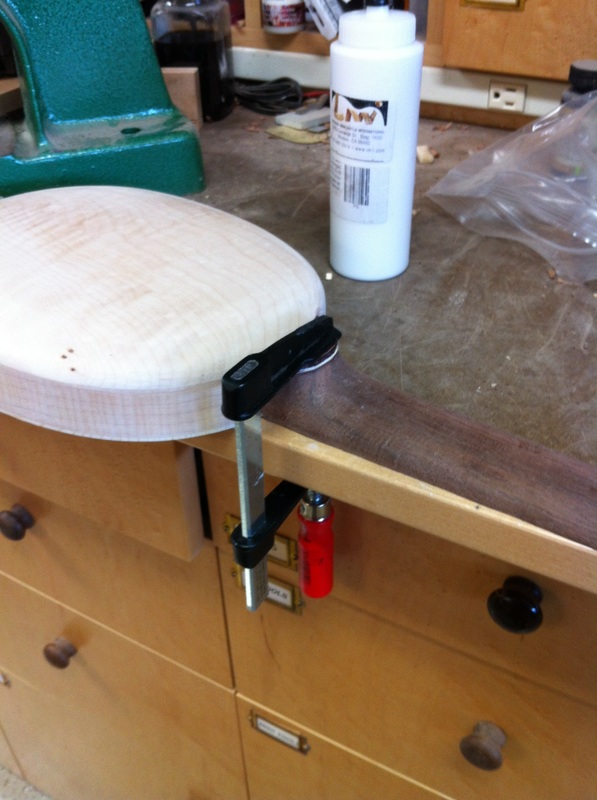
| 1. First you must form the rear of the maple back to a pleasant curve and make sure it is smooth and straight vertically so it can accept a heel cap. I do this with a big bastard file. I lay an old credit card on the walnut neck to protect it, and cut with the edge of the file. It was quite easy. 3. You just trace around the fitted heel cap onto the maple veneer and take the scissors to it. The end caps take a bit of fitting. I rough out the shape on the bandsaw and then take the instrument and the end cap to the spindle sander and carefully sand it to fit. Once you get the hang of it it is really pretty easy to get a nice tight fit. | 2. The heel cap was cut from a piece of Honduran Rosewood left over from making the fret boards. This piece had a bad corner and could not use it for a fret board but it was perfect for cutting heel caps. I decided to use some thin maple veneer to add a bit of a touch to the pinecones. This cuts with scissors and is glued between the walnut and the rosewood. 4. Once again the overhang on my workbench comes in handy for clamping while the glue sets up. If you can read the label, I am using the LMI luthiers glue. I really find it excellent. 5. The picture to the left shows the glued on cap and the maple sandwich. This will all undergo a lot of carving and sanding but when it is done I think the maple will add a little something to the looks. These accent layers are ridiculously easy to do and could be used under fretboards, under a peg head plate or even under a bridge providing a little contrast and variety. |
