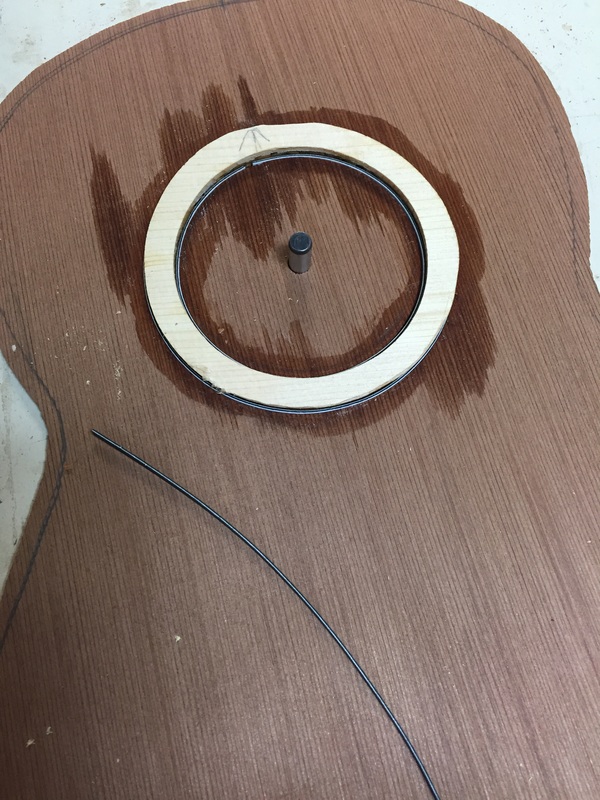
Cutting the grooves to fit the rosette into is one of the more delicate jobs. Getting the tightest possible fit for the rosette and a circle of purfling both inside and out of the circle is a painstaking project.
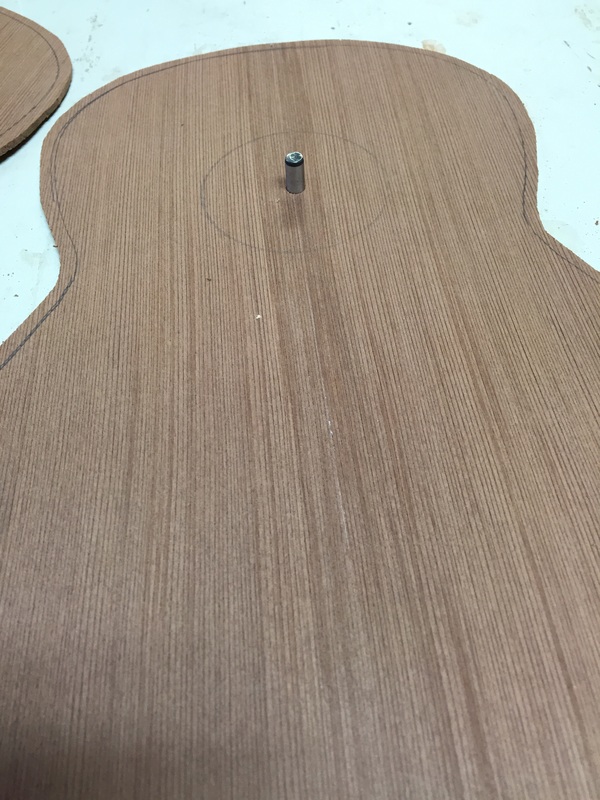
First you must drill the hole for the pin around which the router will circle and all cuts will depend. The pin is set into a metal fitting I installed in the work table.
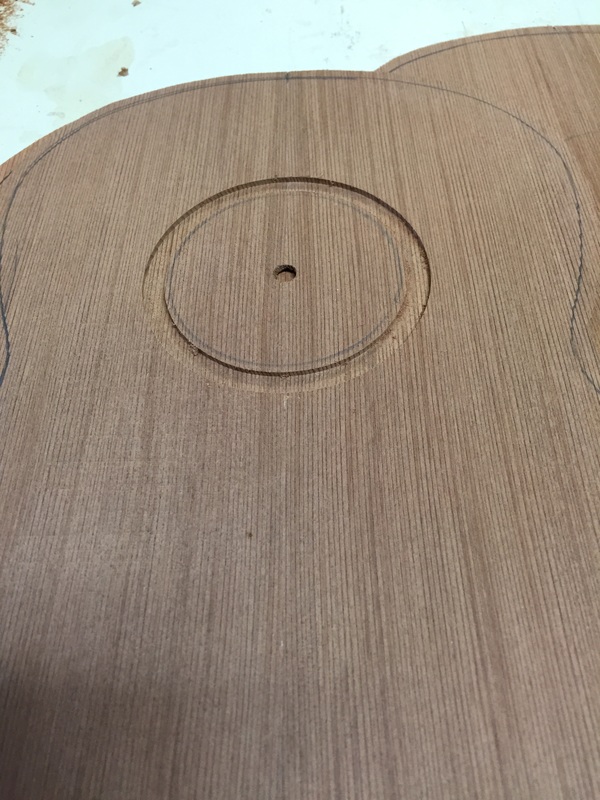
After carefully experimenting on some scrap spruce I determined that this is the correct cut for the inside of the groove. So each sound board is subjected to the small router and the down spiral bit. It makes a nice clean cut.
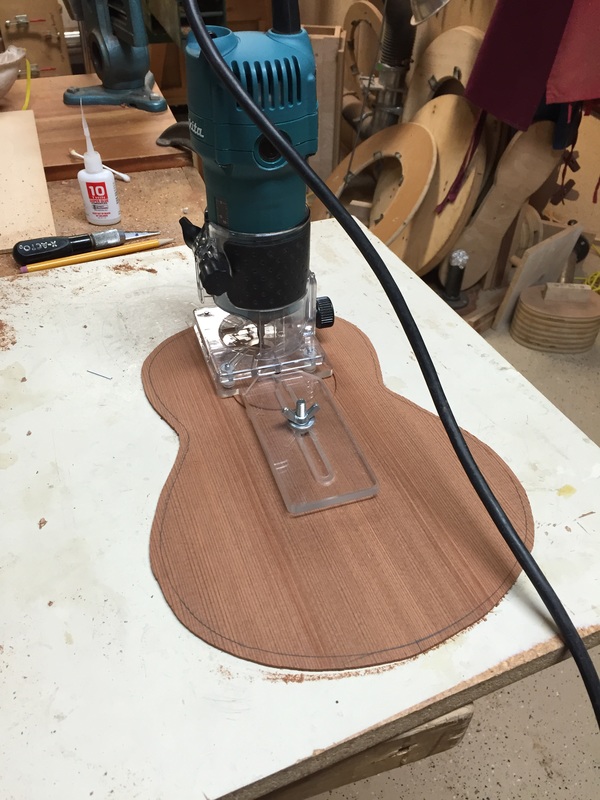
Then more careful calculations and a trial cut on scraps and the outside of the groove is determined and the cut made. Here is the router/laminate cutter and the circle cutting device attached to it. The circumference of the cut is set using that wing nut and sliding the cutter in or out from the pivot pin.
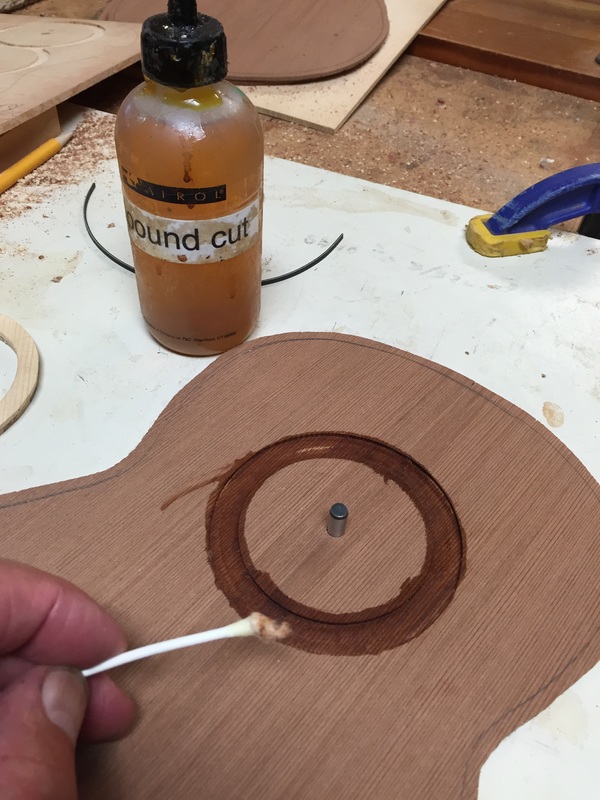
Shellac is the luthiers friend. Here I am applying it to the end grain of the cut so that the thin super glue that I will soon be using cannot wick up the wood grain staining it. A coat of shellac will also strengthen the wood and hopefully prevent chip out when I rout out the sound hole. Since the instrument will eventually be finished with shellac, the dark stain will not be visible.
Now the rosette is inserted into the groove and purfling is pressed between it and the soundboard, both inside the circle and out. Then thin super glue is squirted around the edges to glue in both the purfling and to seep down below the rosette and bond it to the soundboard. Thin super glue is viscous as water and soaks in immediately and thoroughly before setting up.
Next, the spruce backing will be sanded off and the rosette revealed. The top will be sanded down flush and then it will be put back on the pivot pin and the sound hole cut. Finally the top will be turned upside down and sanded down to the proper thinness for optimum sound, about .80 hundredths.
Next, the spruce backing will be sanded off and the rosette revealed. The top will be sanded down flush and then it will be put back on the pivot pin and the sound hole cut. Finally the top will be turned upside down and sanded down to the proper thinness for optimum sound, about .80 hundredths.
