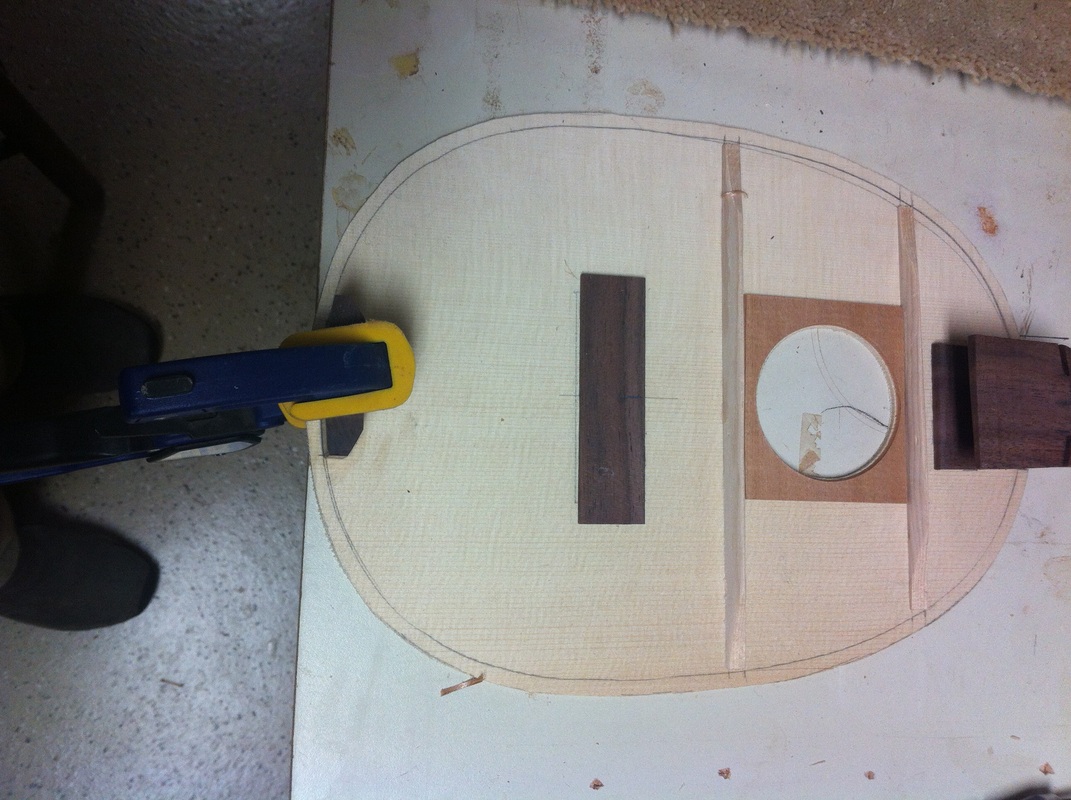
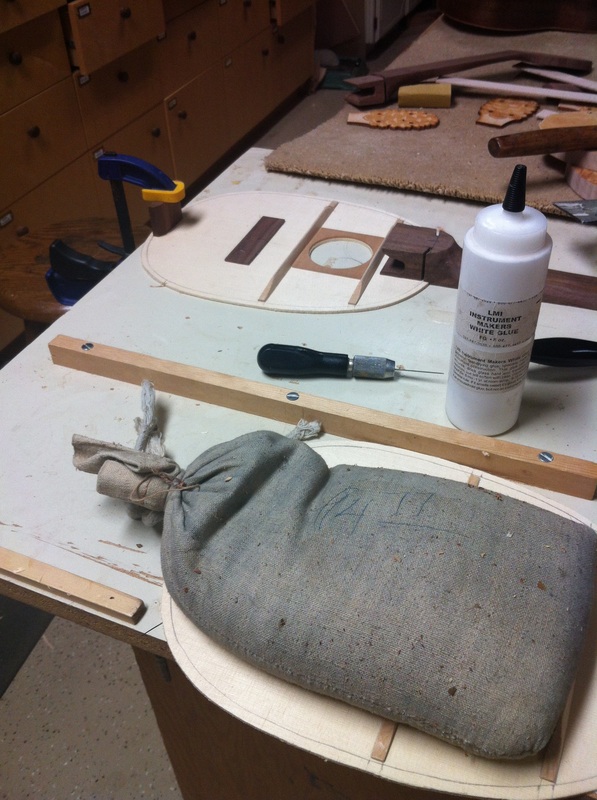
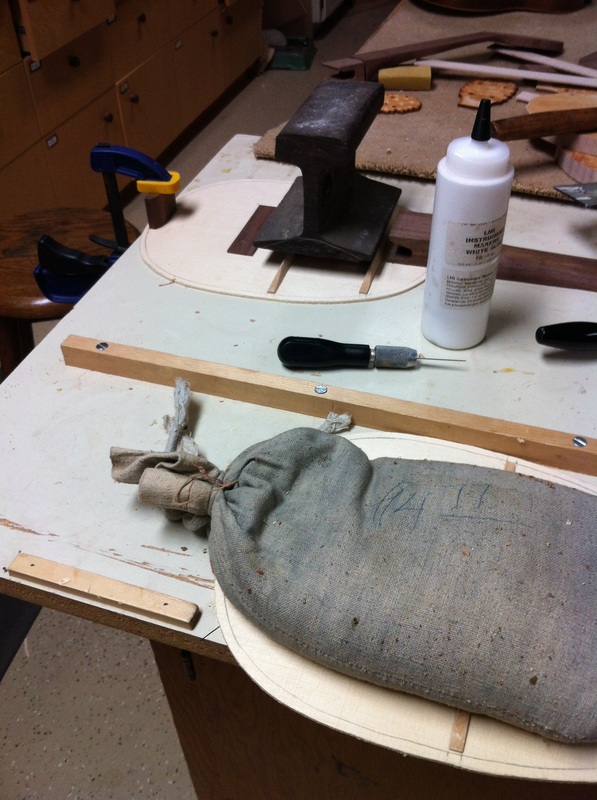
Before this soundboard is finished we must glue on the neck and the two cross braces. Then there is the walnut brace that lies underneath the bridge, The butt or end plate must be attached and then the protective thin circle of cedar that surrounds the sound-hole underneath giving it valuable cross grain support. As you will see I use a variety of clamping devices- they all seem to work equally well.
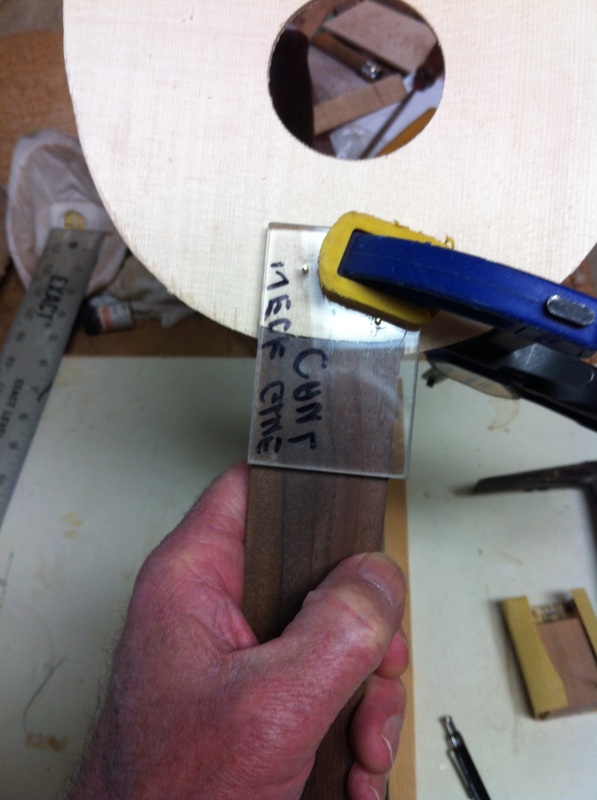
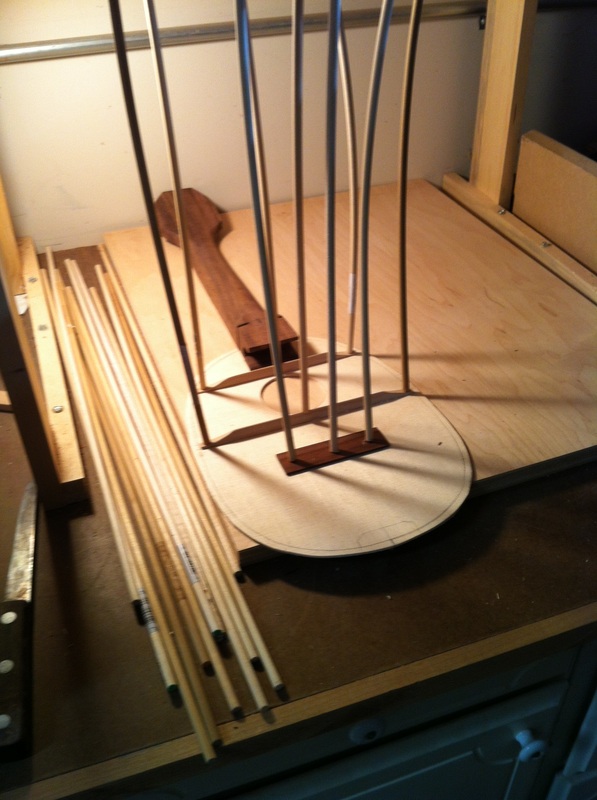
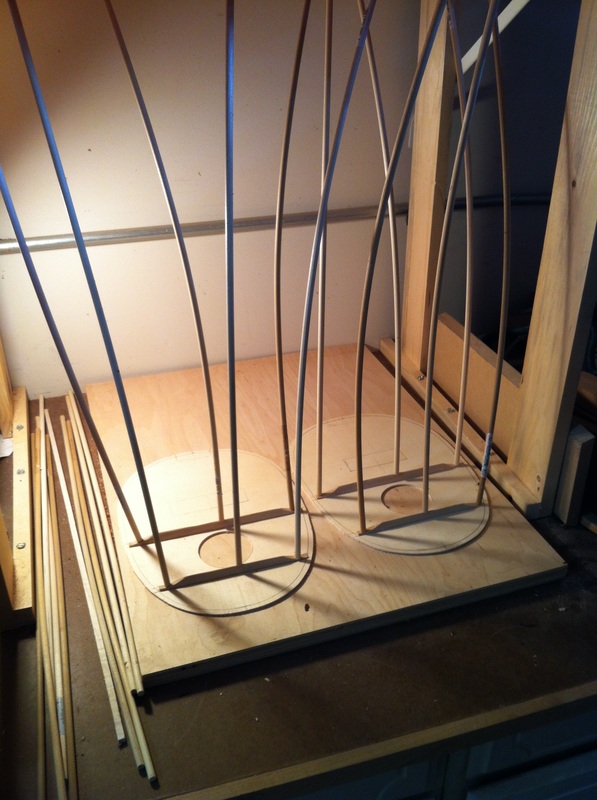
| The soundboard and the neck plane each get a thin coat of glue, the plastic caul is set over the glued area and the previously made brad holes guide you to positioning the neck and top for a perfect straight instrument. Check the straightness one more time and then glue it down. Here I am putting all braces on with the Go-bar. Note the unused dowels beside the top . You need quite a few if you make three ukes at a time. The clamp is holding down the butt plate that had been curved to fit the rear of the uke. The side will be glued to this, It needs to be straight. and perfectly aligned on the line of the curve. Here is the same picture but with one more clamping device. Do you see it, A six inch piece of a narrow gauge railroad track. Works in my shop as a hold down, a glue clamp or an anvil. Every shop needs one. | While that neck and top are drying I have taken the other tops and their braces to this classic glueing device. The bent dowels exert plenty of pressure on the gluing joints. This is called the Go-Bar system for reasons that I have never learned, but it works like a charm and is easy to build. I just use dowels from the hardware stores. Cheap and easy. Clamps come in all shapes and sizes. This one is a big canvas bag full of lead shot left over from my muzzleloading days. It weighs about 20 lbs and works great for those things that are hard to get to the side of a board where a regular clamp works. Notice in the background the sound hole brace ready to glue, and also the butt plate clamped to the edge of the table. |
