Having prepared each uke for the bindings, Now it is time to put them on. A time consuming and fussy event you don't want to rush. If you don't get this right the mistakes will be evident forever.
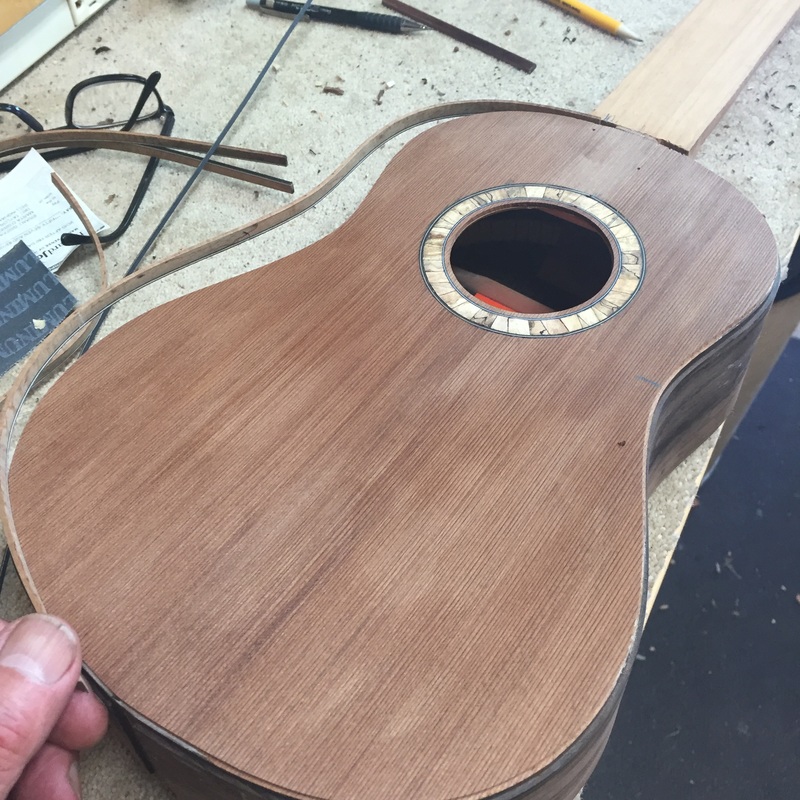
First, you carefully dry fit the binding, marking where it fits most comfortably at the waist and where it begins at the head. Trim it there to fit and then cut a sloping cut at the bottom. A slanted joint down there will be almost invisible if done right. A butt to butt joint will always be visible.
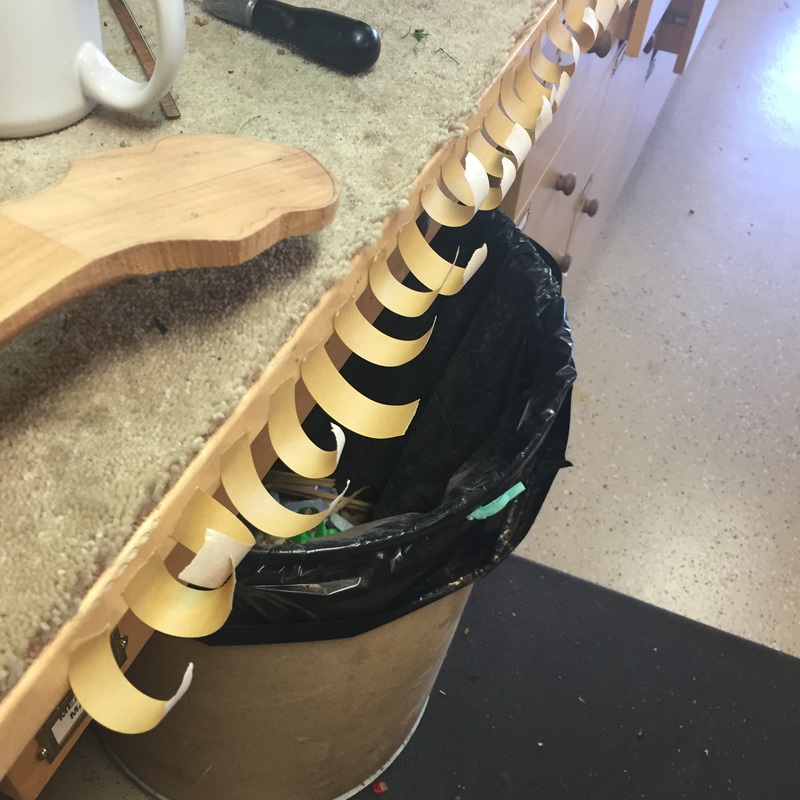
The glued up binder and purfling are slipped into place and held there by this special tape. Once the glue is applied you want to move fast and so I prepare all the tape I will be using before I apply the glue. Here it sits on the lip of the work-bench ready to apply as I work the binding around the body of the instrument.
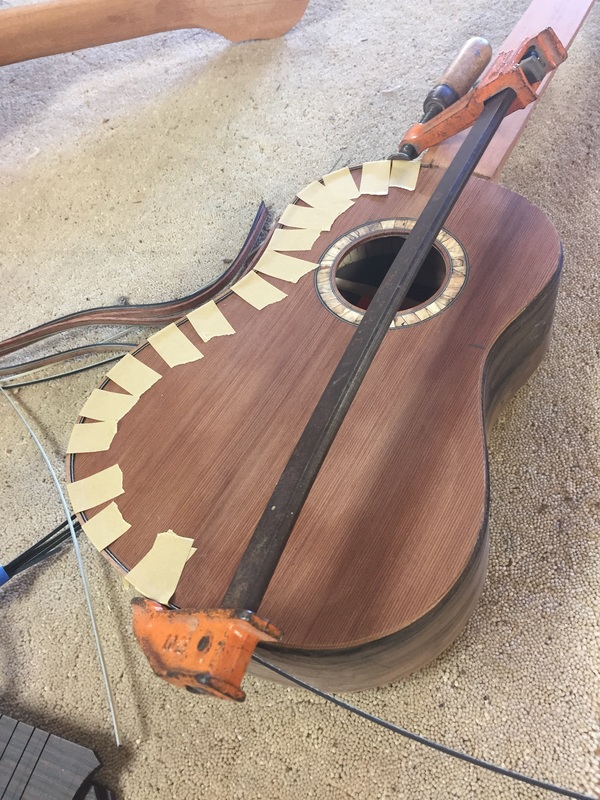
And here is the first half of the top glued up and clamped. The big clamp is to assure that the splice joint at the bottom will be tight against the purfling. This is Koa binding which bends quite easily and I think I was able to get a very tight connection at the waist, but the end piece needed a bit of help. You don't want any gaps around the edges, A judicious clamp here and there can solve the problem. When this glue sets up I will do the other side.


