THESE DARNED ROSETTES take a lot of fussing around. It is slow and carefully work, but tonight I got them glued in.
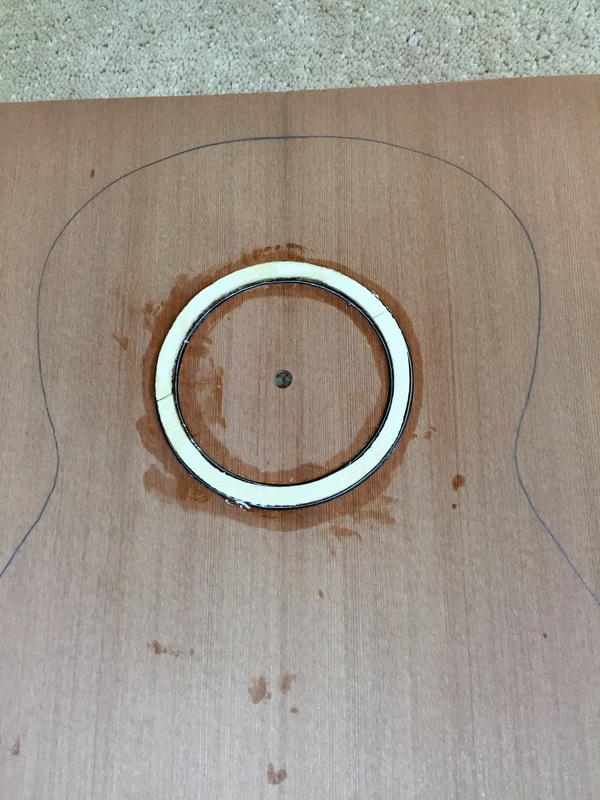 |  |
Here is the first one glued into the groove with the spruce backing on the upside. The dark stain around the rosette is shellac which I brushed on to seal the pores of the redwood and prevent the super glue that I used from penetrating the wood and leaving dark stains. When the top is French Polished the shellac will blend in with the finish. Shellac is an excellent protector from stains of all kinds.
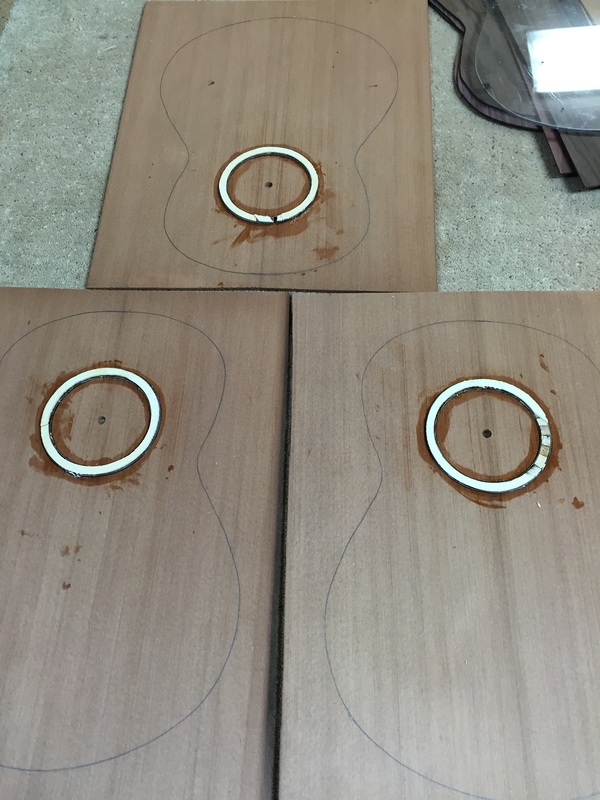
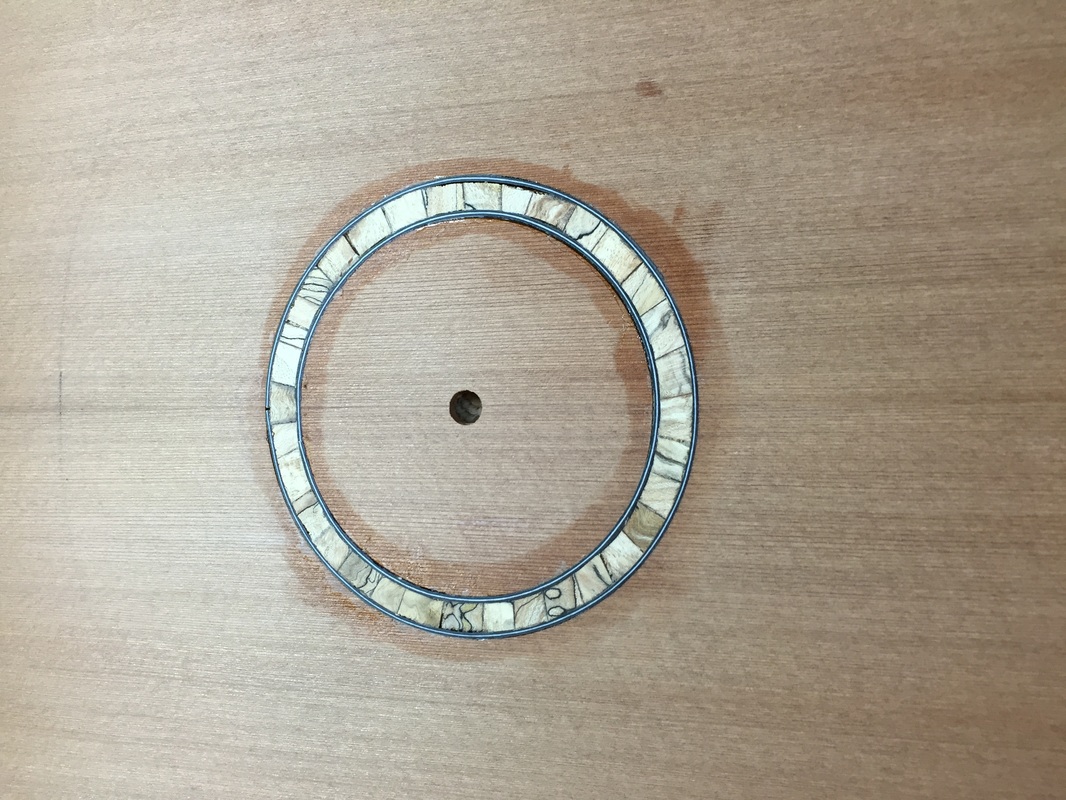
The second picture shows all three of them glued in with super glue. Surrounding both sides of the circle is a thin trim purfling of black/white/black for accent.
The second picture shows all three of them glued in with super glue. Surrounding both sides of the circle is a thin trim purfling of black/white/black for accent.
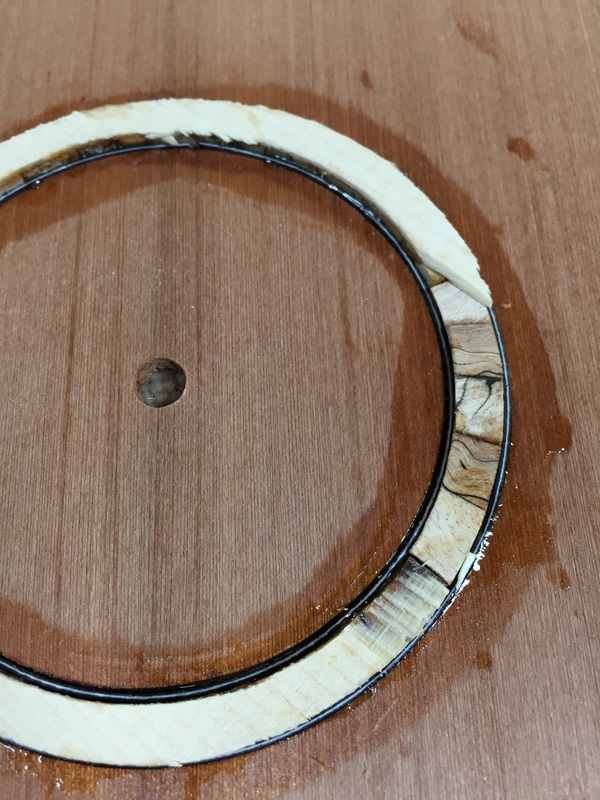
They look a little rough in close-up, but wait until they have been run through the thickness sander a few times.
 Pass after pass they go through the thickness sander slowly grinding off the spruce backing. Here you can just begin the spruce appearing | 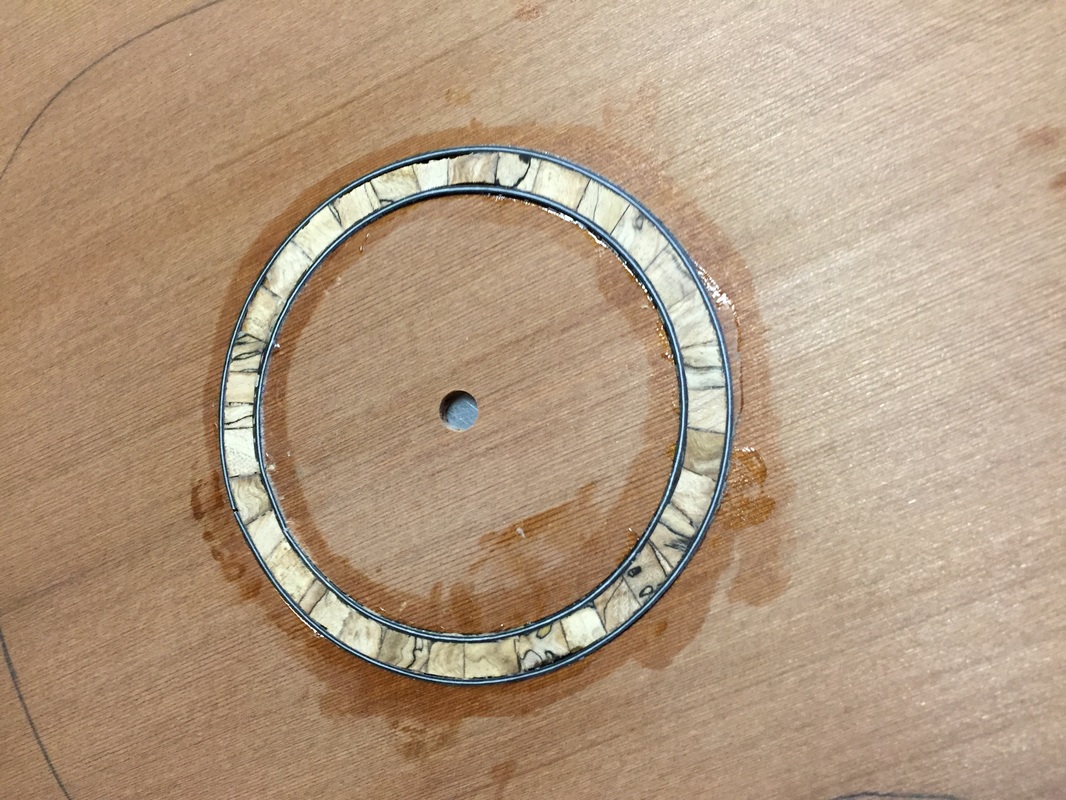 Now the true colors are showing and it is almost down flat. Flat enough that now I will rout the sound hole out of the center before I finish the sanding. On the top to establish the rosette and then on the back to thin the soundboard down to the playing thickness, .075. |
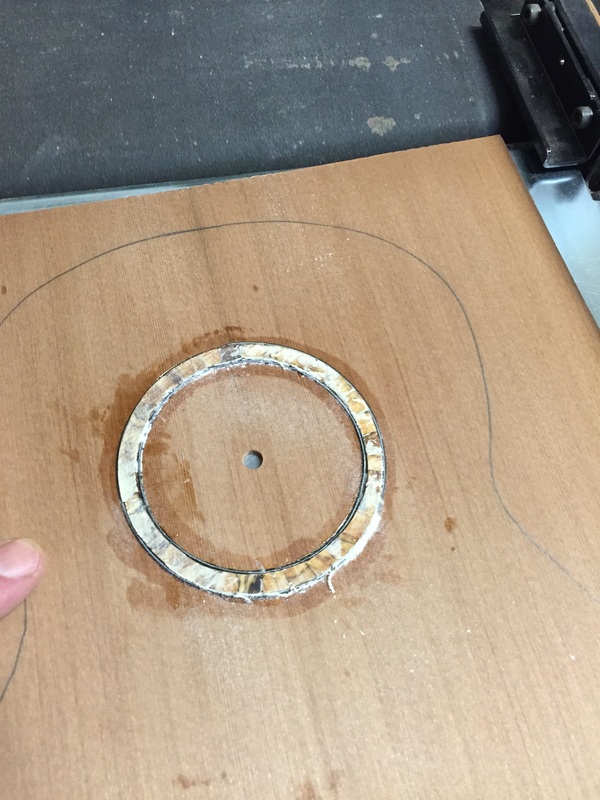
Just one more trip through the sander, a little touch up here and there and this rosette will be pretty nice looking.
