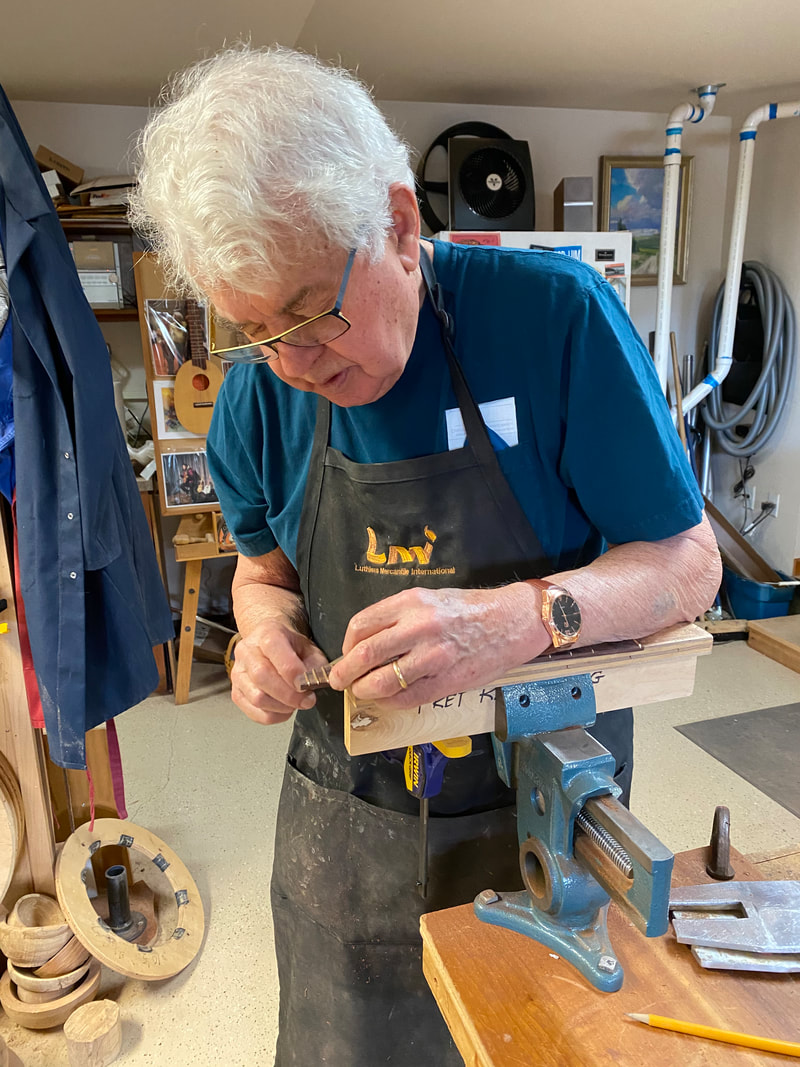
Rick finished putting the frets in the second fretboard and then spent a good bit of time rounding and smoothing the fret ends with a tiny file. Here, I had stepped in to give him a few tips on use of the file.
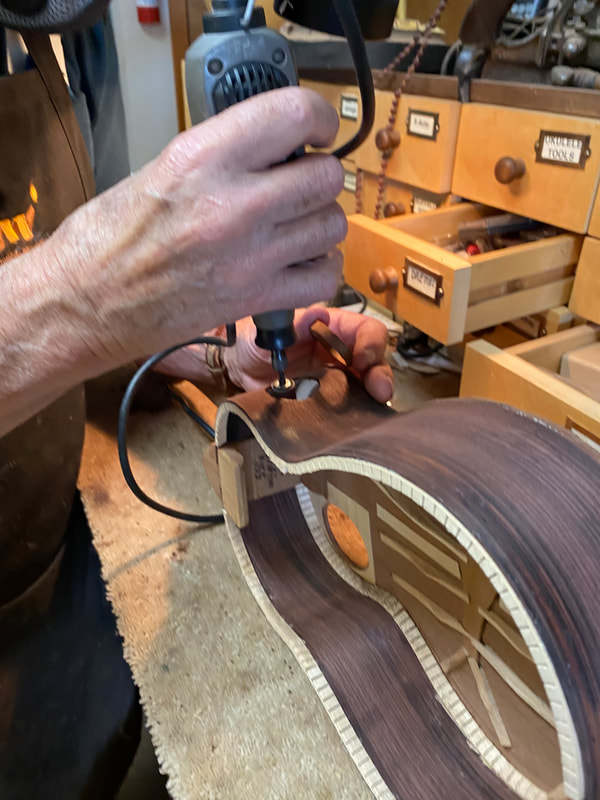
Now we turned our attention to the side sound ports, first gluing in a veneer patch on the inside where the port would penetrate. The oval hole is then roughed out with a drill bit in the Dremel tool.
The drill bitt is traded for a small sanding disk and the delicate work of making the hole match the liner begins.
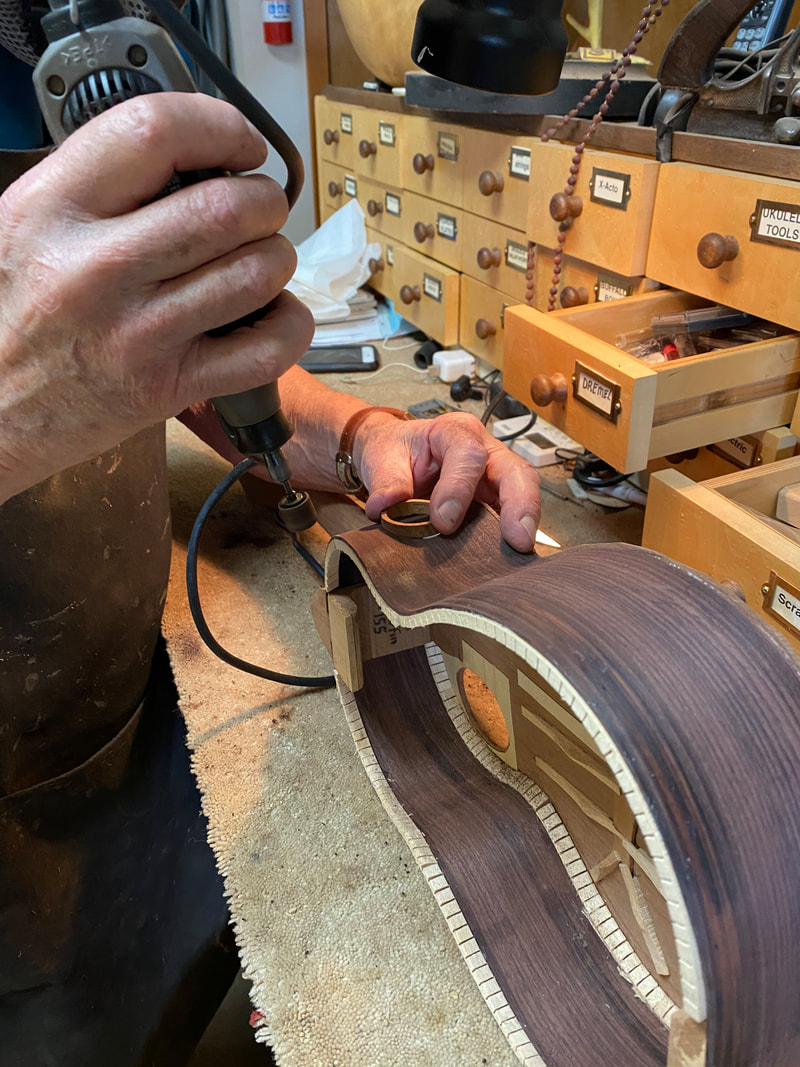
Sand a little and try the wooden liner, see where it does not fit, sand a tiny bit more-- wear a mask, this is a dusty business.
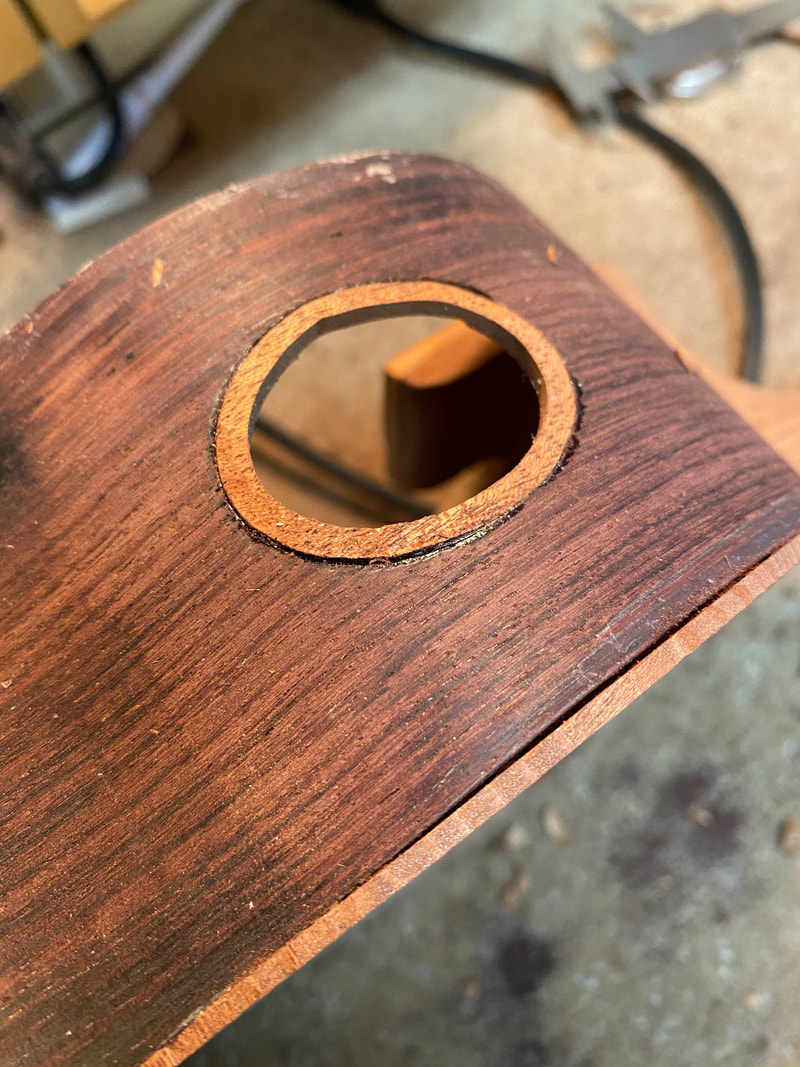
Finally the wooden oval just slips into the hole and it is time for medium superglue to lock it into place for ever. This looks a little rough, but with a bit of sanding it will prove to be an excellent tight fit.
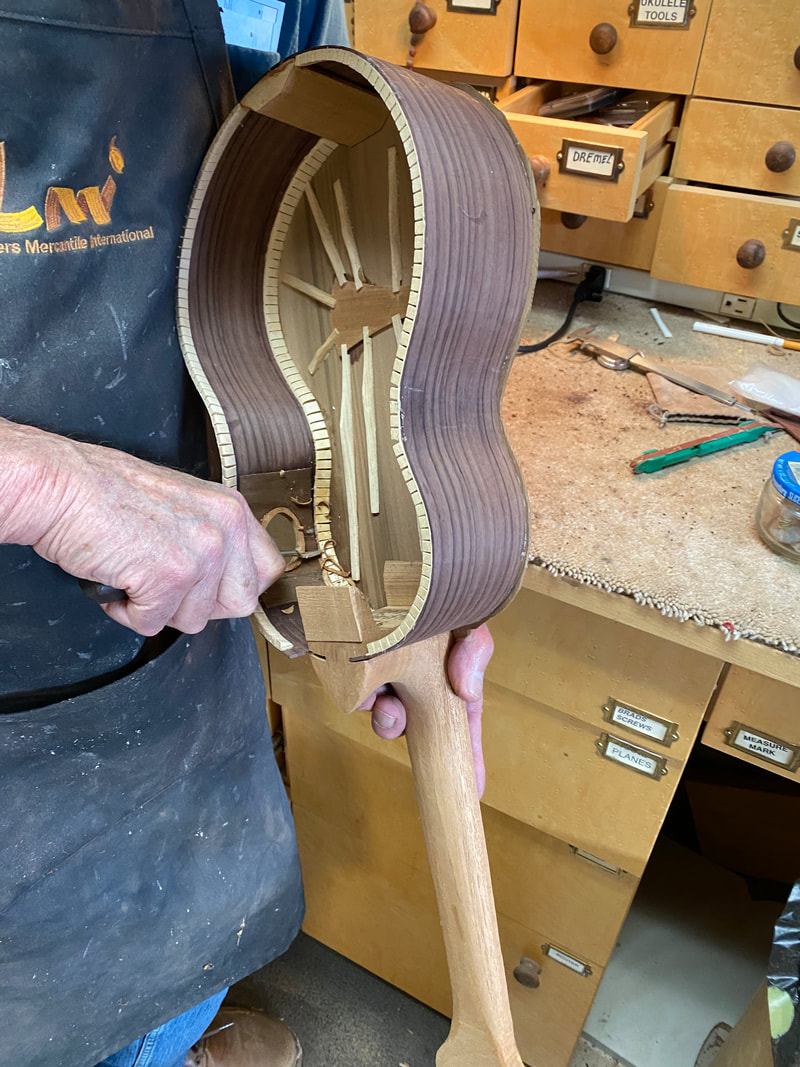
Now with a nifty little curved carving knife the ring is carved down flush on the inside and this uke is ready to have the back put on (boxed up).
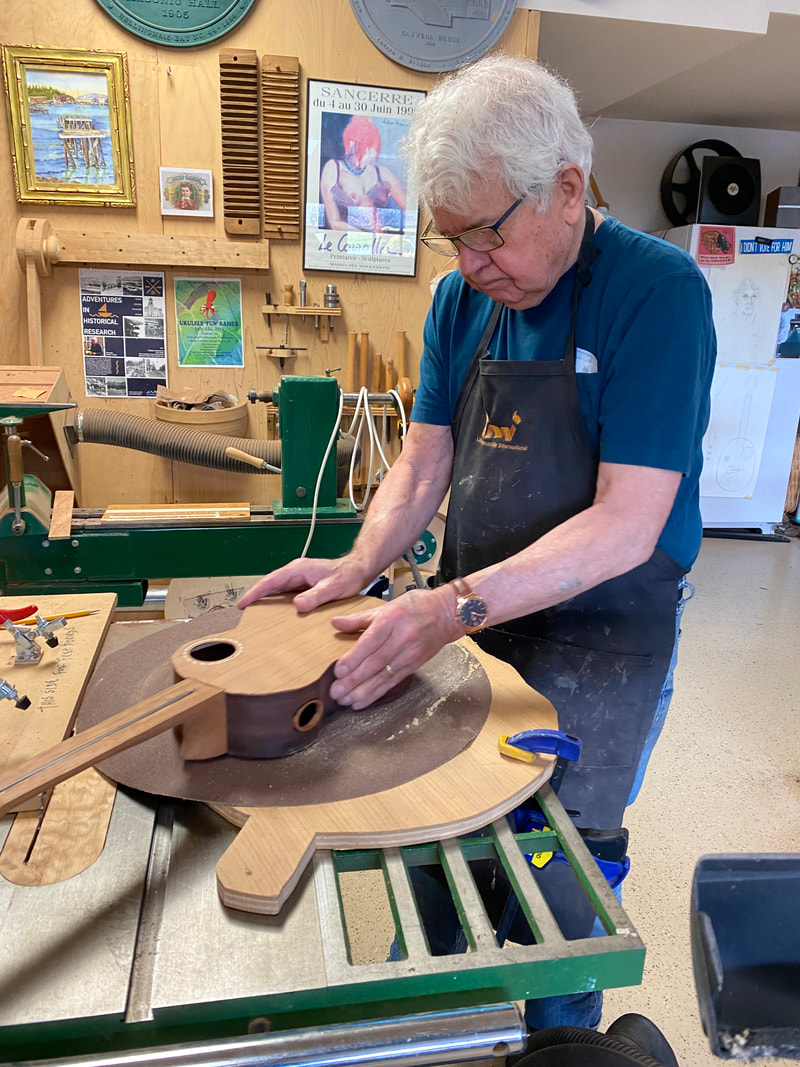
But before the backs can be attached the instrument must be sanded carefully to be sure the back will fit with no gaps. We will continue that job tomorrow.
