HAD A FEW "HONEY-DO" PROJECTS FIRST THING, but then I got to spend most of the day in the workshop. Finished up the last of the body fairing jobs and started on the fret boards.
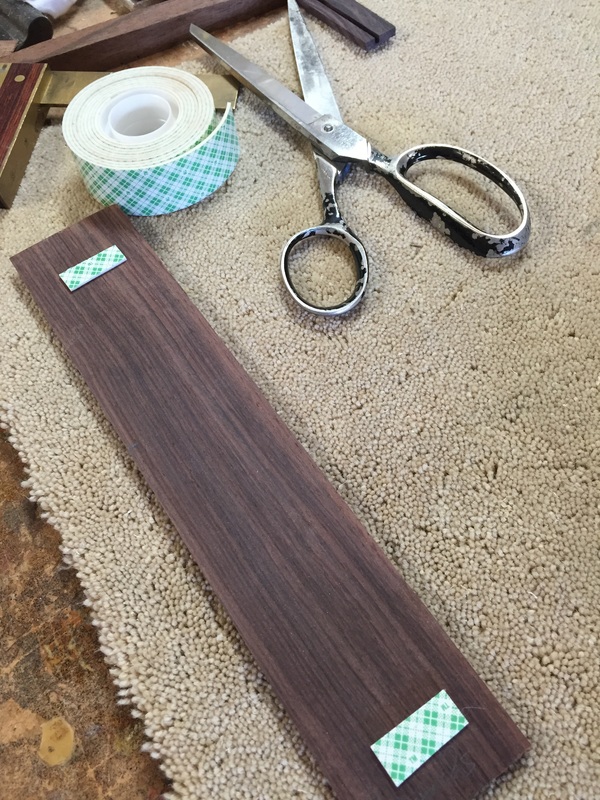
The boards have been sawn 2 inches wide and 10.2 inches long. Now is the time to saw the slots for the frets into the wood. and it starts with a couple of pieces of double sided tape to attach the wood to a plexiglas indexing guide.
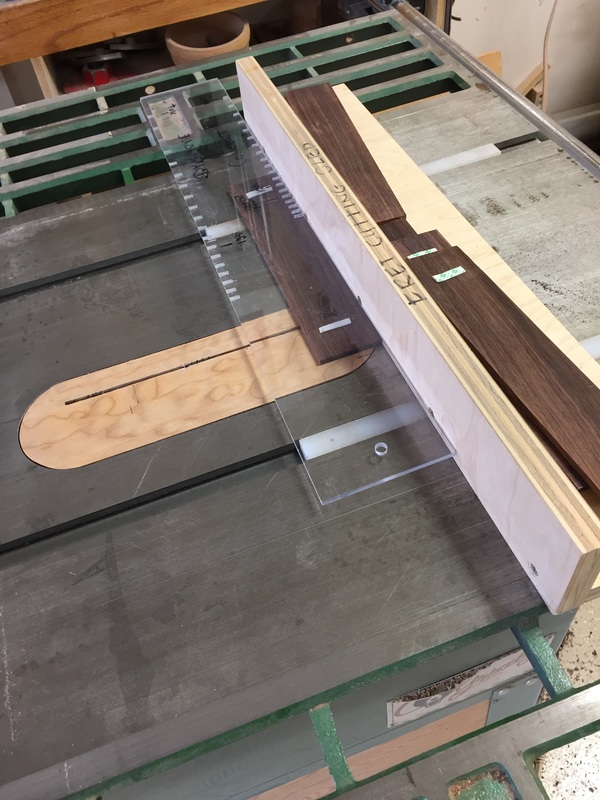
The simple sled slides in the two grooves of the table saw. The special .22 fret sawblade is adjusted to cut to the proper depth, the fretboard stuck to the plastic guide with the tape and the piece moved through the 14 positions cutting a groove for each position on the indexing pin.
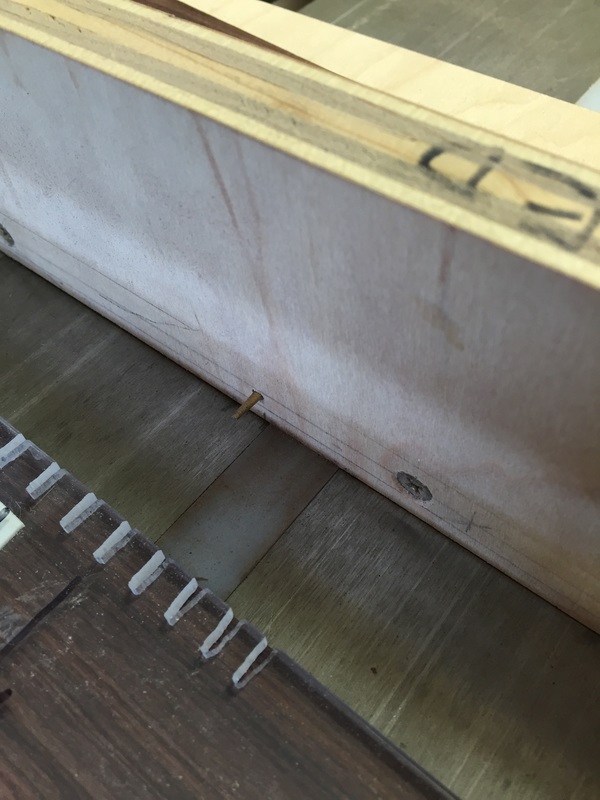
Here is the indexing pin screwed into the sled opposite the indexing notches which control where the saw cut will be made.
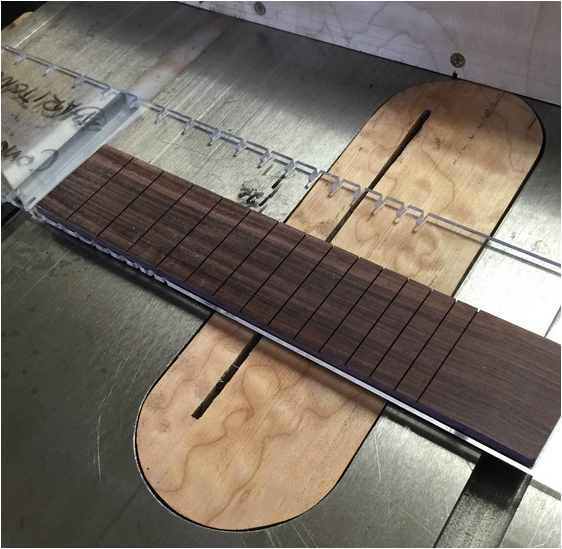
Here is the finished product, each fret groove perfectly cut. However, as simple as this seems it is still easy to make a mistake and ruin a fret-board. I got careless and cut the same groove twice, had to toss that nice fret-board. Fortunately I had a spare.
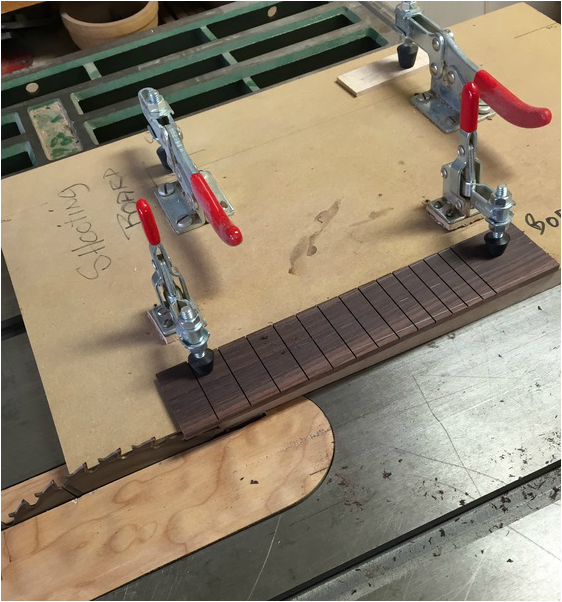
Now, after carefully measuring and marking, it is time to saw the taper in the fret-board. This is done with the shooting board with clamps holding the fret-board in the proper position to cut the tapers.
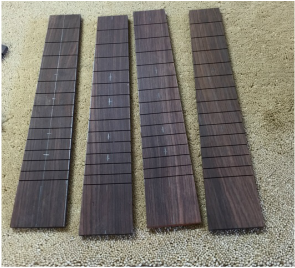 here are the tapered and grooved boards still needing their final shaping | 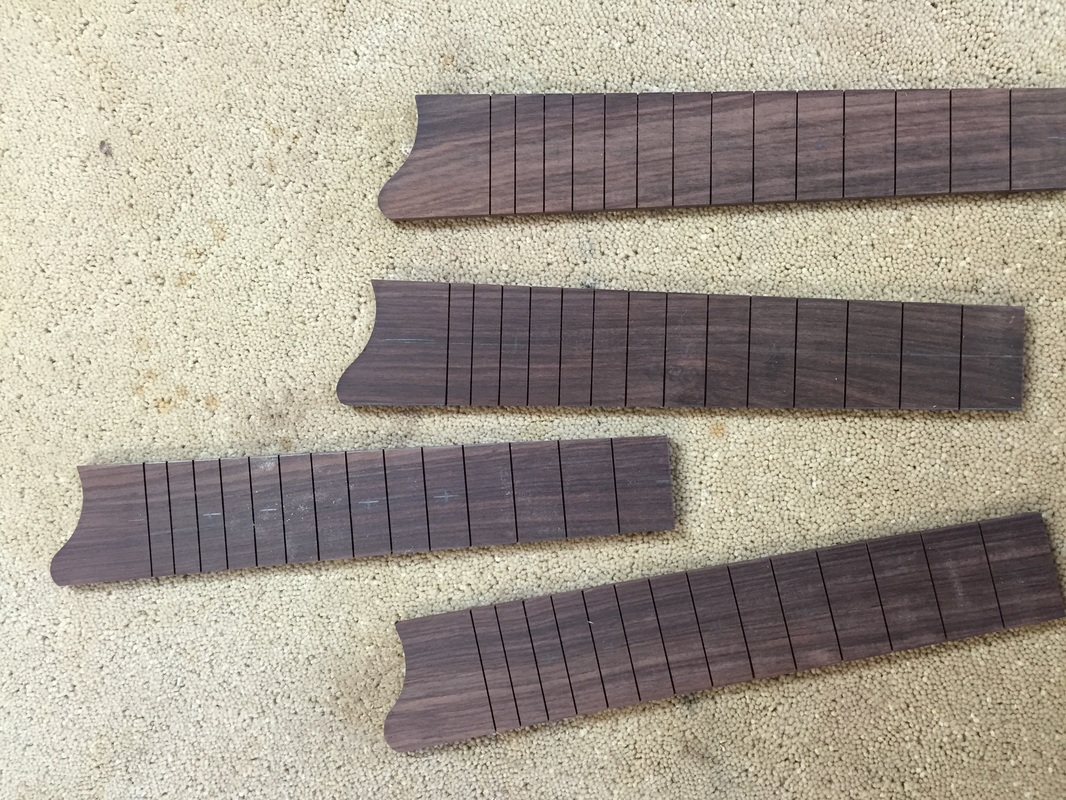 Now with band saw and spindle sander their final shape is completed. All they lack at this point is the mother of pearl dots. That will be easy, and all the measurements are made and marked already. |
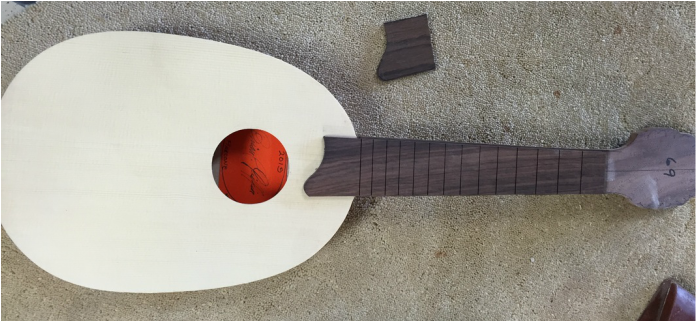
i just could not resist laying one on a uke to get a sense of what the finished instrument will be. Next step is sanding the top and the fret-board super smooth, then adding the frets, dots and glueing on the fretboard.
That will have to wait a day as tomorrow I am going to sea. Will take some pictures for you-stay tuned.
That will have to wait a day as tomorrow I am going to sea. Will take some pictures for you-stay tuned.
