This morning was spent fitting end pieces in the last two instruments. Here is how It was done.
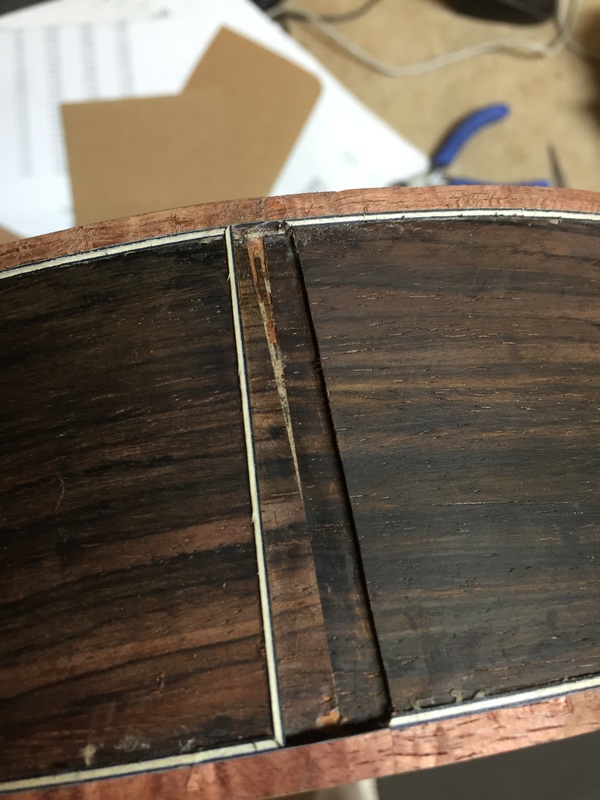
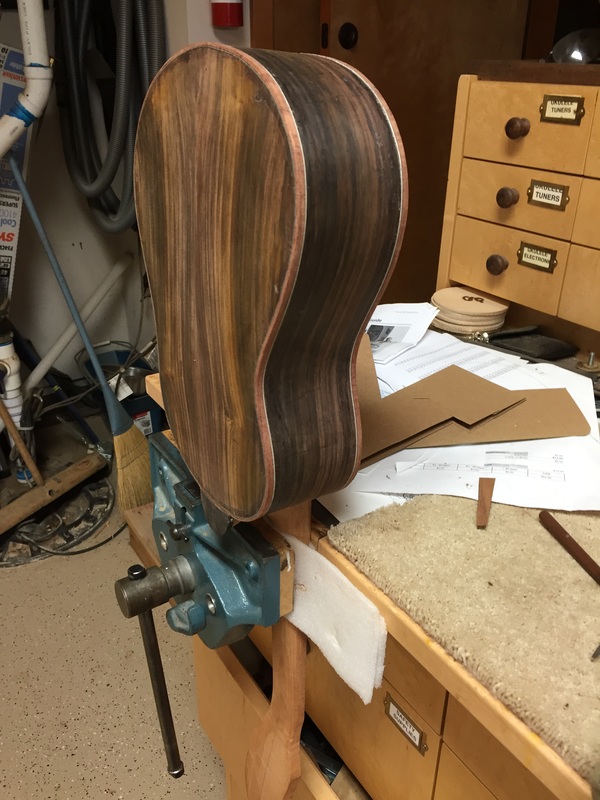 1. The cocobolo goes into the bench vise because it holds the uke in a height easy to work at | 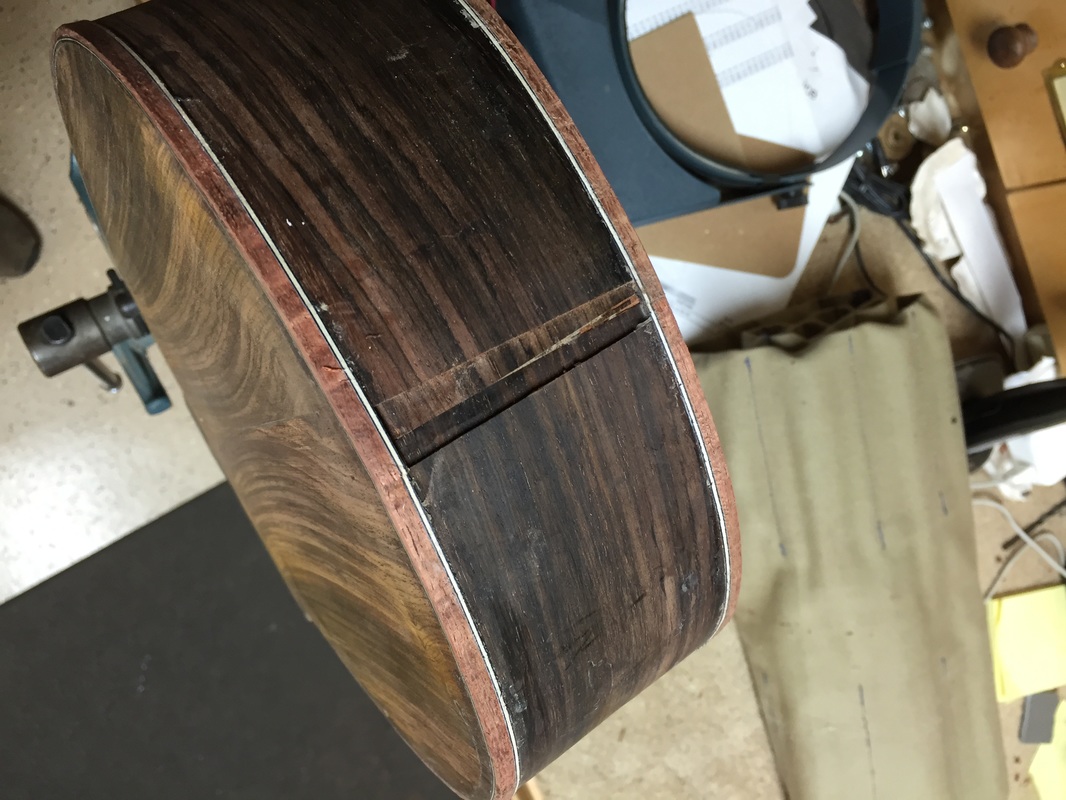 2. Here is the channel that needs to be filled with a thin piece of Koa that will match the binding |
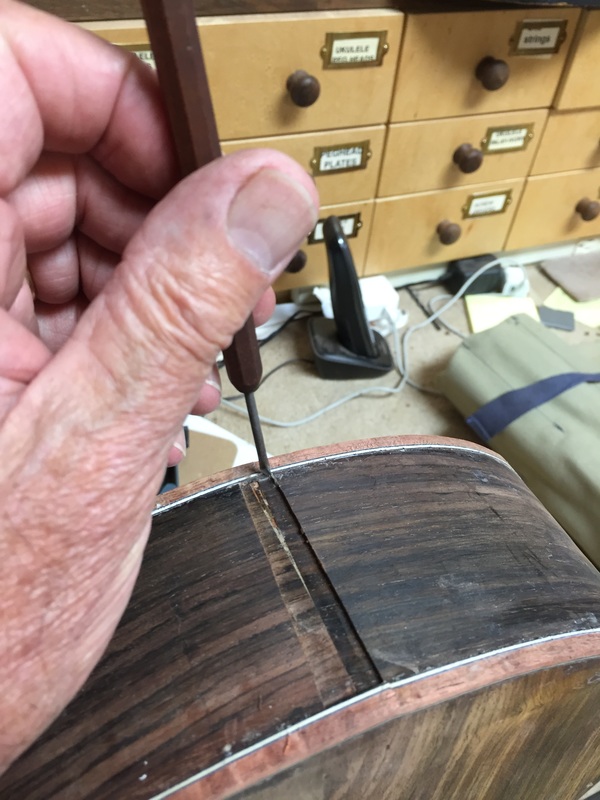 3. With this tiny chisel I carefully cut away the purfling under the binder at the top and bottom of the channel | 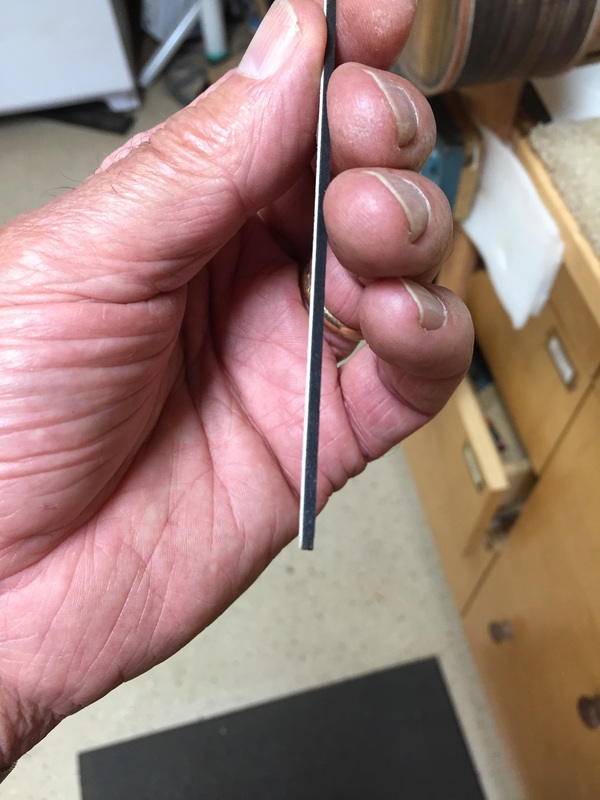 4. Then I strip an identical piece of purfling from a scrap of the binding used on this uke. You never want to throw away scraps, there always seems to be a use for them some time later. |
 5. Pieces of that purfling are fitted along the edges of the channel | 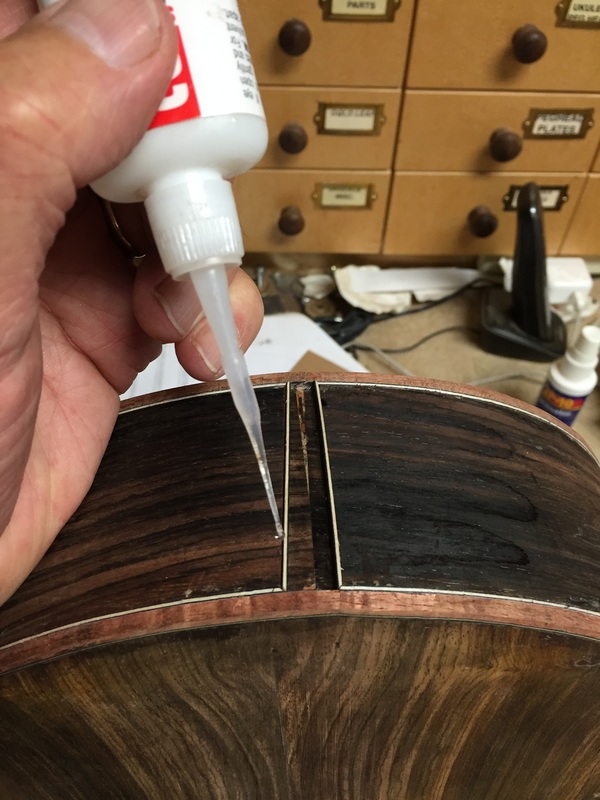 6. and then glued in with super glue. A quick spray of the fixative makes this an almost instant installation. |
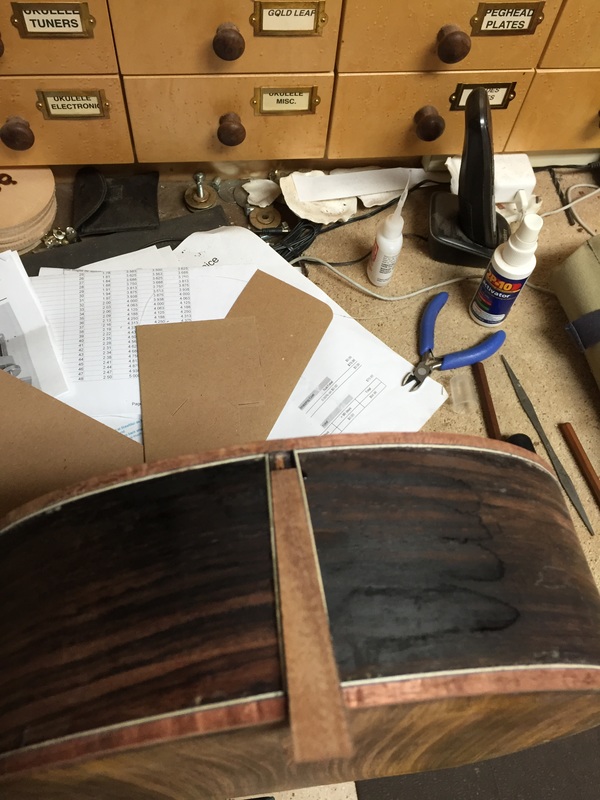
7. Now a scrap of Koa is sawn and sanded to this shape after the image of the channel has been scribed on it by following the edges of that tapered piece of Acrylic that I had cut to make the channel jig.
Wow! that really worked, the angle looks perfect and the narrow end almost fits.
Wow! that really worked, the angle looks perfect and the narrow end almost fits.
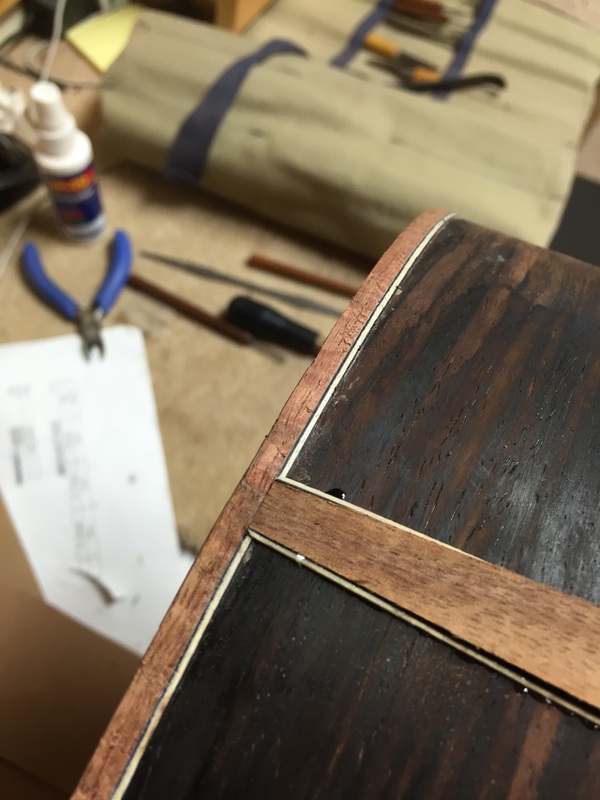
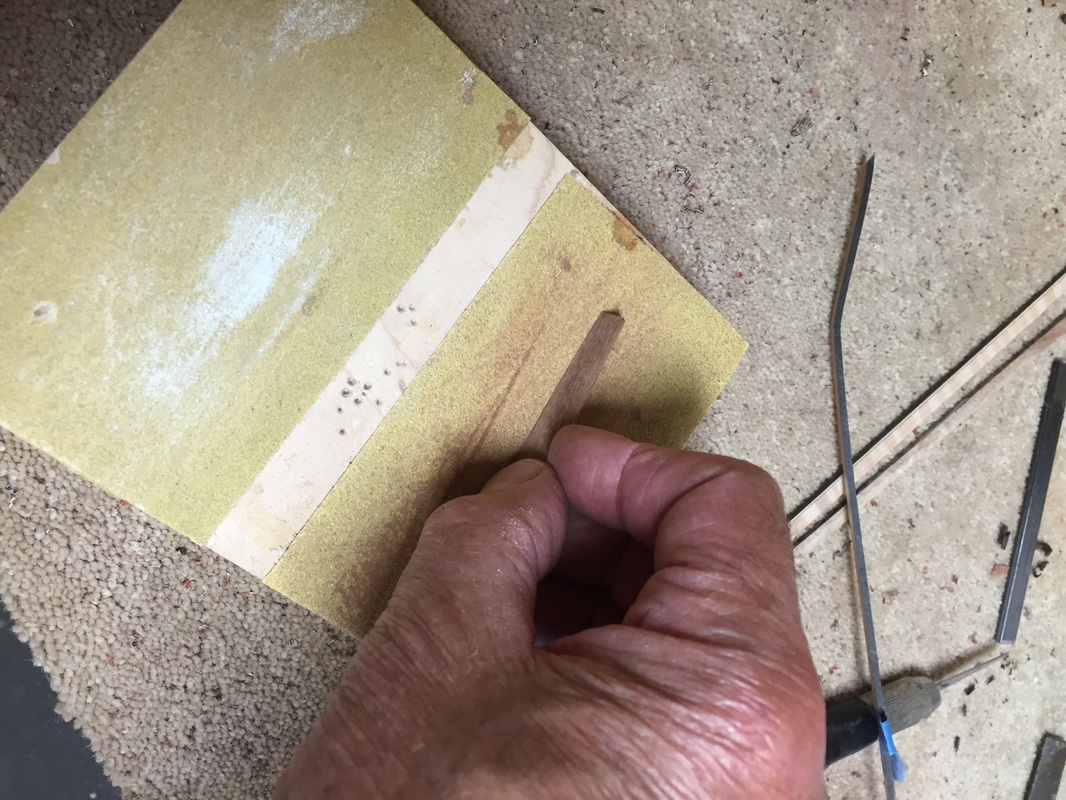 8. The wood is taken to this little sanding station and after a few passes over the sand paper | 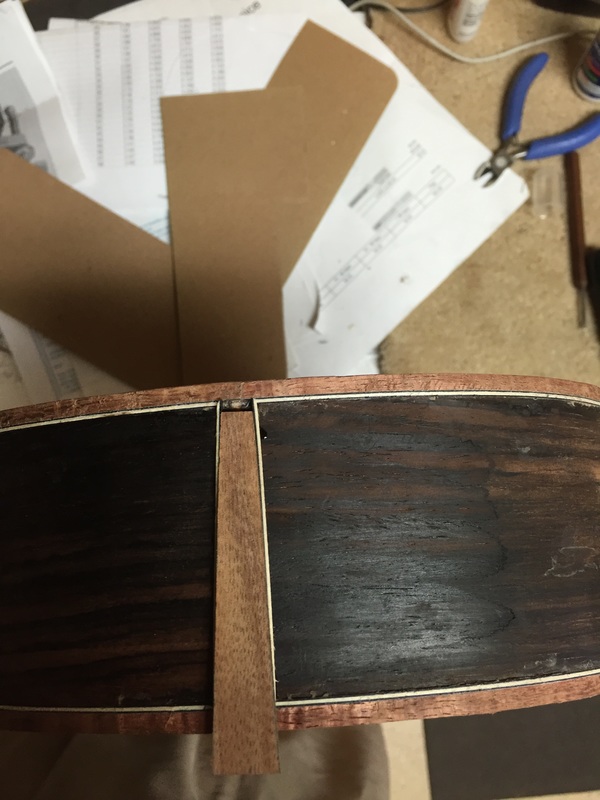 9. Look how close that end is to fitting. back to the sanding block | 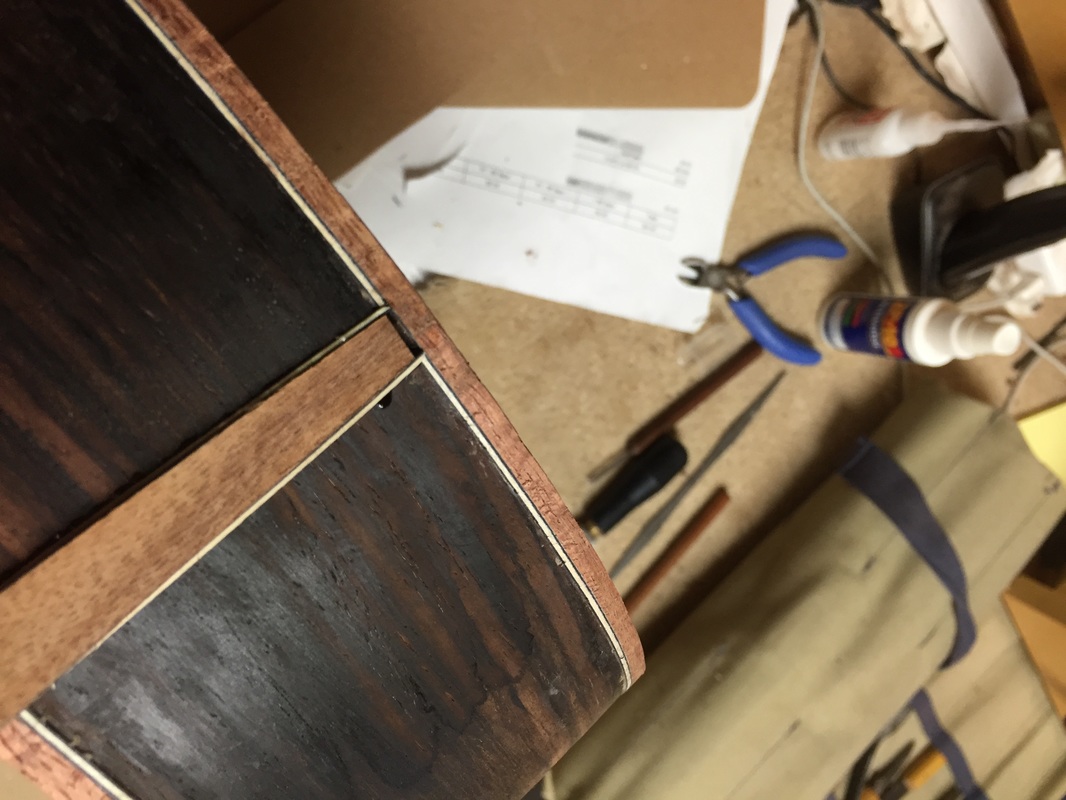 10. Oh! Now it is really close |
 11. A few more passes over the sand paper and now it fits perfectly. Now for the other end. | 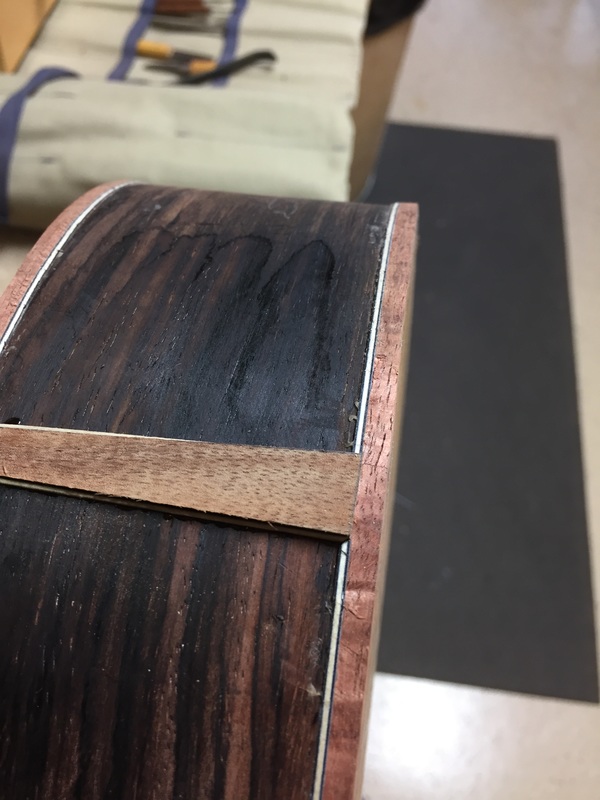 12. It has been sawn off pretty close. Now it will just take a little careful sanding. |
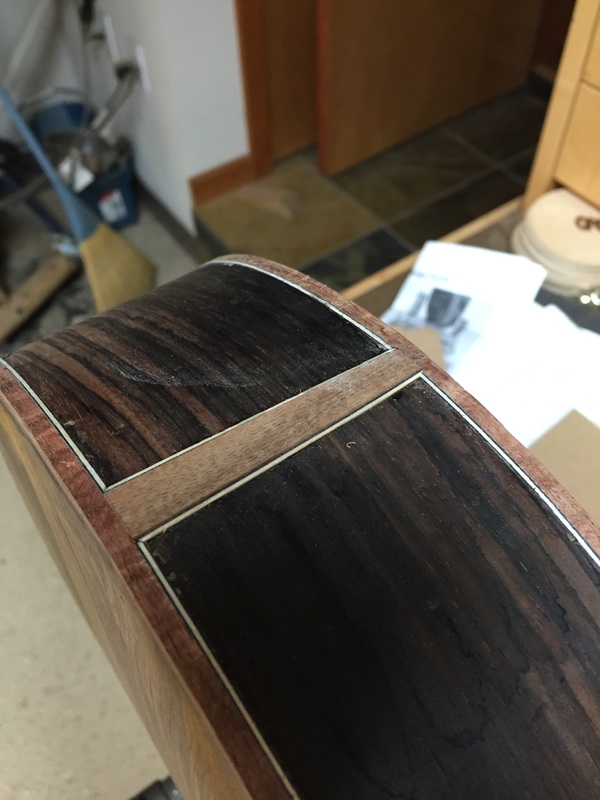
And now it fits just right. Lets glue it in. When this is all sanded flush it will be a perfect fit.
