Connecting the neck to the sound board is going to take a little more work. Be sure you have the neck at its ultimate width because you are going to have to cut a bit of a notch in the soundboard to fit it. First you must finish the neck cut to accept the curved top of the soundboard.
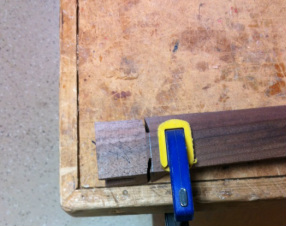 You need to cut away the little bit of wood seen between the slots so that the soundboard will fit snuggly up into the neck and cover those slots. 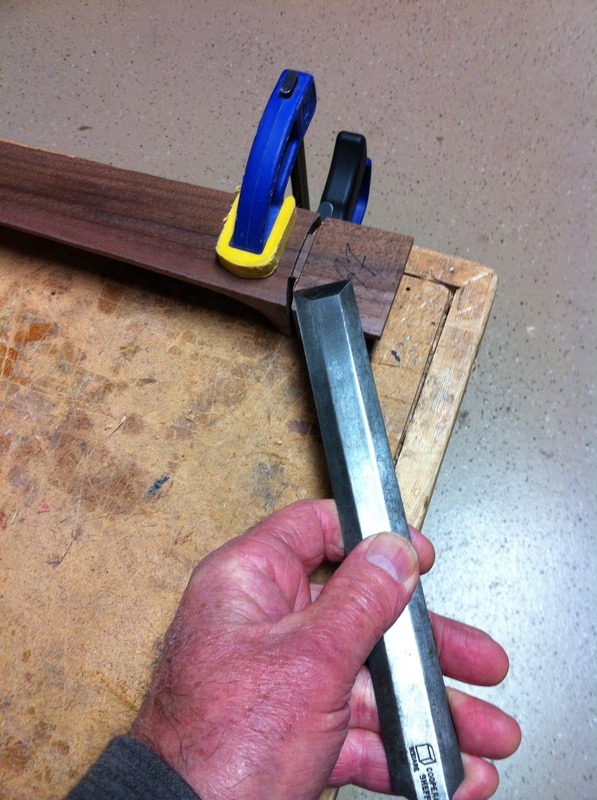 Then with the flat side of this very sharp, very old, and very long chisel I take the new cut down to the plane of the "nibbled" cut.  Now that the neck space has been cleared and cut. it is time to prepare the top, or Soundboard, with a little cut that will just accept the shape of the neck. I cut that out with a jeweler's saw. | 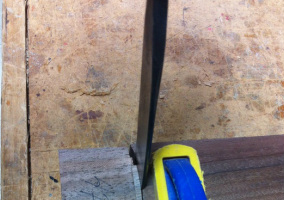 With a slightly curved carving chisel, I tap into the neck making a cut that is about to the level of the flat surface shown to the left of this picture. 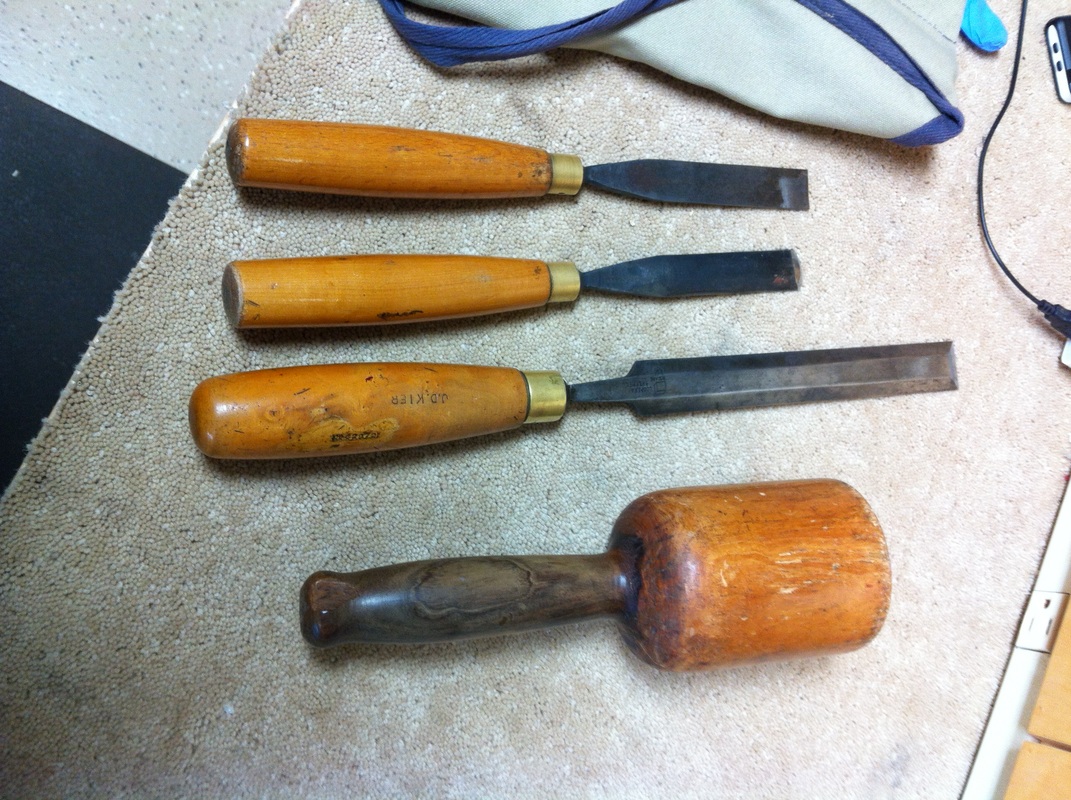 Here are some old friends from my carving days that really come in handy when making Ukuleles These carving tools are all made in England, The lignum vitae mallet is indispensable when doing delicate carving. You can tap and carve with much more precision than you can push and carve. 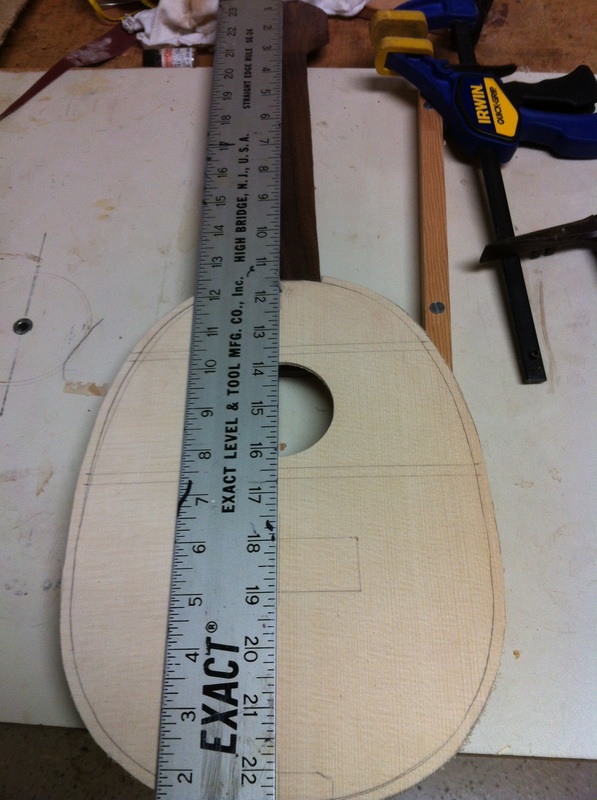 The next step is crucially important. Put a mark at the very center of the neck at the nut location. another at the bottom of the neck at the 14th fret location. Then a center mark at the bottom of the soundboard. Now you are ready to line up everything Lay a long yardstick on and be sure that you will have a straight instrument. |
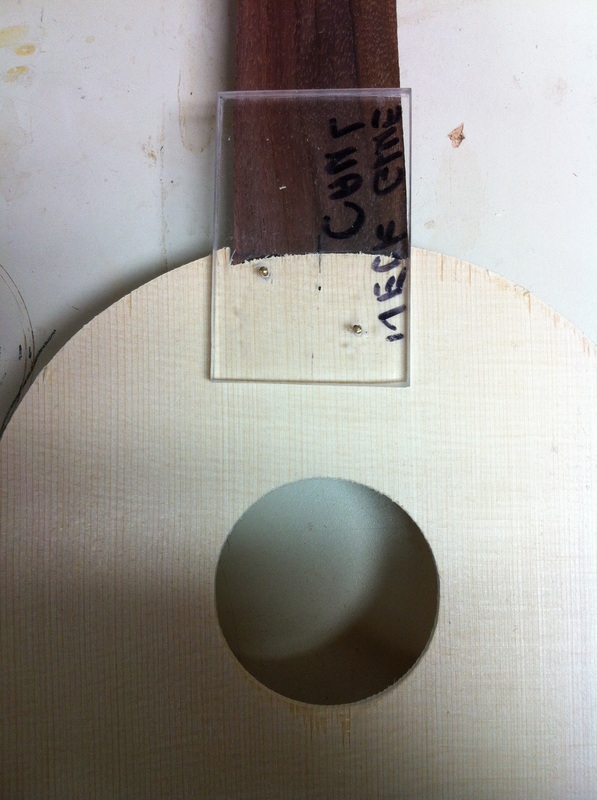
Once you have everything lined up straight, I use a little plastic alignment caul. It has two tiny brad holes in it. I drive a couple of tiny brads through the caul, the top and into the neck below. Now things are indexed for the final glueing. Slap on the glue, carefully join the pieces where the caul tells you to and clamp it up to dry being very sure that you have it on straight. The neck will now be attached permanently to the sound board and it is time to glue the braces, backplate and butt plate to the spots marked on the underside of the sound-board.
