The French Polish is finally done. Time to string Victor's tenor up. First we must glue on the bridge
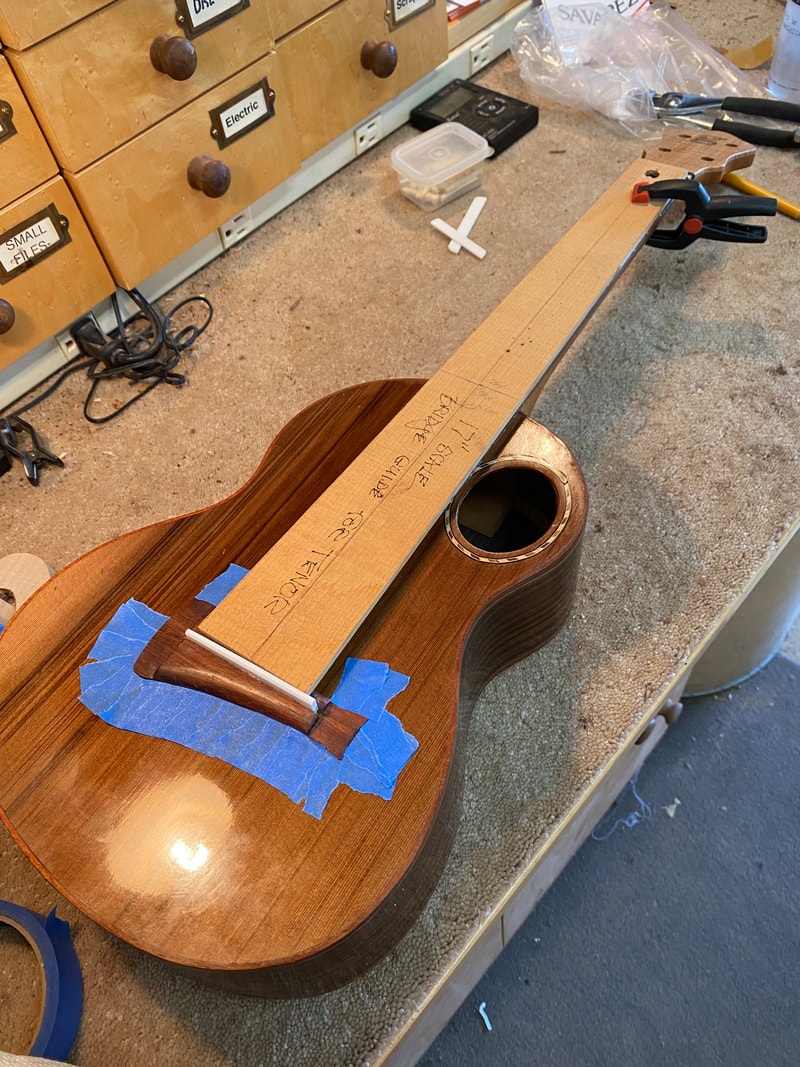
Locating the bridge and saddle properly is essential. I use this guide clamped at the nut end exactly over the center of the zero fret. The bridge and saddle are loose at this point. Blue tape is placed all around the bridge to mark the area to scrape clean for gluing and to hold the bridge in place when clamped during gluing.
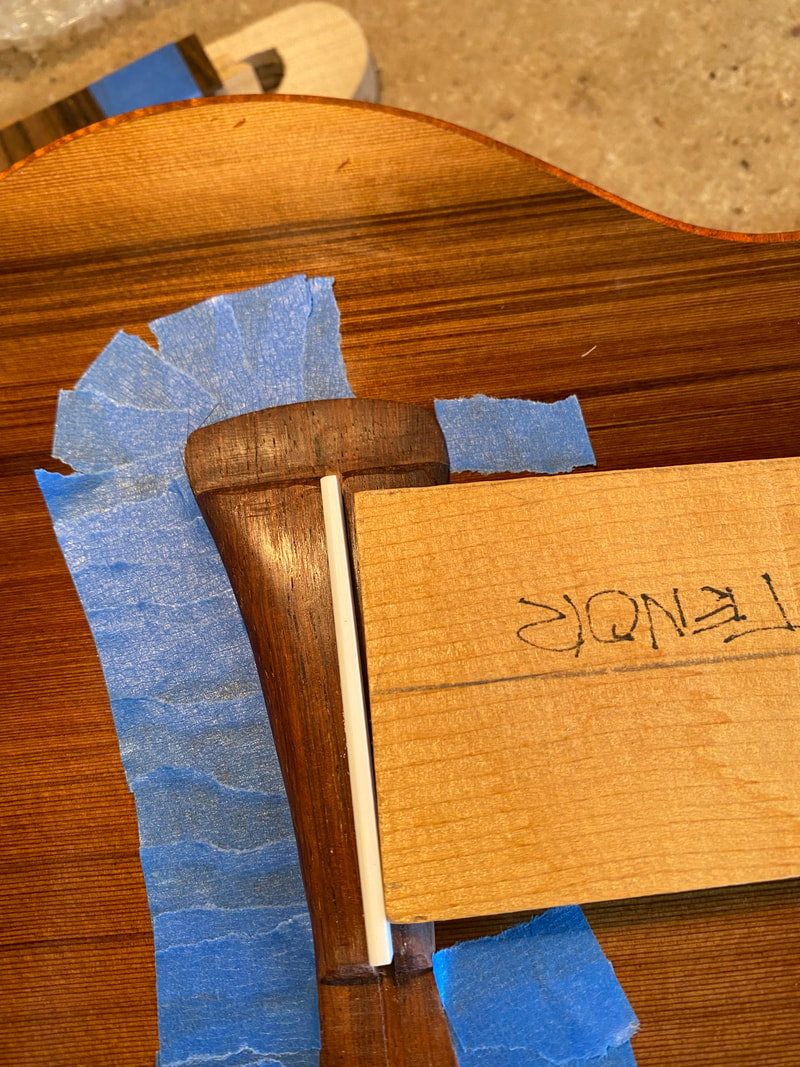
This slight angle seems to be about right to give me excellent intonation. Now to complete the taping, scrape the finish off the wood inside and glue on the bridge.
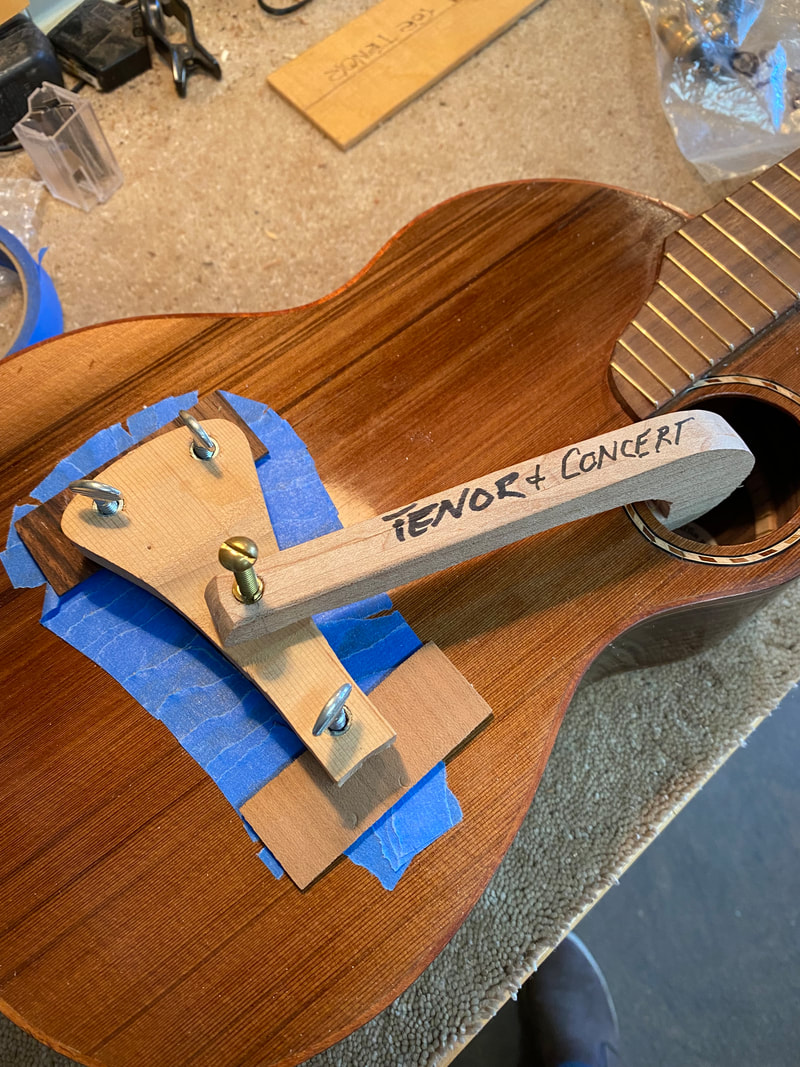
Now it is glued and clamped and held in place by the border of blue tape.. The home made clamping system works very well.
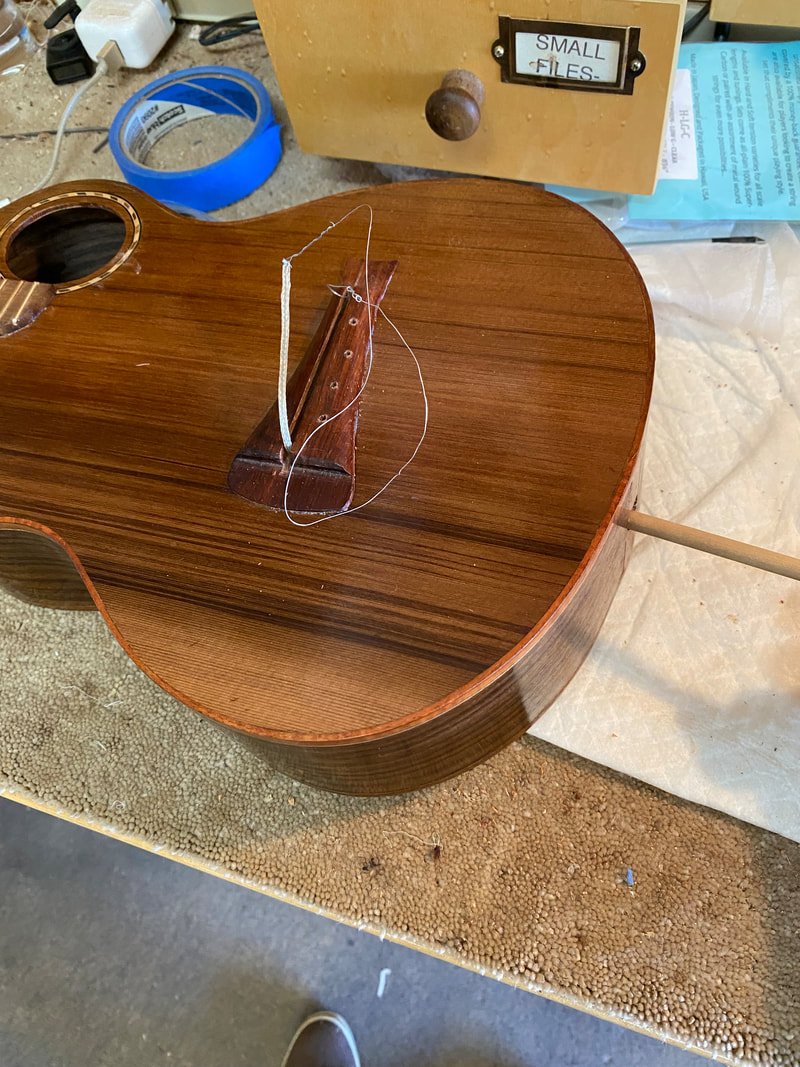
It is ready for the strings, but first I will install the MiSi pickup. This photo shows the moment when the piezo cable is pulled out of the small hole drilled in the slot of the bridge. A thin wire is pushed down the hole and threaded through a tiny hole in the cable end. the cable is then pulled back through the hole. The pickup is inside the uke and held by the dowel you see in the hole drilled in the end of the uke. It will now be led out the hole and locked in place with a nut and strap button.
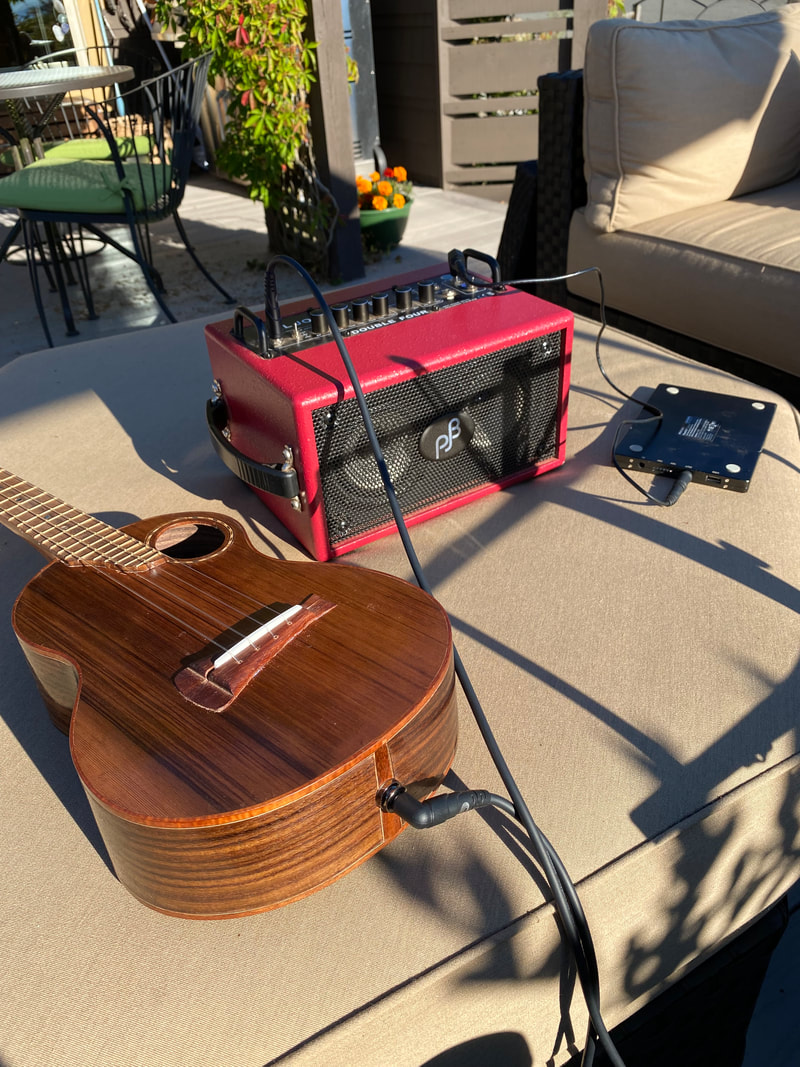
Now the strings are on, the saddle inserted, the uke tuned and sounding great. The pickup has been charged and now I sit on the deck sipping a gin and tonic as I test the pickup on my amplifier. Wow, it is loud and clear and this uke is finished, Oh, just one more thing. I need to put a strap button on the heel, Then Victor will have his ukulele.
By the way, note that I am powering this Amp with the black battery to the right of the picture. Wonderful to have the Amp portable by using the battery.
By the way, note that I am powering this Amp with the black battery to the right of the picture. Wonderful to have the Amp portable by using the battery.
