THE FRET BOARDS now need the proper dots at the 5th, 7th, 10th and 12th frets to guide players. The two ebony boards are getting very pretty mother of pearl dots with a golden tint. I also want to put a shallow radius or curve to the top of the fretboards. Many players feel that the radius makes the board fit the natural curve of your fingers and thus makes the uke easier to play. I will radius the ebony boards but leave the Pacific Yew board flat. Here is how the radius is done.
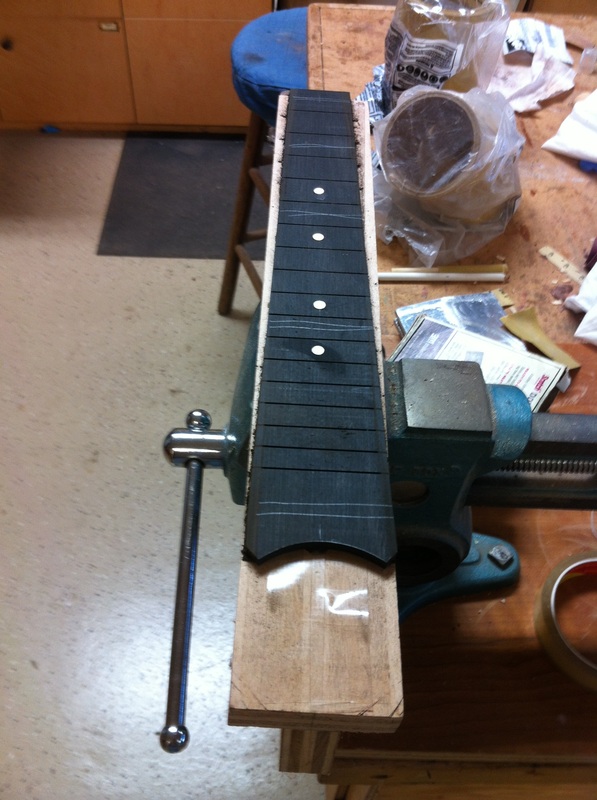
Two strips of double back tape are laid on this special platform held in my vice. The fretboard sticks to it nicely and is ready to attack with my sandpaper curved sanding block. Note that I have already installed the mother of pearl dots gluing them into their holes with luthier's glue. I have also drawn several pencil lines entirely across four frets to indicate sanding progress 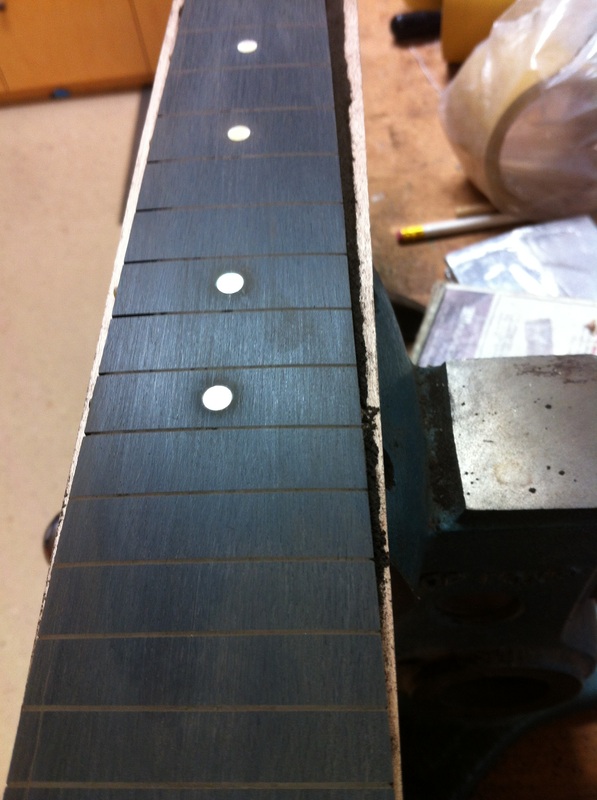
Now the pencil marks are gone indicating that the sanding is complete. The board is now sanded to a 12 foot radius. That is the curve you would get if you swung a weight from a twelve foot height. | 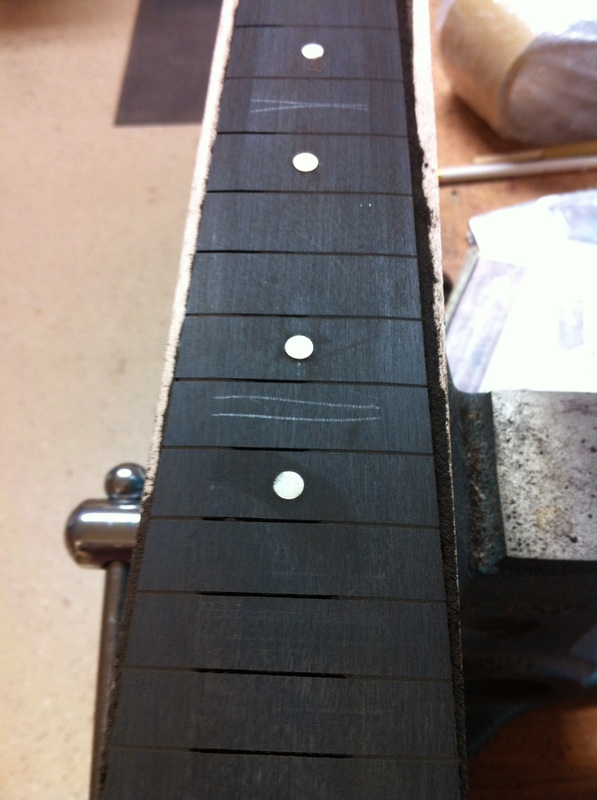
After a few minutes of sanding with that radiused block you can see that the pencil marks are gone from the edges. That means that the curved finger board is started When the pencil marks have disappeared it will mean the curve or radius is complete. at the last moment the mother of pearl dots will be sanded smooth and level to the fingerboard. 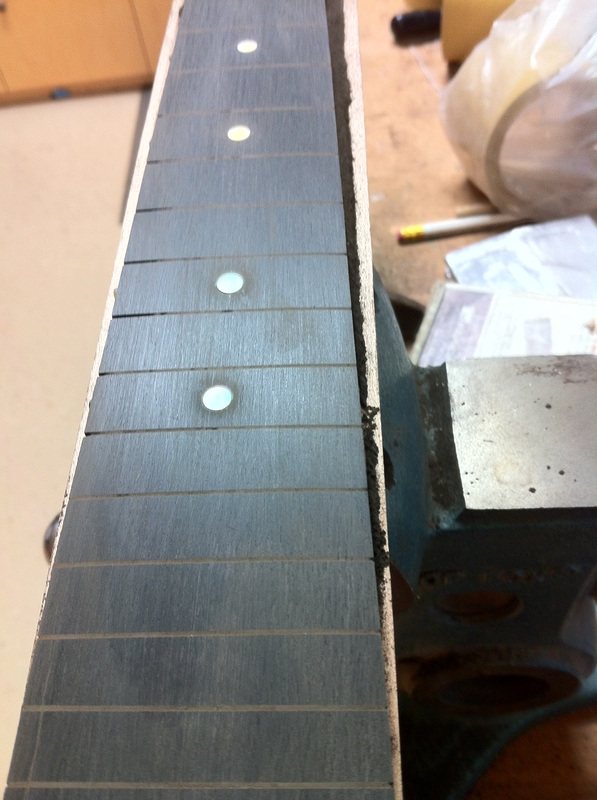
Now all that is needed is to smooth up the rather rough sanding done with 120 grit paper. A little sanding with 220, and then 400 makes the fretboard slick and smooth and ready to be glued to the neck. |
