WELL, MAYBE NOT EVERYTHING but today got the six necks ready to glue onto the tops. Here was the exercise!
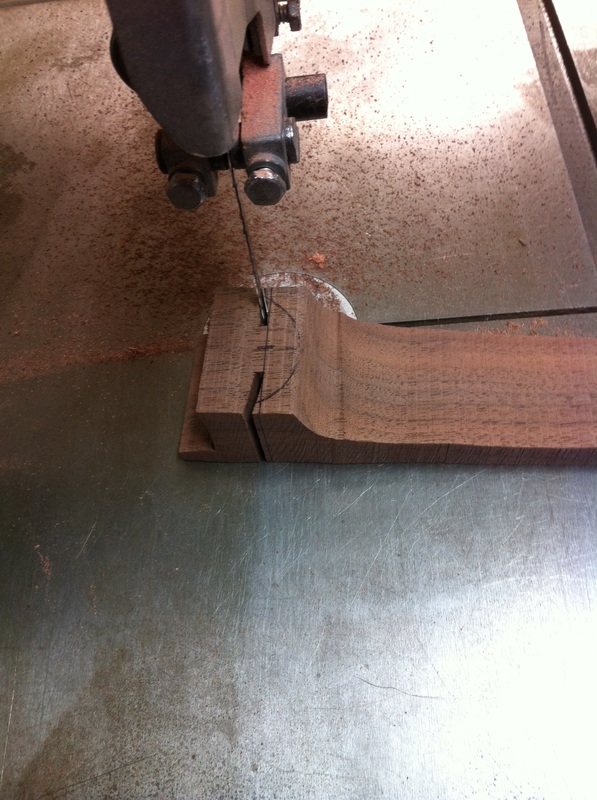
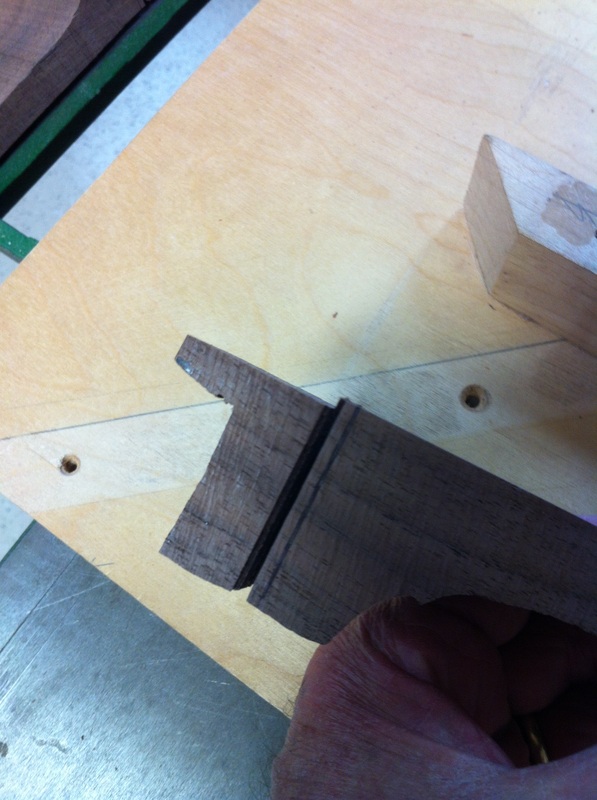
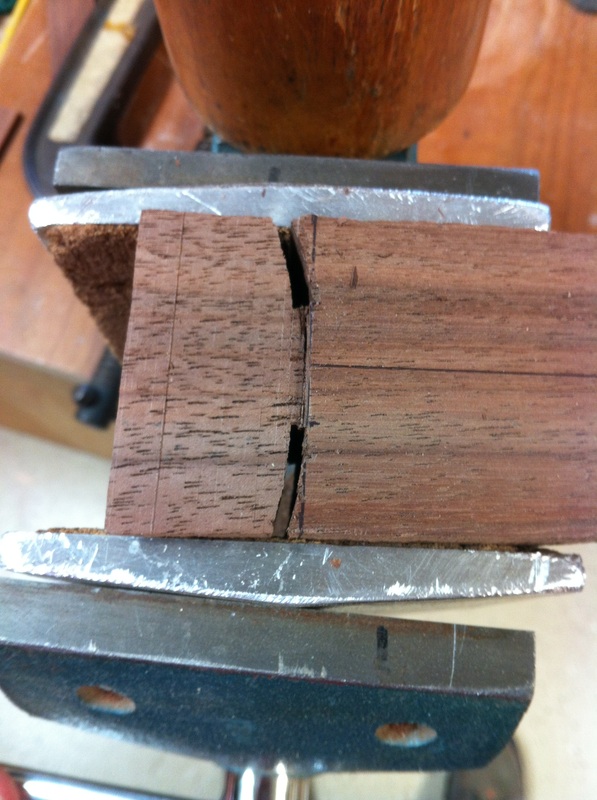
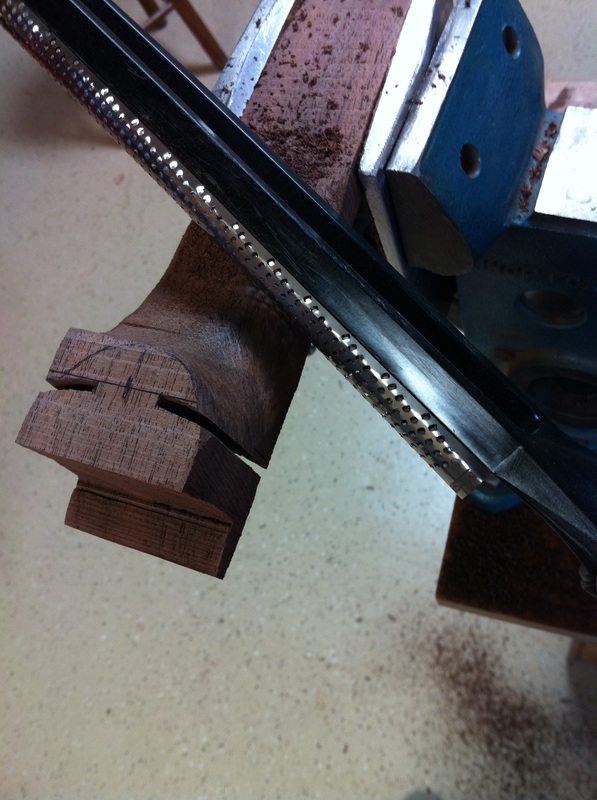
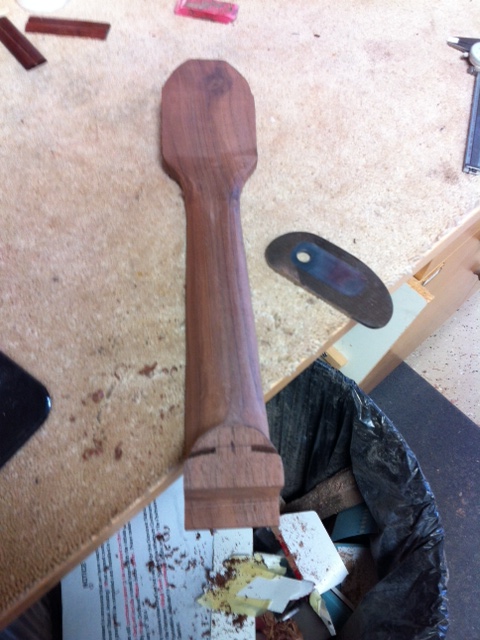
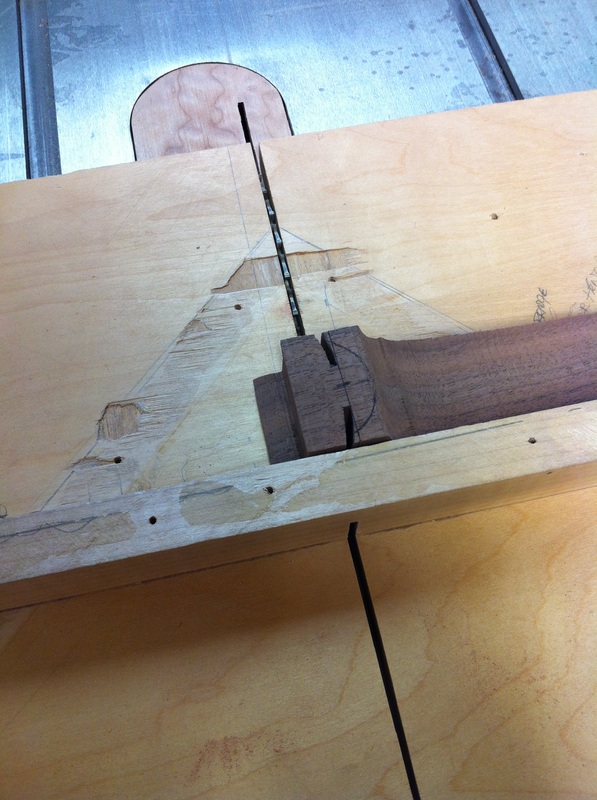
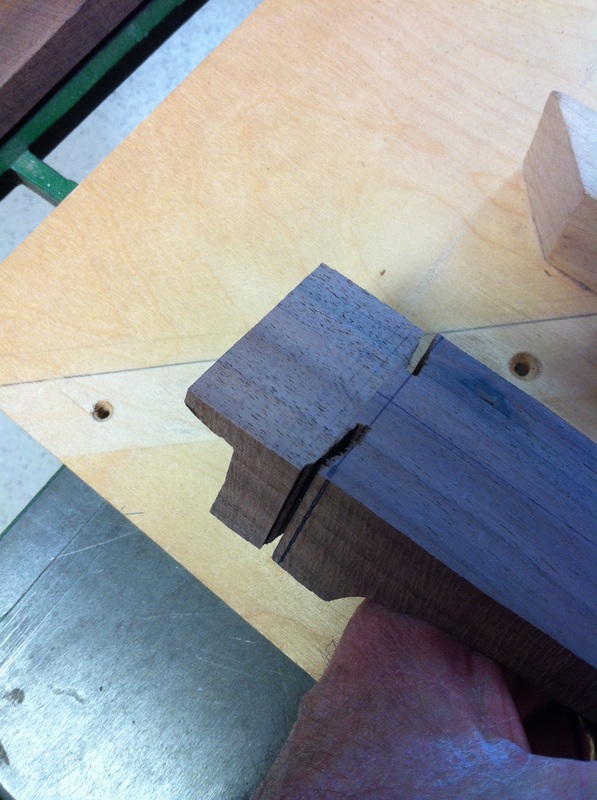
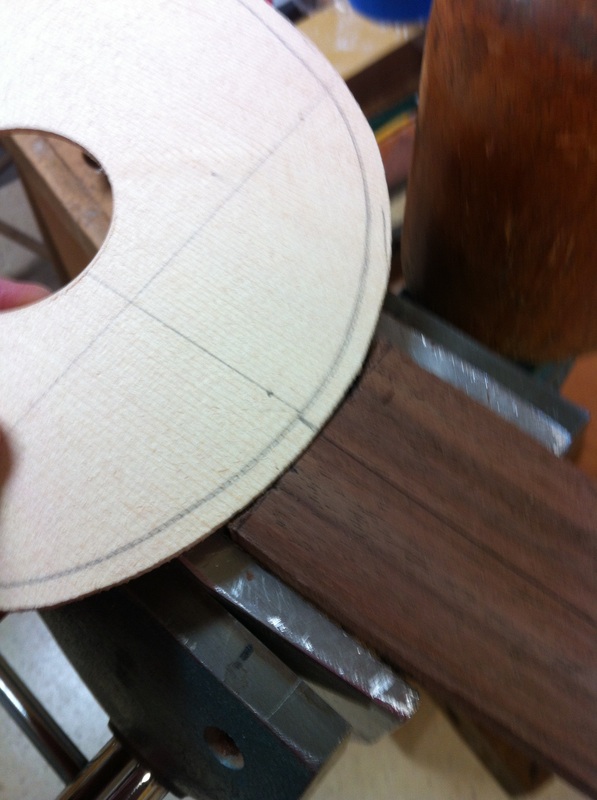
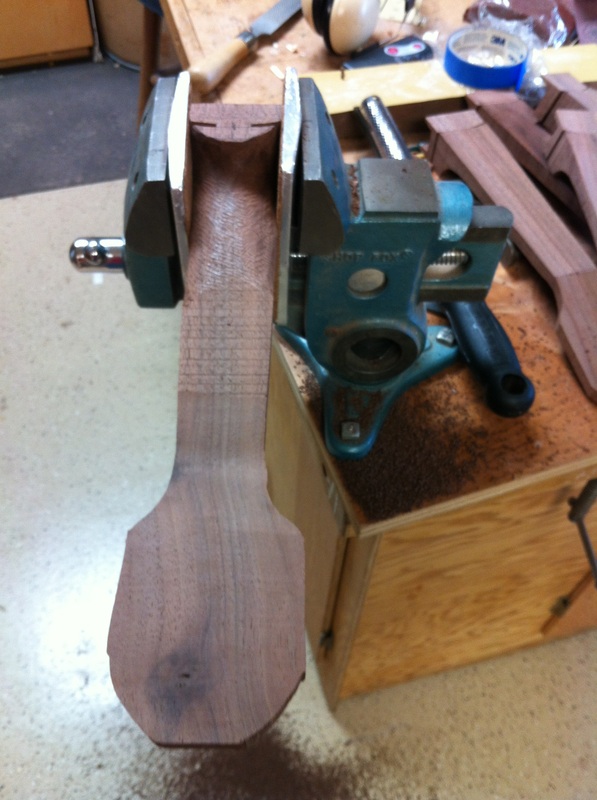
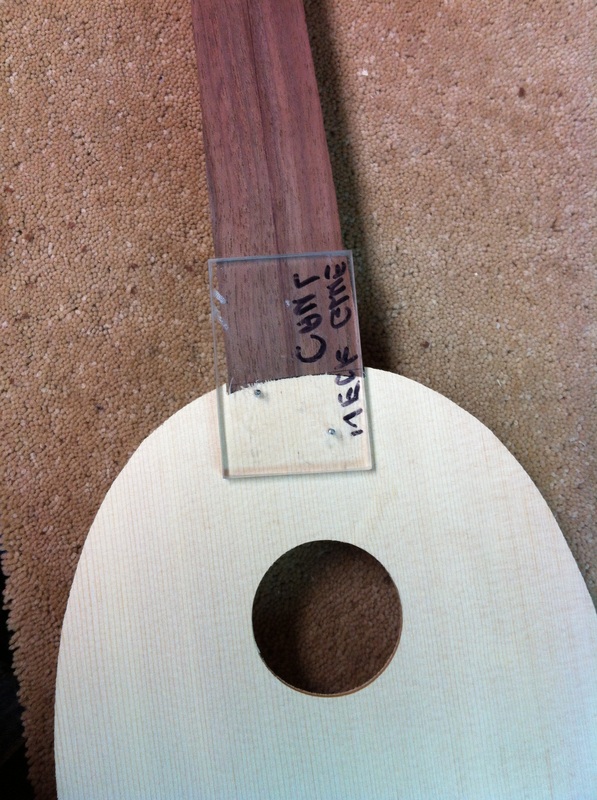
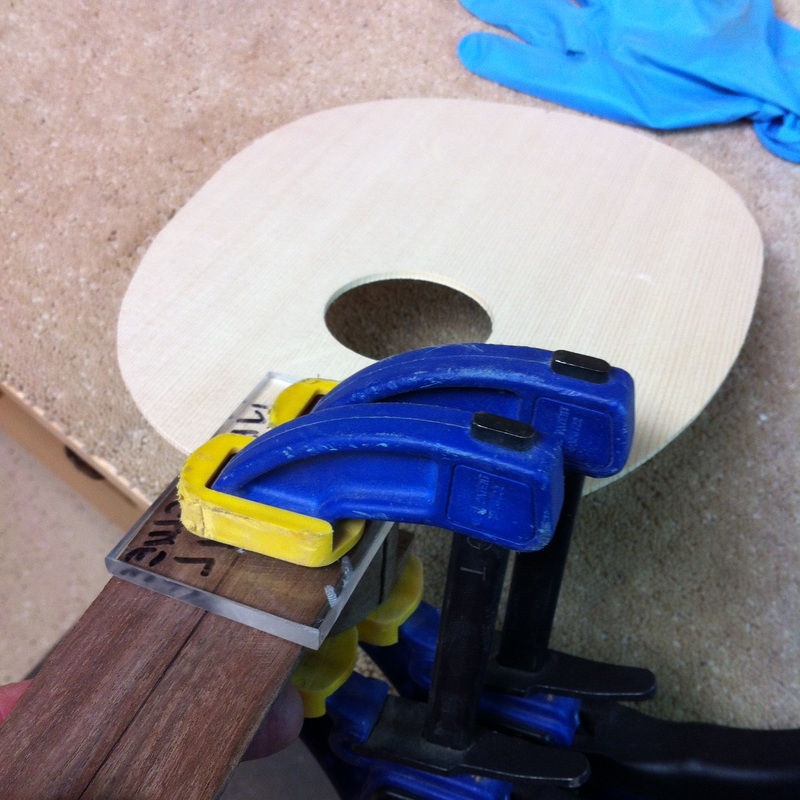
| 1. Being very careful that your bandsaw blade is at perfect right angles to the saw table, you carefully cut these slots in the side of the neck. Into these slots you will insert the ends of the single piece side. Save your self a lot of grief and make these cuts wide enough to accept your sides i.e. .90 3. I have nibbled away the lower plane seen here simply by passing the sled repeatedly over the blade moving the neck along. That difference between the top of the neck and the nibbled plane is exactly the thickness of the spruce top that will sit on it. 5. Now I have cut away what the saw could not, the wood in the curve where the curved top must go. By the way, notice the asymmetric aluminum devices. They fit in the parrot vice and adjust to odd shapes. They have a thin layer of cork on their surface to protect your work piece. Bought this vice incl. the aluminum things from Grizzly, cheap and works great. 7. oops! I got ahead of myself. Before we start attaching to tops lets shape this neck to its almost finished form. I am using first a flat rasp and then a round rasp to shape this crucial corner at the heel and begin the curve up the neck. This is fun to do and I find I can finish a neck in about 15 minutes. You want to invest in sharp rasps, but these new rasps cut really well. Replacement blades are a little pricey but it is always worth it to be sharp. 9. Now it's time to use the scraper to get rid of all those coarse rasp marks and to finish up the feel and sweep of the neck. The scraper is a great tool for this cleaning up work. I have finally gotten smart enough to do my scraping over the garbage barrel, it saves a little shop clean-up time. | 2. Now take your neck to the crosscut sled, set the saw blade to protrude the exact thickness of the spruce top. This will likely take some trial and error to get it just right. Use a flat scrap and adjust the blade so that the top fits perfectly flush with the flat surface of your scrap. Trust your finger, It will tell you when it is perfect. 4. Now I have one more thing to do. With a carving tool and a lignum vitae maul I must carve that curve back to the pencil line.. Clamp the neck in a vise and get to it. 6. Now you must cut away that excess top and fit the pencil line to your cut away curve. Be sure you have centerline pencil marks on all sides. You want this uke to be straight. First mark the width of the neck on the spruce to be cut away. 8, Once you have finished the heel end just turn the neck around in the vice and work down to the head end. The flat rasp works best here until you get to the head, then you will want the round one again 10. Now, back to the top fitting. I have cut a notch with a coping saw, or jeweler's saw down to the original pencil line. I fit and adjusted until a long straight edge went from one end to the other on the center line all the way. Here you see a plexiglass glueing caul with two holes drilled into it for placement brads. Perhaps you can just see the two brads in the picture. Once you have the uke straight you tap in those brads. Now you have reference pins when you take this apart to apply the glue you can simply put the brads into the same holes and you know you are glueing up a straight uke. |
And there you are. neck ready for sides, 95 % shaped, glued to the top. Tomorrow it will be time to glue the braces and butt plate to the top- These sopranos are really coming along, and I can see that Mass Production makes big sense. If I get set up for doing one thing, and it takes an hour to set up the jig and run the six uke parts I have only spent ten minutes on each instrument. I am keeping a log on this project and it will be interesting to see how long a soprano pinecone takes to make. Who knows, I might be making minimum wage here.
