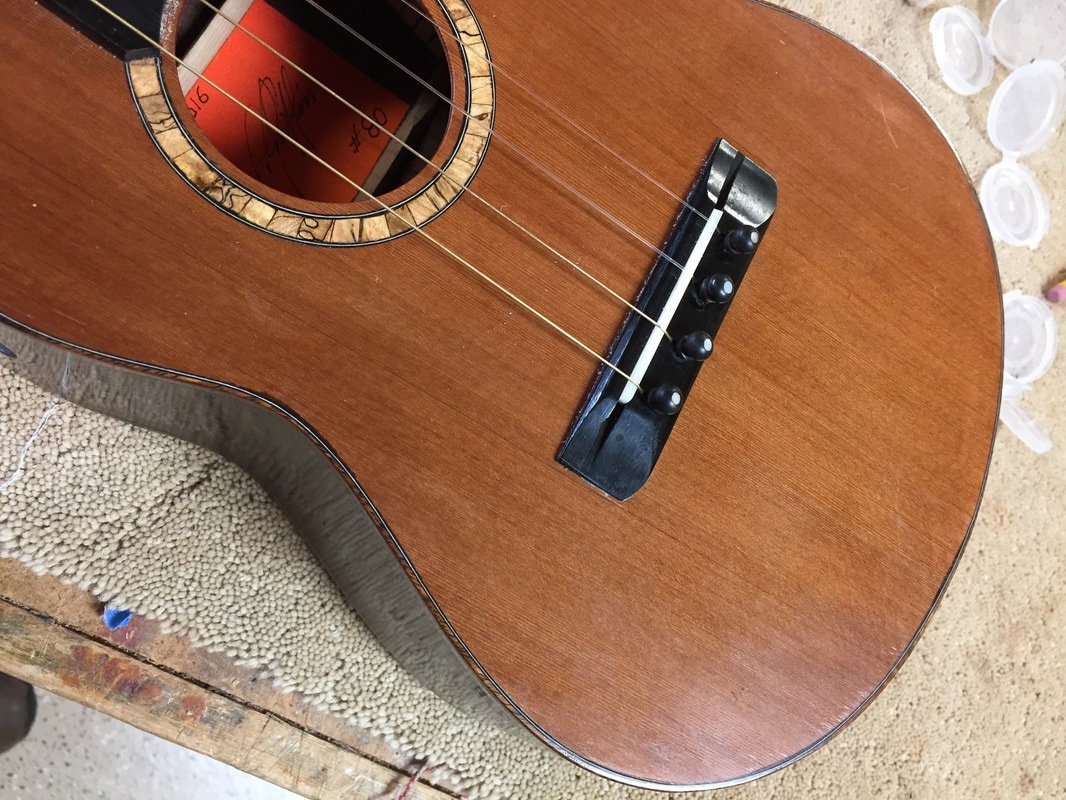
Repairing a crack in a Ukulele top is not an easy task. I have been contemplating repairs to two cracked tops for days now and finally took the leap.
Crack #1 was done by dropping the instrument. It was a pretty bad break. The
second instrument got its crack by traveling to Arizona and having its humidifier dry out. That crack was smaller but harder to get at. Following was my solution.
Crack #1 was done by dropping the instrument. It was a pretty bad break. The
second instrument got its crack by traveling to Arizona and having its humidifier dry out. That crack was smaller but harder to get at. Following was my solution.
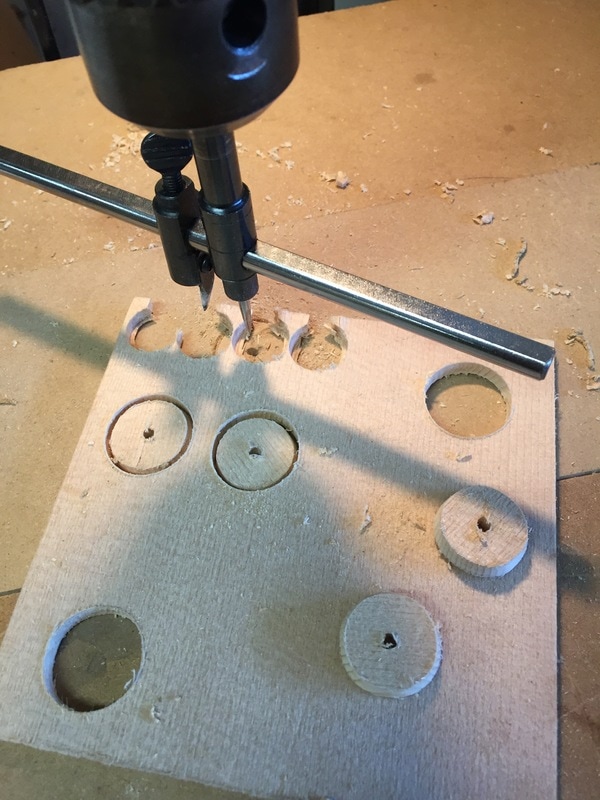
I wanted to glue a strong patch across the cracks from underneath. I cut patches of Sitka Spruce about the size of a nickel.
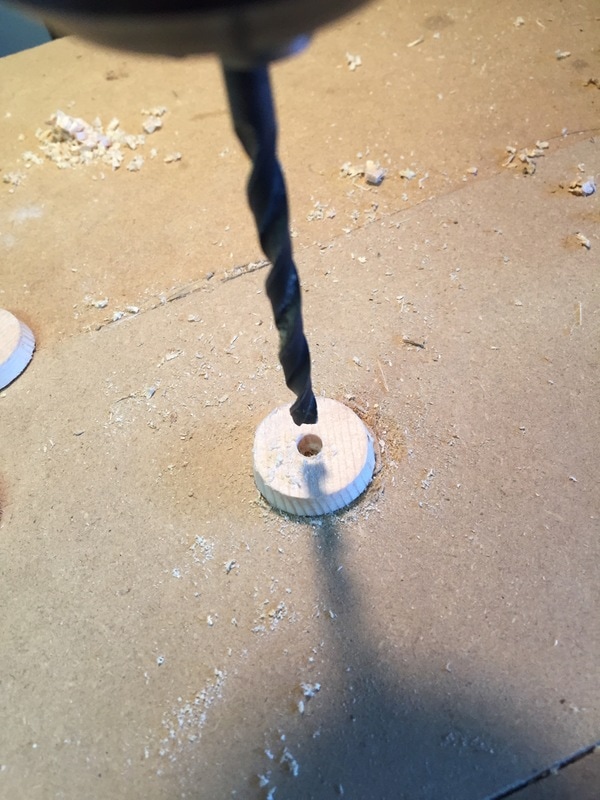
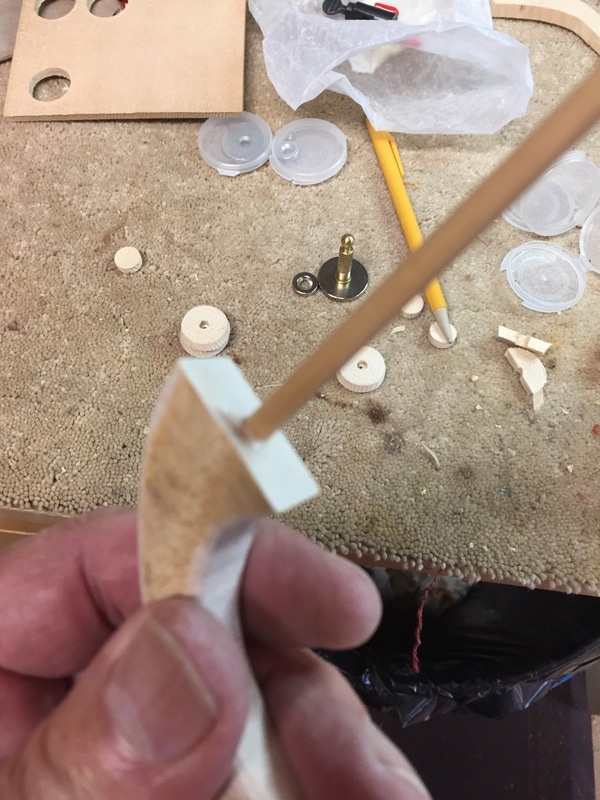
Then I drilled a 1/8th inch hole almost all the way through the patch.
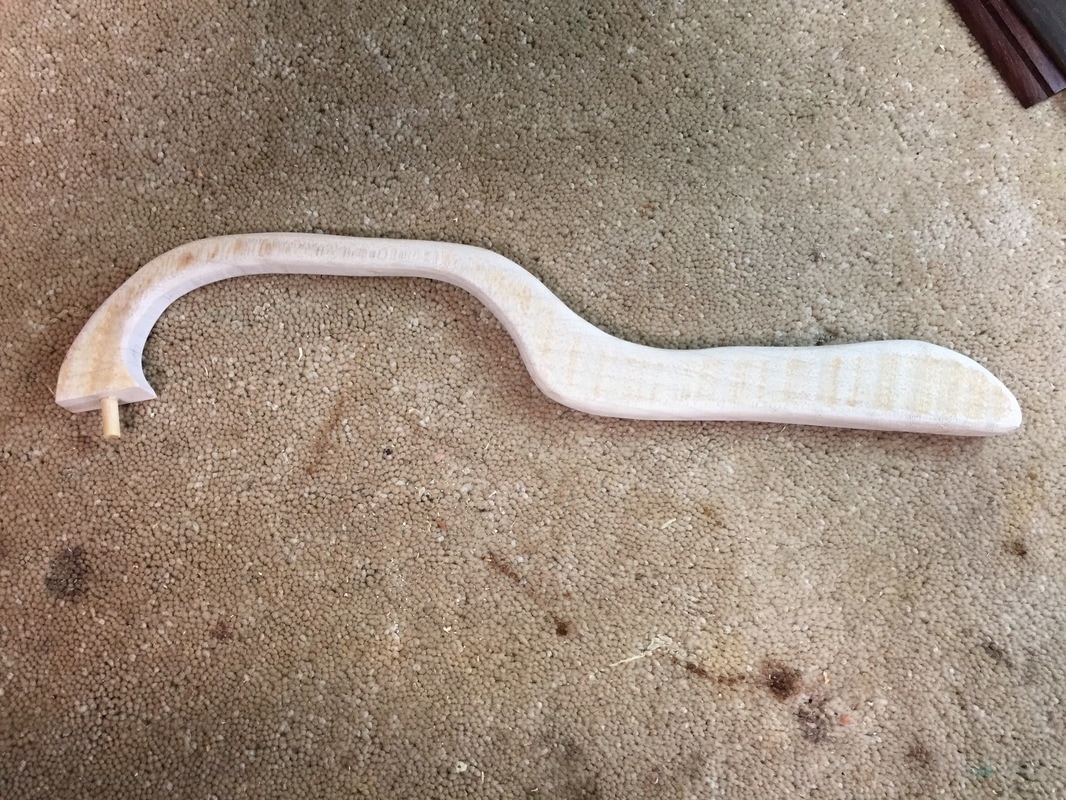
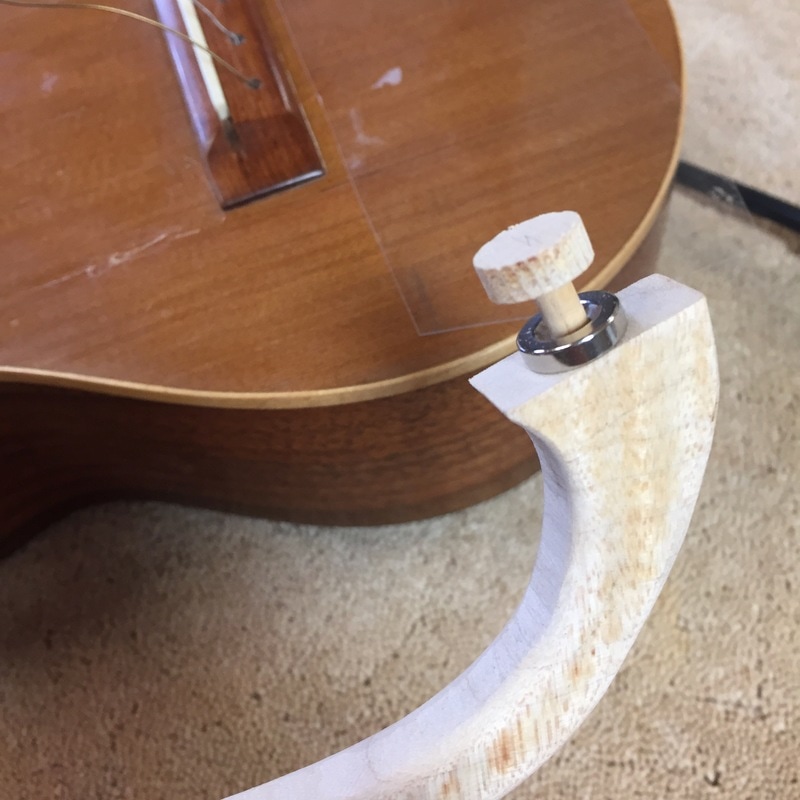
Next, I made this strange tool curved to fit through the sound hole and reach to the back of the instrument where the crack was.
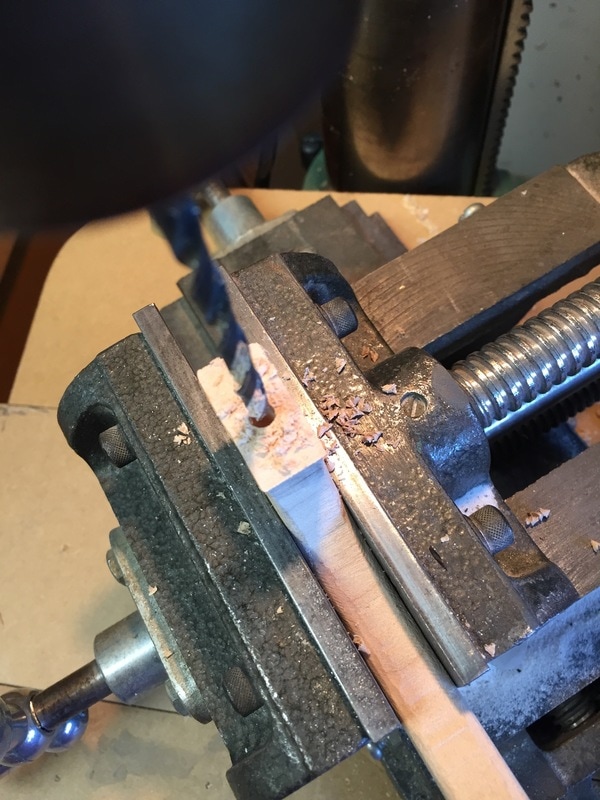
Now- over that dowel I slipped a powerful little magnet that fit loosely, and the end of the dowel I inserted into the hole I had drilled in the patch. Now with glue applied to the patch it was ready to be slipped into the sound hole.
BUT FIRST- It was important to apply glue to the crack from the top. I used the tool to push up from below to widen the crack a tiny bit allowing me to get hide glue into the crack. Hide glue allows you more time to work before it sets up, cleans up well with water- and is invisible in the crack.
BUT FIRST- It was important to apply glue to the crack from the top. I used the tool to push up from below to widen the crack a tiny bit allowing me to get hide glue into the crack. Hide glue allows you more time to work before it sets up, cleans up well with water- and is invisible in the crack.
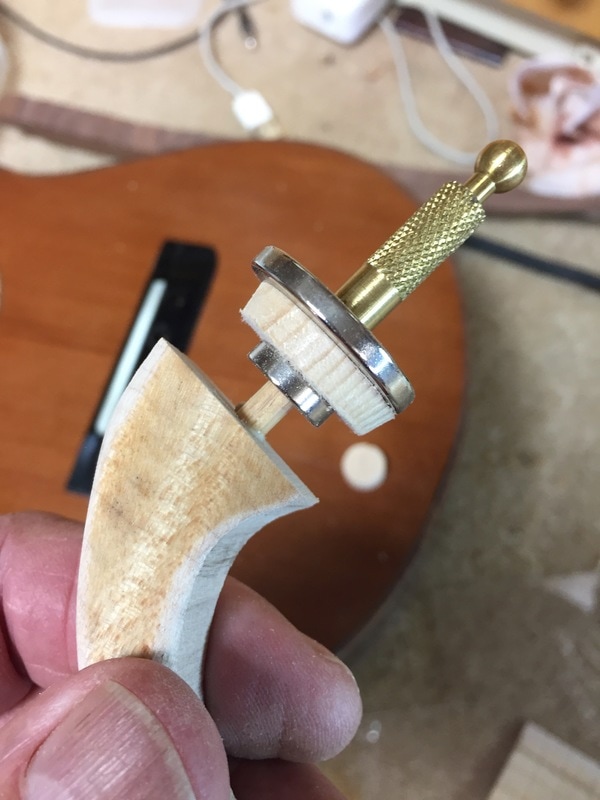
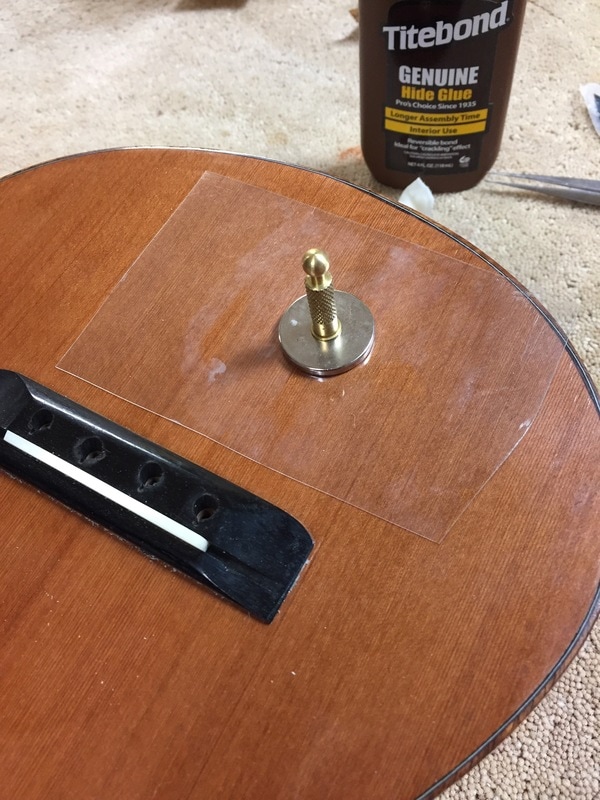
So this photo illustrates the theory. I would position the tool containing magnet, and glued patch inside the instrument as close as I could estimate over the crack holding it there while I put a protective thin plastic card over the crack and placed the larger magnet with handle directly over the crack. The small magnet would then slip up the dowel slipping the patch off the dowel and onto the underside of the soundboard-and hold it there while the glue dried.
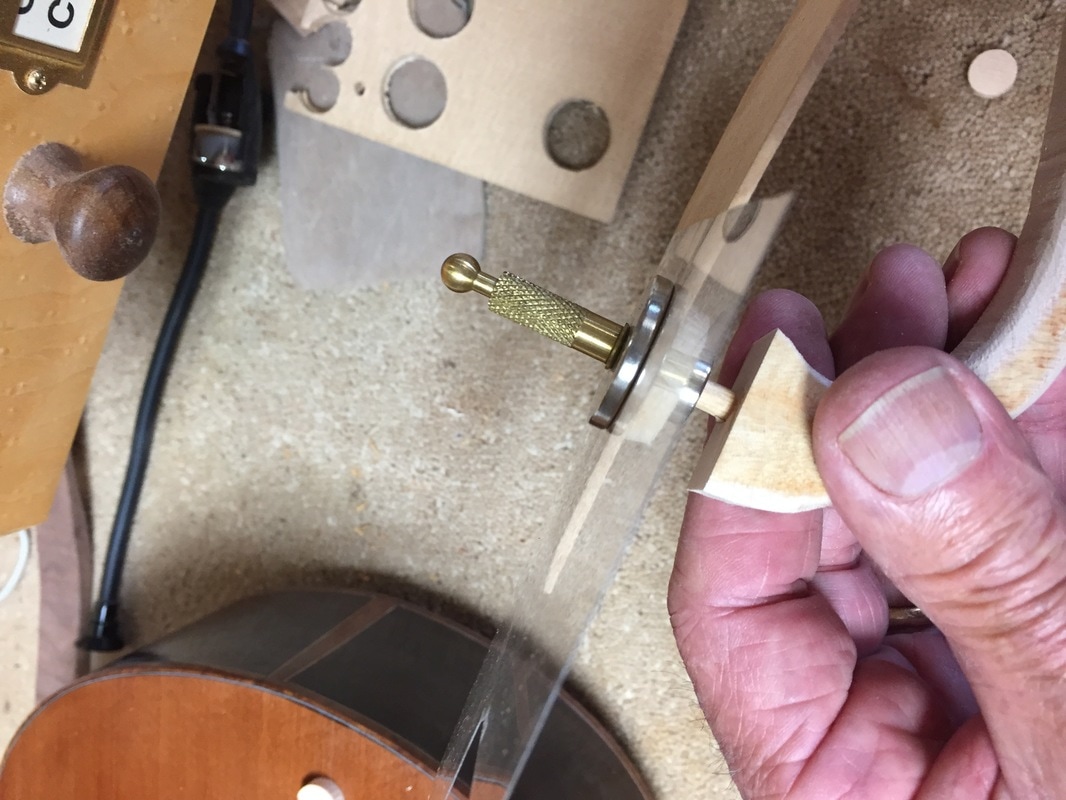
Maybe this shows it better. Here I was experimenting to be sure the magnets were strong enough to attract each other through the top, and the sheet of plastic. They had no trouble doing so.
Hooray- it worked like a charm!! I put the big magnet over the crack and heard the satisfying pop as the small magnet slid off the dowel taking the patch with it and pushed the patch against the crack from below. Checking with a mirror and small flashlight, the patch appeared to be right where I wanted it with the magnet centered on top of it. I had removed the curved tool easily and now all I had to do was wait overnight while the hide glue set up.
This morning I simply lifted the large magnet off. I heard the small magnet fall to the bottom and easily fished it out when it jumped to the long steel tweezer I put into the sound hole. The patch is glued across the crack and the crack is barely visible on the surface. Whew!. That was quite an experience. Thanks to Dake Traphagen for my introduction to hide glue. A great suggestion Dake. I will be using it for other purposes too I am sure.
Oh, yes- I put the strings back on this morning and the tenor sounds just fine. And I was able to put two patches across the crack on the uke that had been dropped.
Oh, yes- I put the strings back on this morning and the tenor sounds just fine. And I was able to put two patches across the crack on the uke that had been dropped.
