This blog just shows some of the recent everyday activity in the workshop starting with getting the bridges glued to the two concerts recently finished.
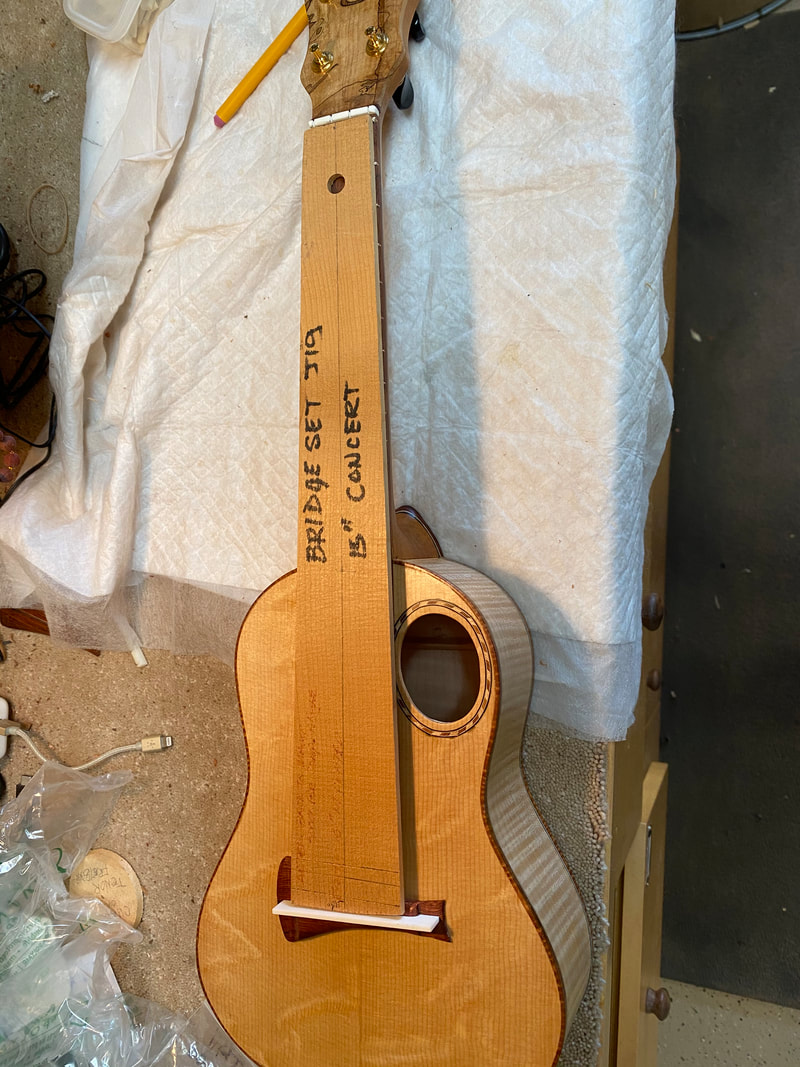
First you must very carefully determine the location of the bridge. I use this pre cut jig which extends from the center of the zero fret to the front edge of the saddle thus establishing the 15 inch concert scale. i.e. length of the strings.
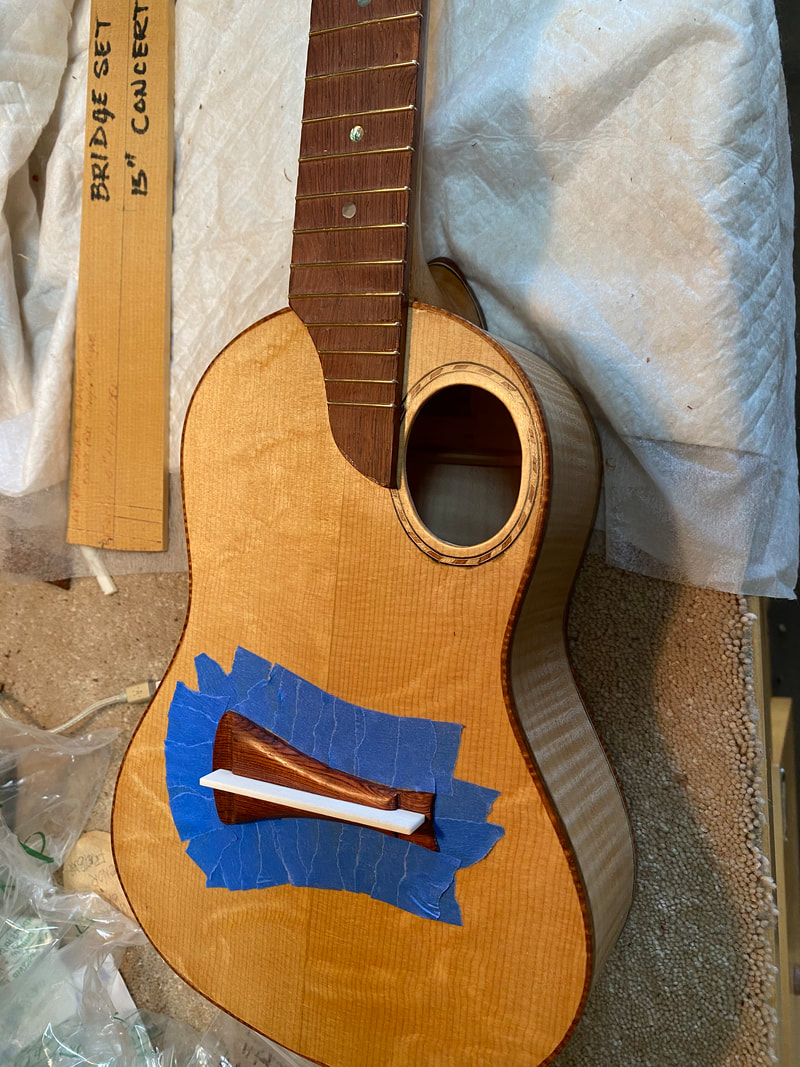
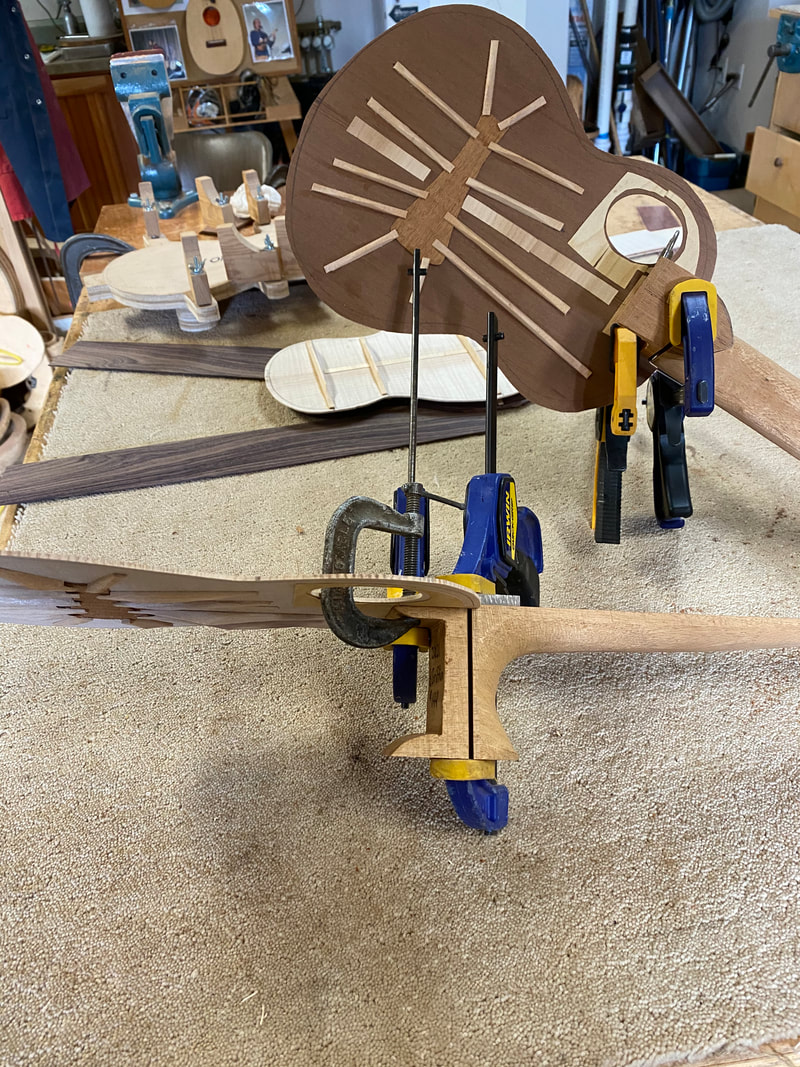
When confident that you have it properly placed then the bridge is surrounded in tape to hold it in place when the glue is applied and the clamp is tightened.
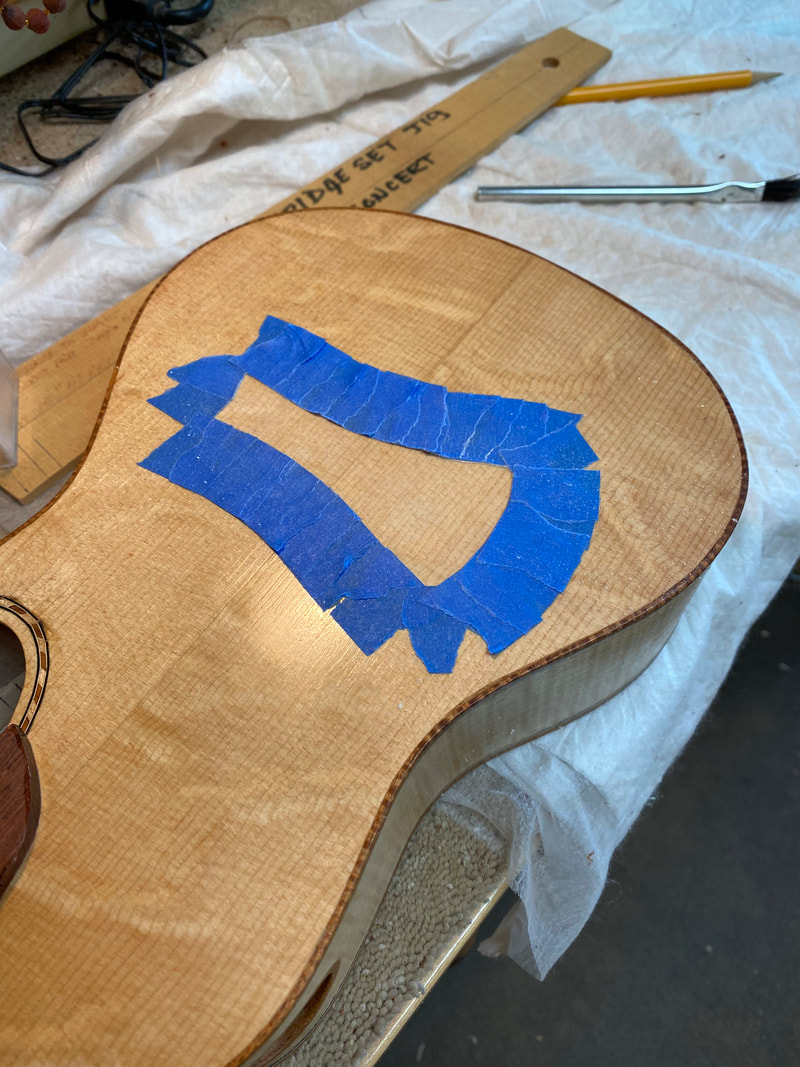
The tape also outlines the area to be scraped clean of the French Polish so that the glue can adhere, wood to wood.
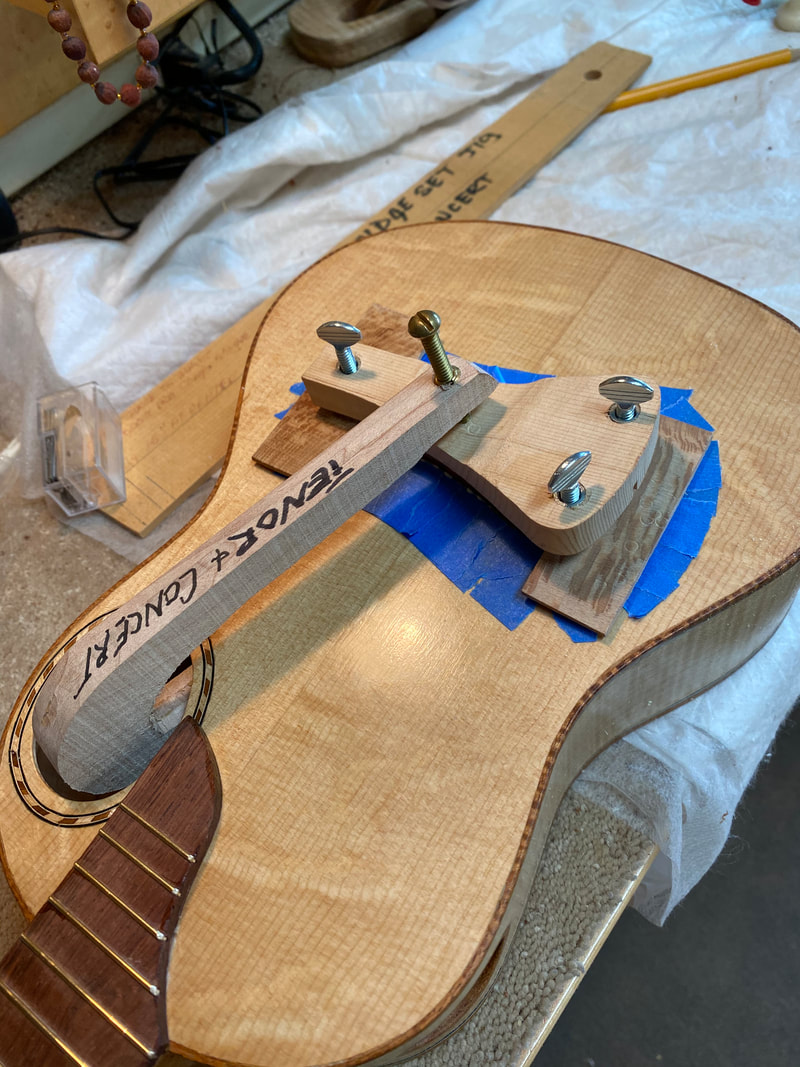
Then the glue is brushed on and clamped with my Rube Goldberg clamping device.

Now I need to cut some sound hole patches for the two tenors I am building. Might as well make a bunch of them while I am at it, it will make future jobs go faster.
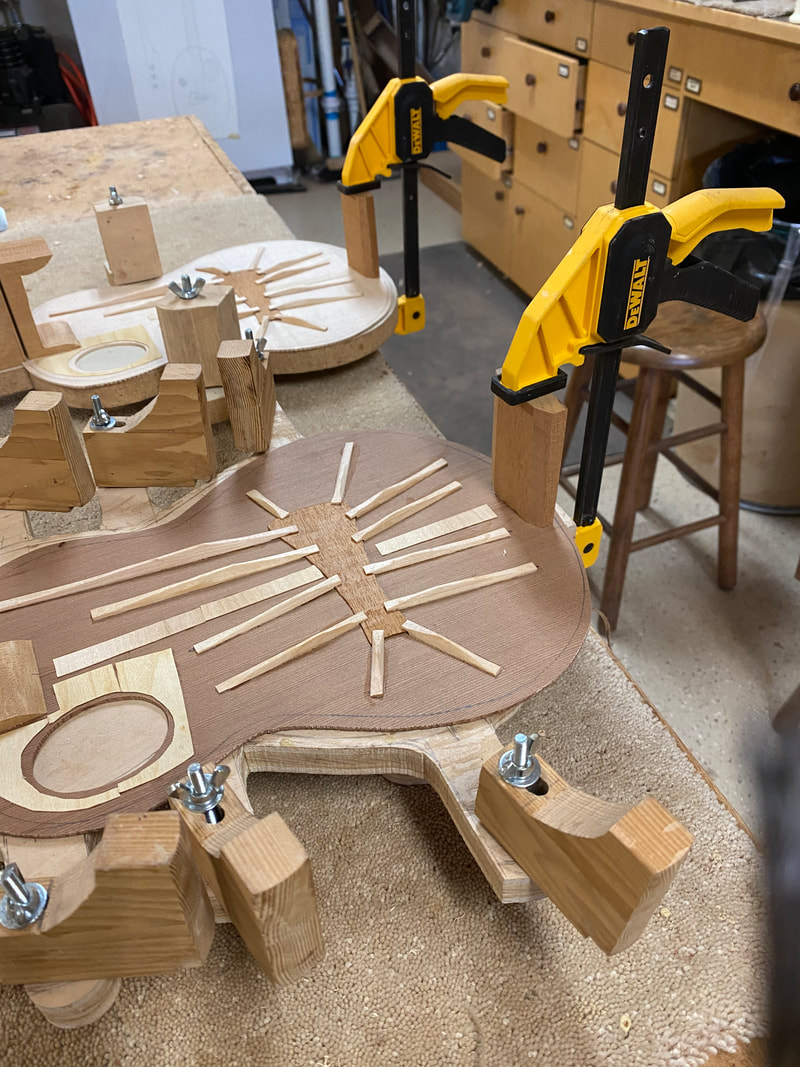
Got the patches on as well as veneer patches up the center seam so it is time to glue the necks to the sound boards.
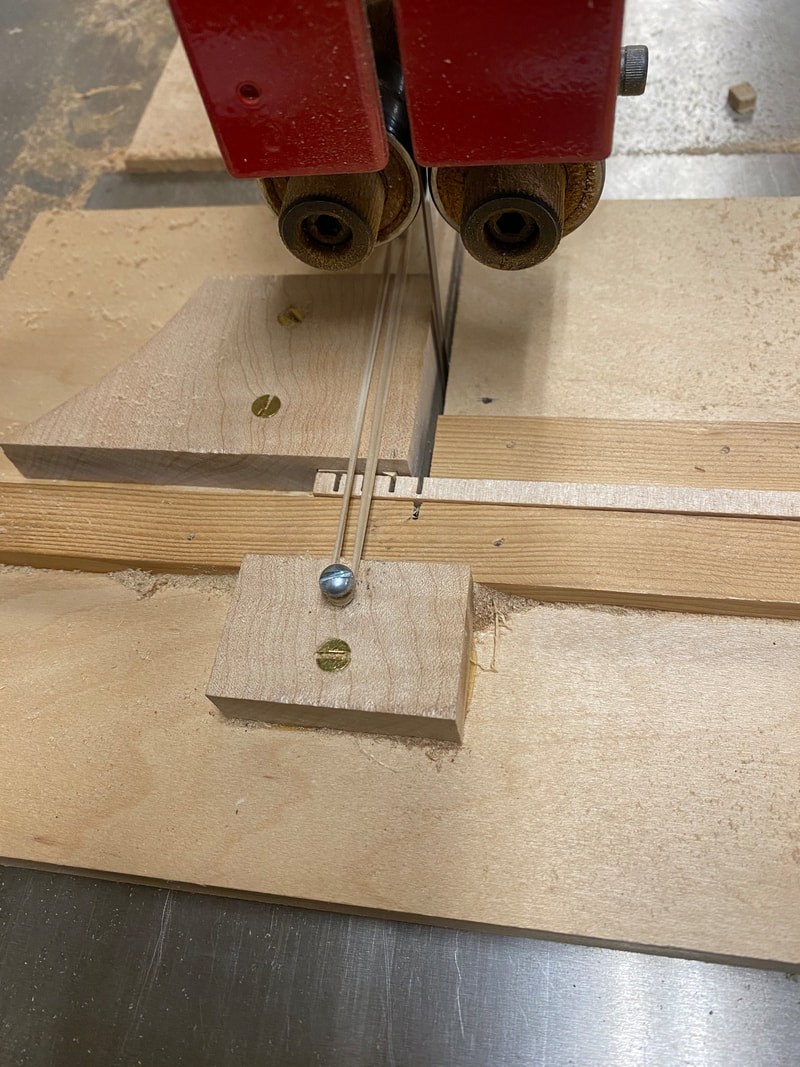 | 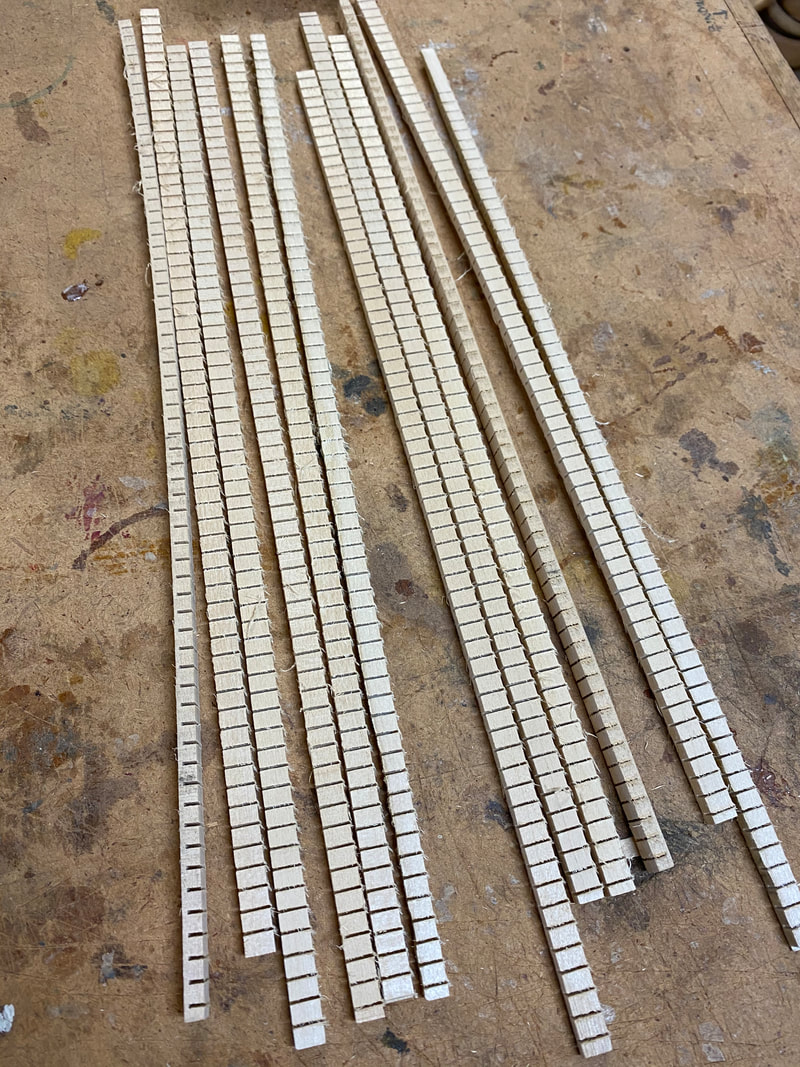 |
I was running low on tentalones so I set up my bandsaw jig and cut enough for three or four more ukes. this are made of basswood.
Then it was time to make and attach the butt blocks. Here they are clamped as the glue sets
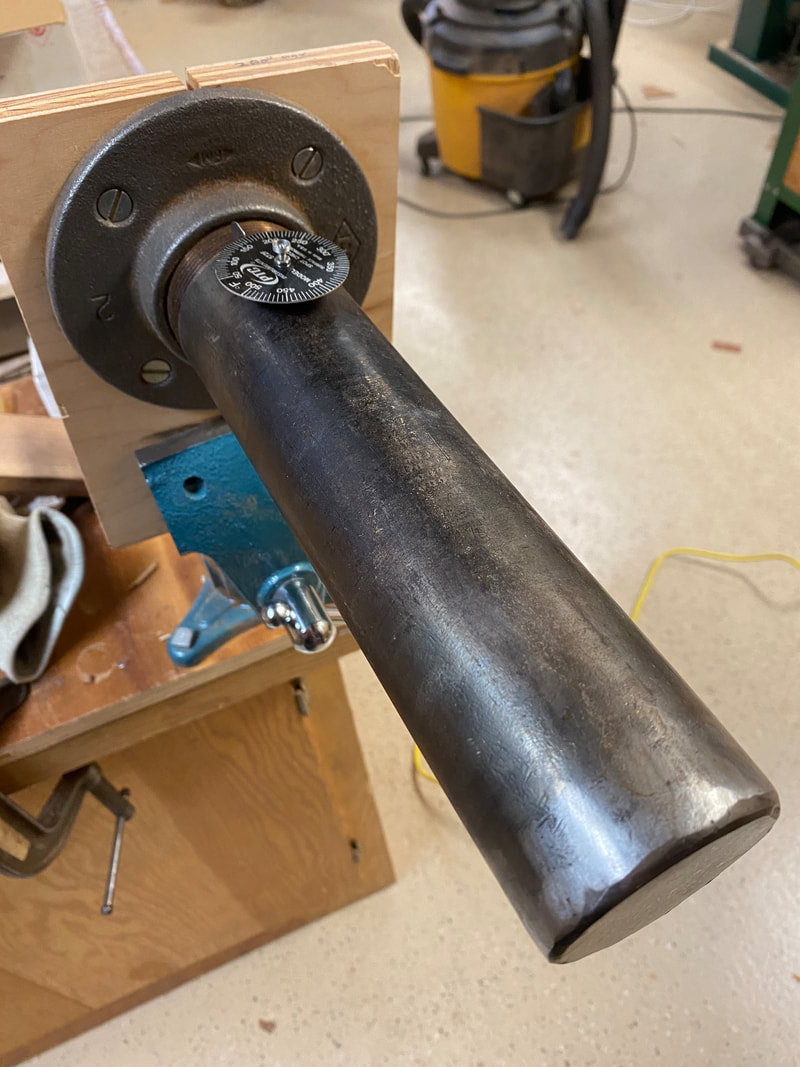 | 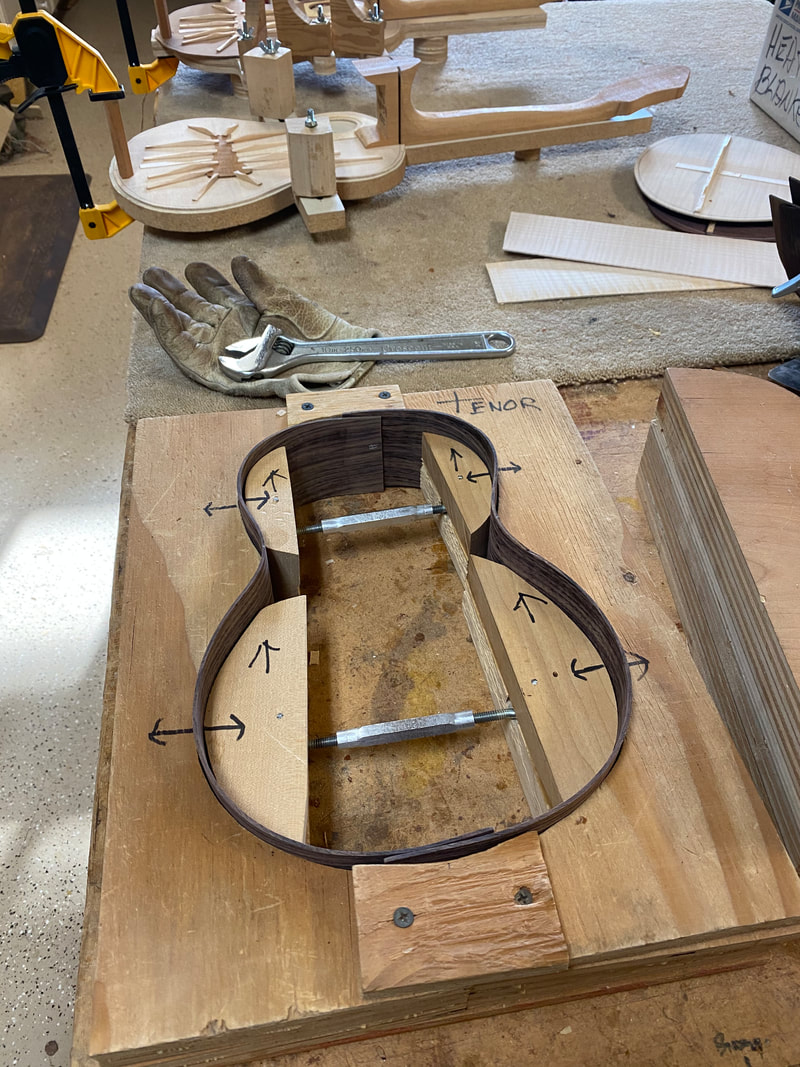 |
Then, got the hot pipe heated up and got a very nice bend on Ree's East Indian Rosewood sides. I will let the wood dry for a couple of days before taking them out of the mold and attaching them.
