Working a buffalo leg, hide, hoof and all, down to nut or a bridge takes a bit of doing but I figure it is one of the little things that makes a uke sound better and distinguishes a hand -made uke from a CNC machine foreign import. Here are the final stages of this sometimes arduous task
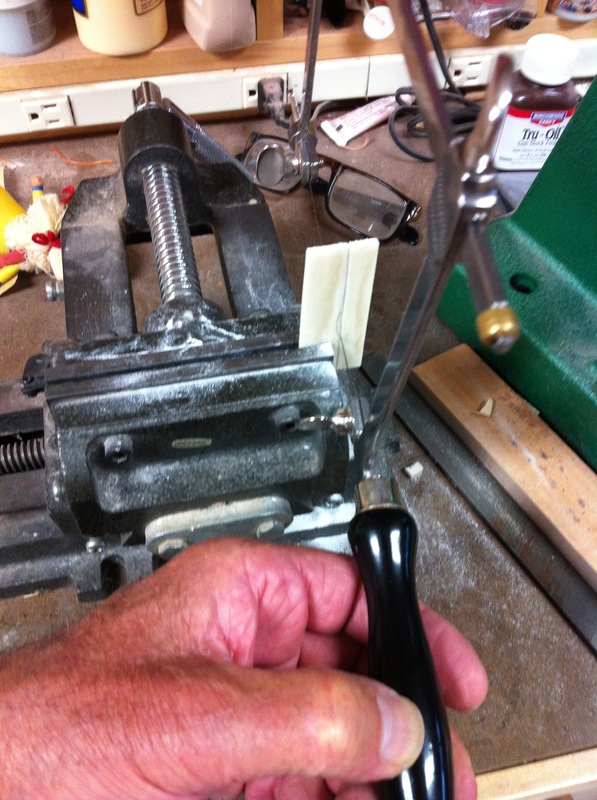
I am sawing out a concert saddle from a larger piece of bone that might net two more saddles. This has been flattened and thinned on the thickness sander.
 | On the left I am truing up the saddle on the belt sander and putting a slight cant in it for the string to run over. If it is too high I will sand the excess off the bottom, again using the belt sander. On the right, the new saddle sits in the bridge, the holes for strings have been drilled and the strings inserted and knotted. Now to attach them to the tuners and this concert pinecone can sing its song. | 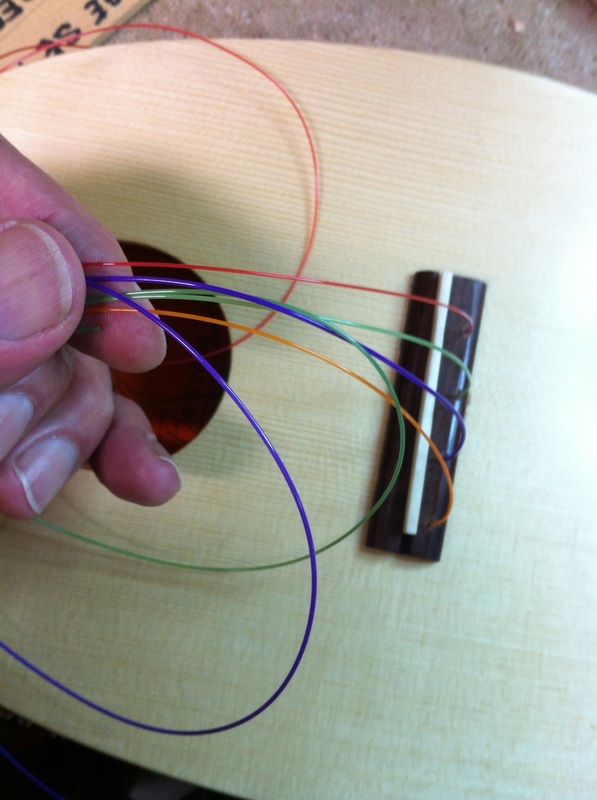 |
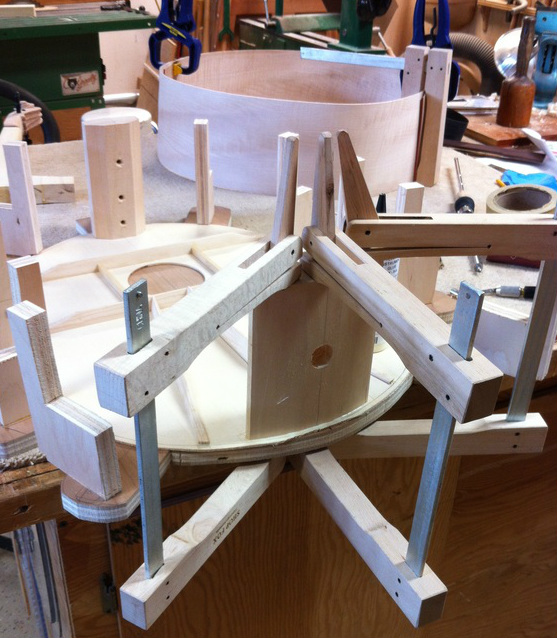
I made the head and tail blocks from a nice piece of Alaska Cedar that I found in my wood storage unit. It pays never to toss a nice chunk of wood no matter how small it is. I chose the Alaska Cedar for its light weight, its strength and its great stability from atmospheric change. I have drilled the tail block to receive the end piece with its adjustable extension. The head block is drilled for the three wood screws that will, with the aid of glue, hold the neck on the body.
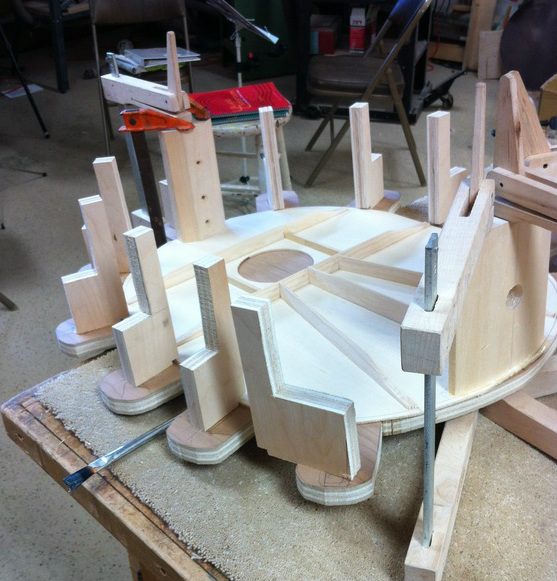
Now both head and tail blocks are glued onto the underside of the top. The next step will be installing the sides. The next question? how large should the tentalones be for this large instrument? Stay tuned while I try to figure it out.
