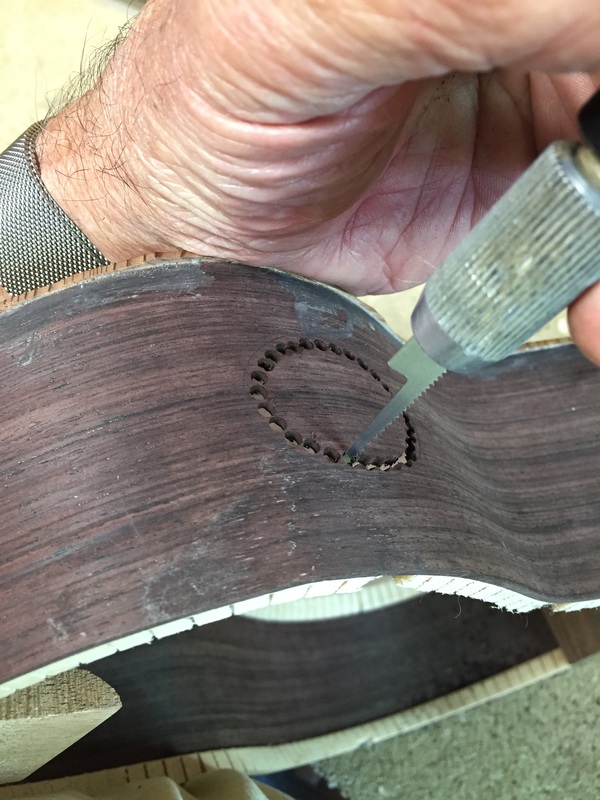
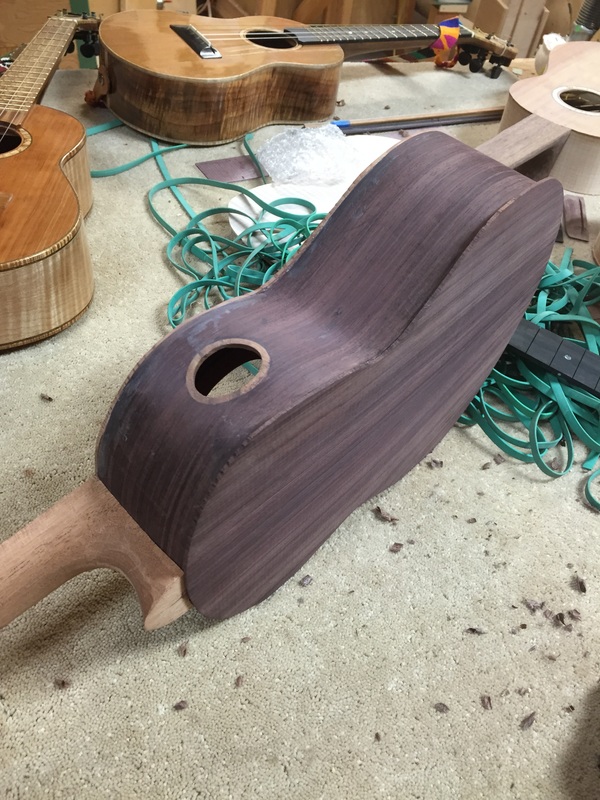
BUT FIRST the sound hole. You must cut in the sound hole before boxing up the uke by glueing on the back. After carefully drawing the outline of the sound hole on the side where I want it I drilled a series of holes inside of the drawn oval using my dremel and a small drill bit.
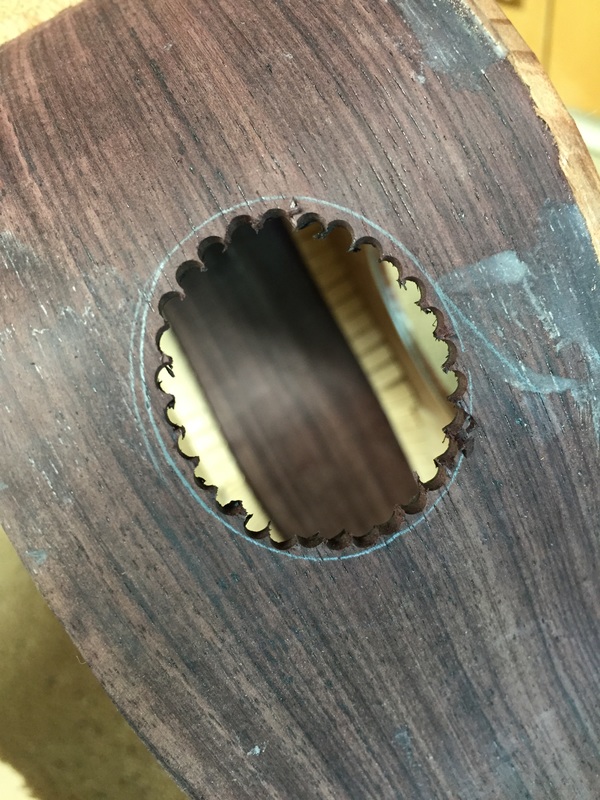
This tiny little saw blade made by Xxacto cuts out the tiny connecting pieces and fees the hole- and Voila
Now you have the hole and a nice pencil line to sand to if your sound hole trim is going to fit.
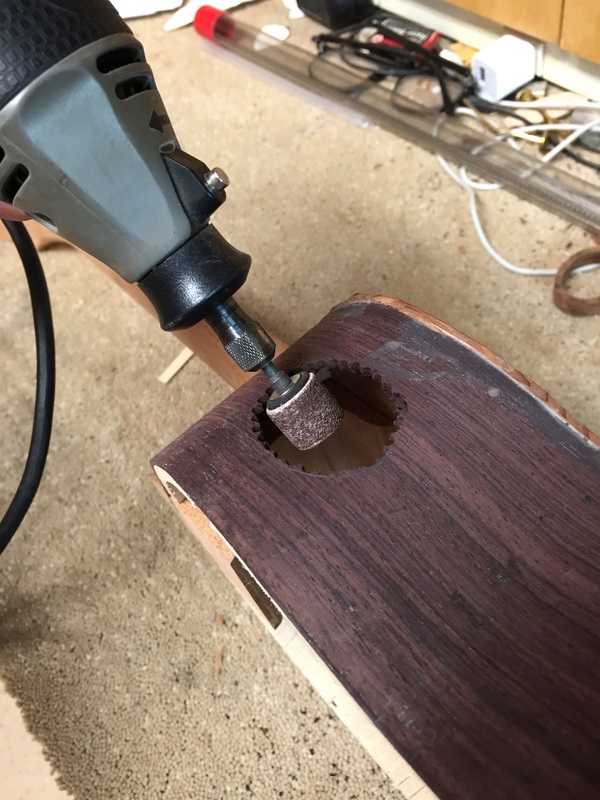
With a small sanding drum on the Dremel you carefully sand away to the inside of the pencil line. From there you go very slowly until the lining fits perfectly. Once it does glue it in with thick superglue and if there are any gaps sand a little rosewood dust into the superglue. When you are finished the gap will be invisible.
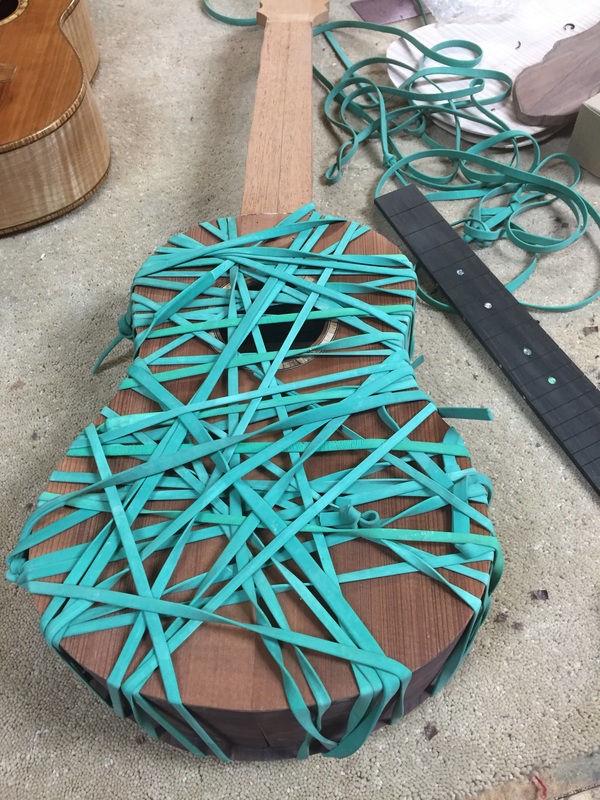
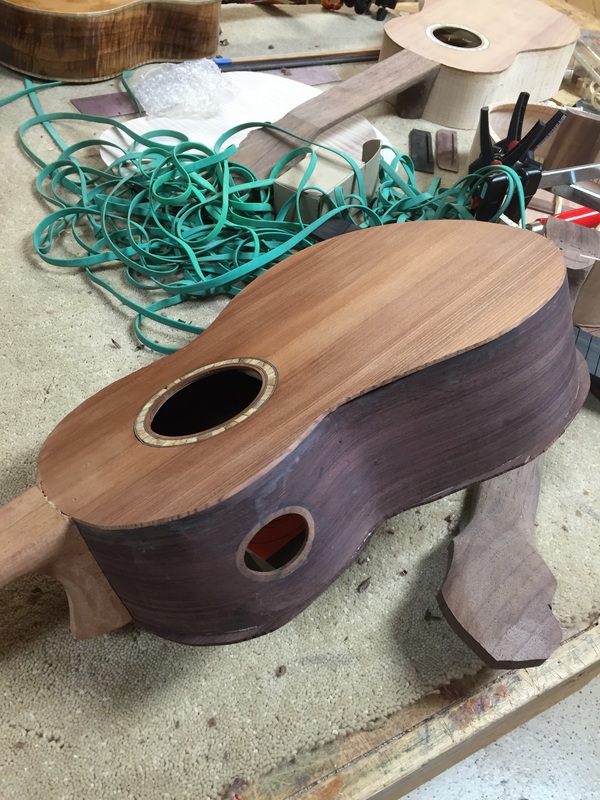
Now it is time to glue on the back. This is called "boxing" these long rubber bands provide an amazing amount of compression.
Here it is a few hours later, the glue has set up, the back is on and it is looking good
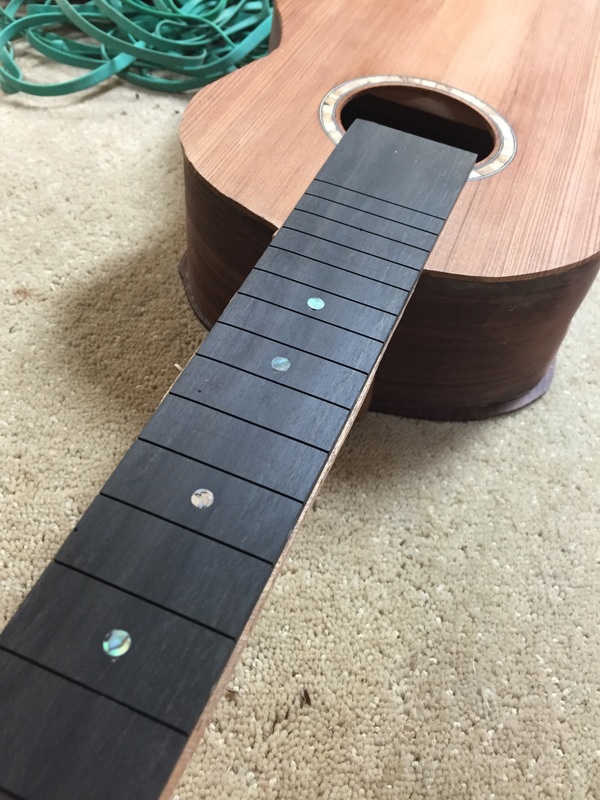
I chose to go with a little Bling on this uke that I plan to keep. Paua abalone has always fascinated me, so I am using it for the get dots on top and side. Lots of trimming, sanding and fretting to do but in a couple of days this fretboard will be attached and the final neck shaping will commence.
So here it is, what I hope will be a sweet sounding tenor. All boxed up.
