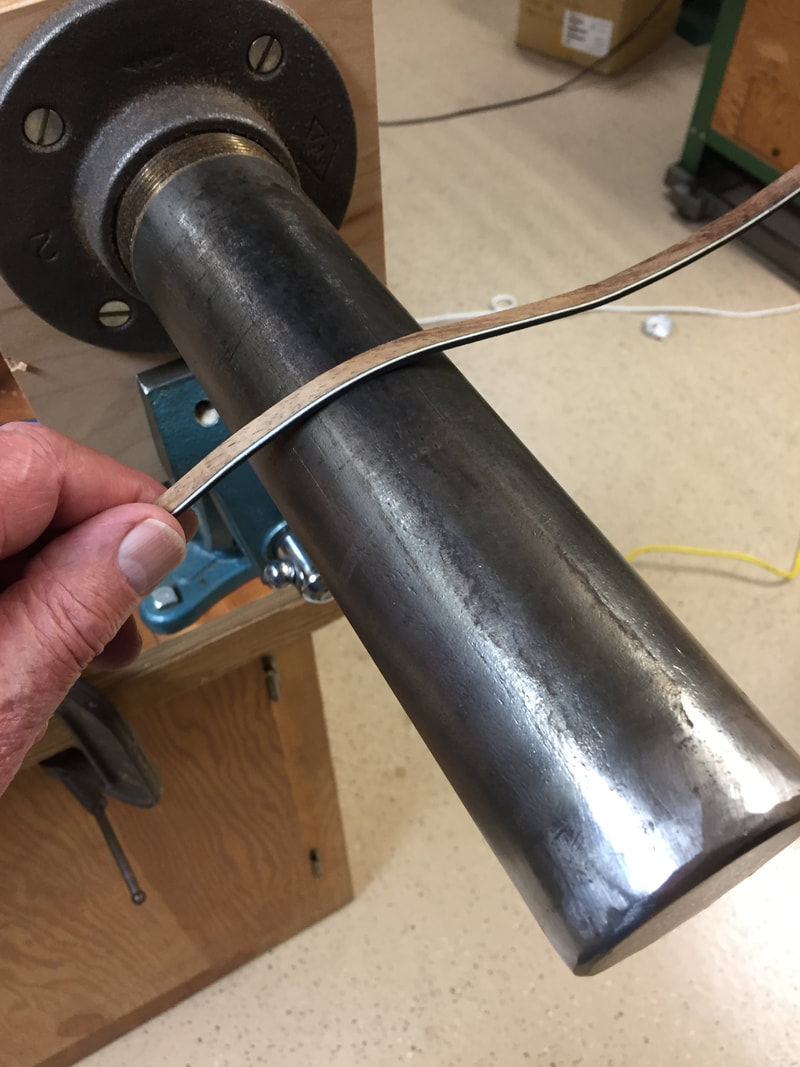
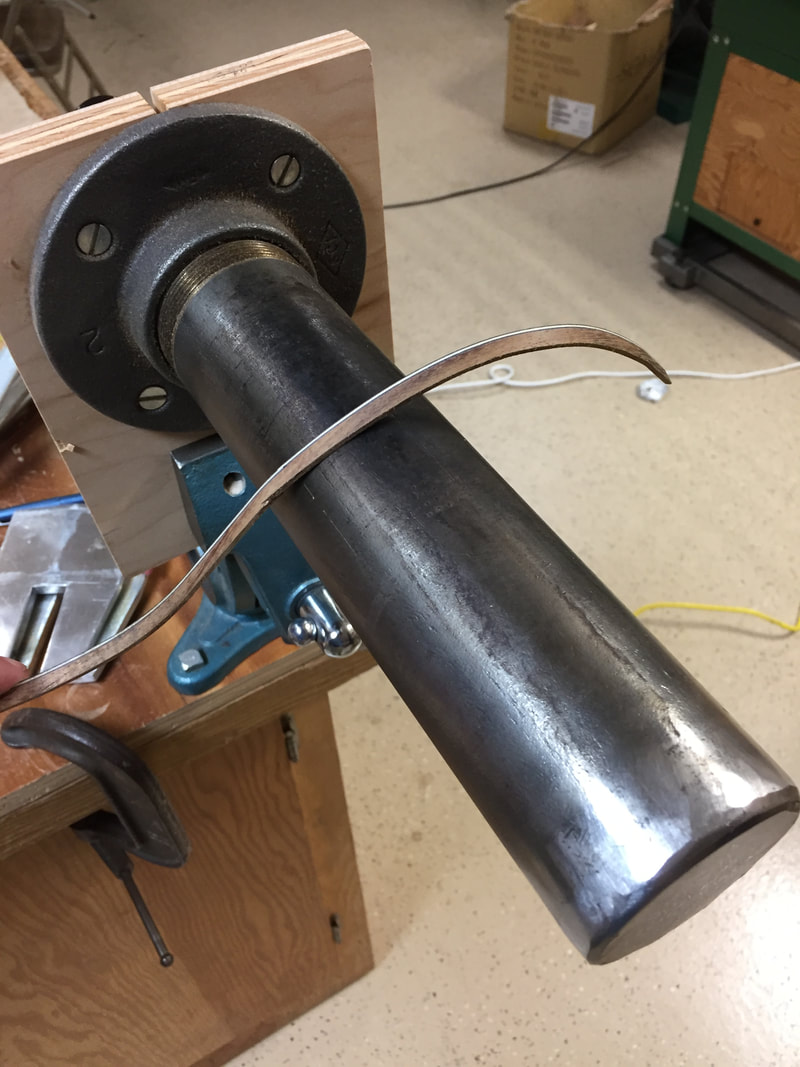
Before you can put on the bindings you must bend them to the shape of the instrument-so out comes the hot pipe with the soldering iron in it. I got it up to 270 degrees and started the bends.
This beats using the bending machine. Less breakage, and you can fit the bend almost exactly to the uke with a little practice. I was getting pretty good at it after the 3rd or 4th binding.
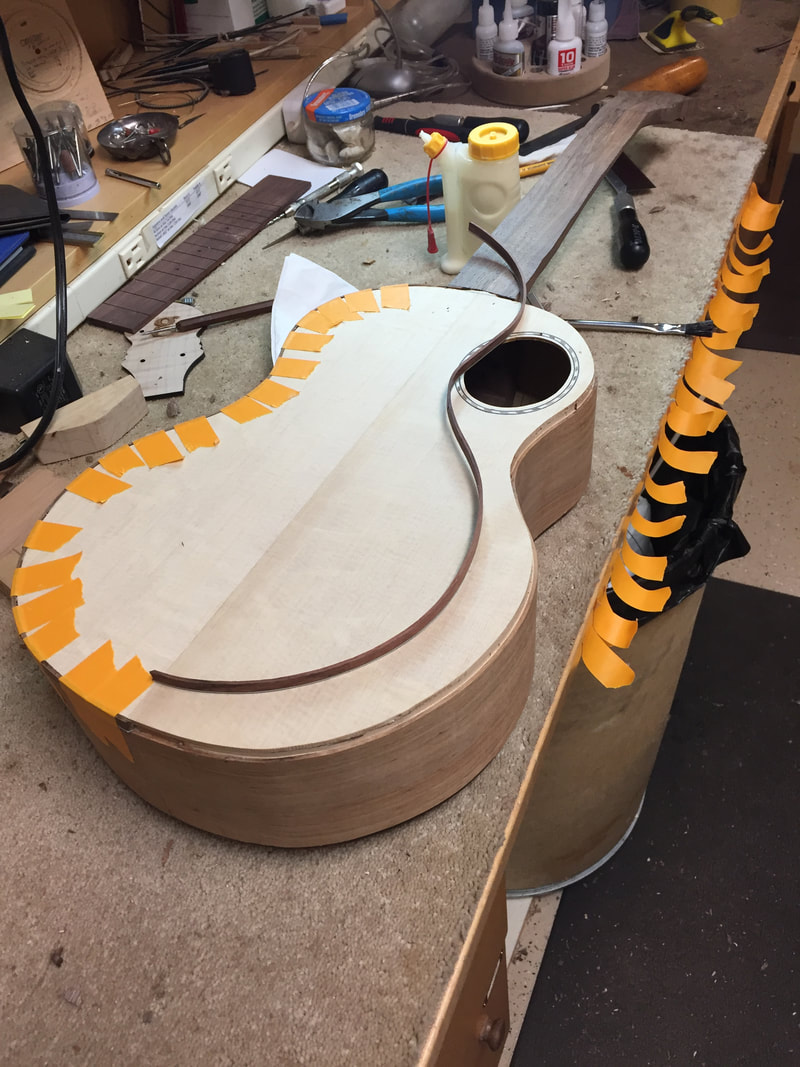
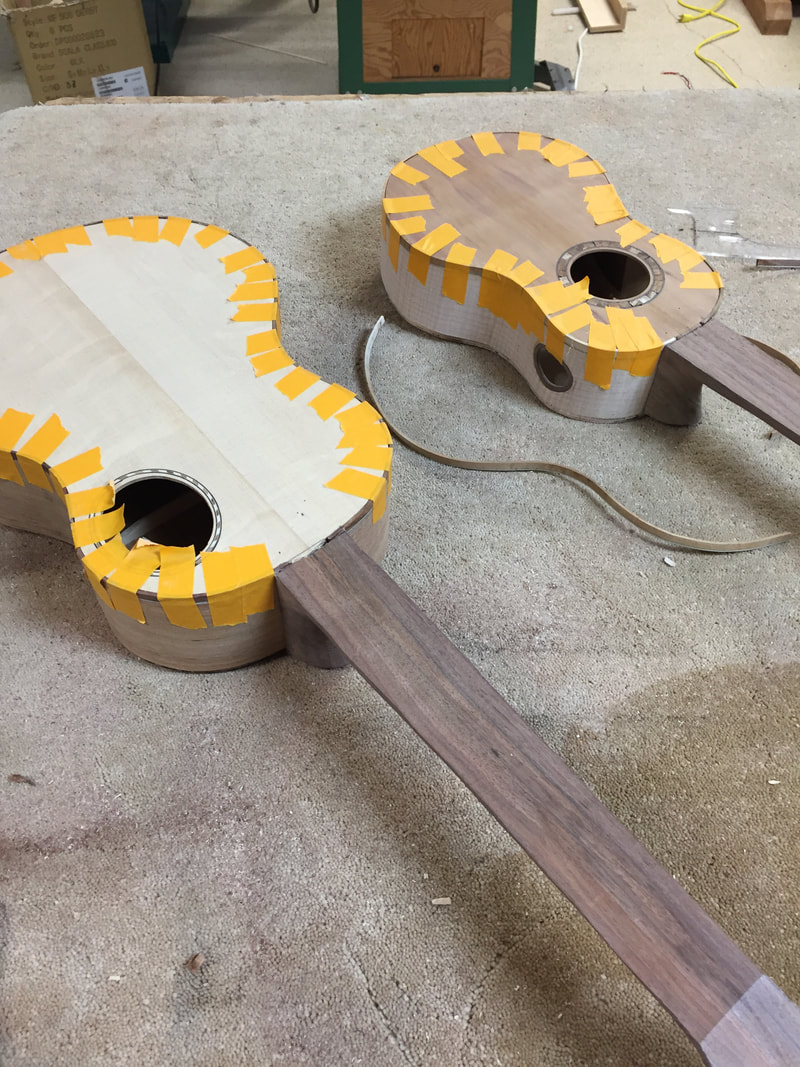
The baritone already has one binding taped on with the special orange binding tape. I am getting ready for the other side. Notice the tape is already torn and at the ready. Once you start this process you don't want any delays to tear tape. Quicker is better. On this second binding I start at the bottom as you want to make that scarf joint perfectly tight. You have measured and dry fitted the binding several times before applying the glue.
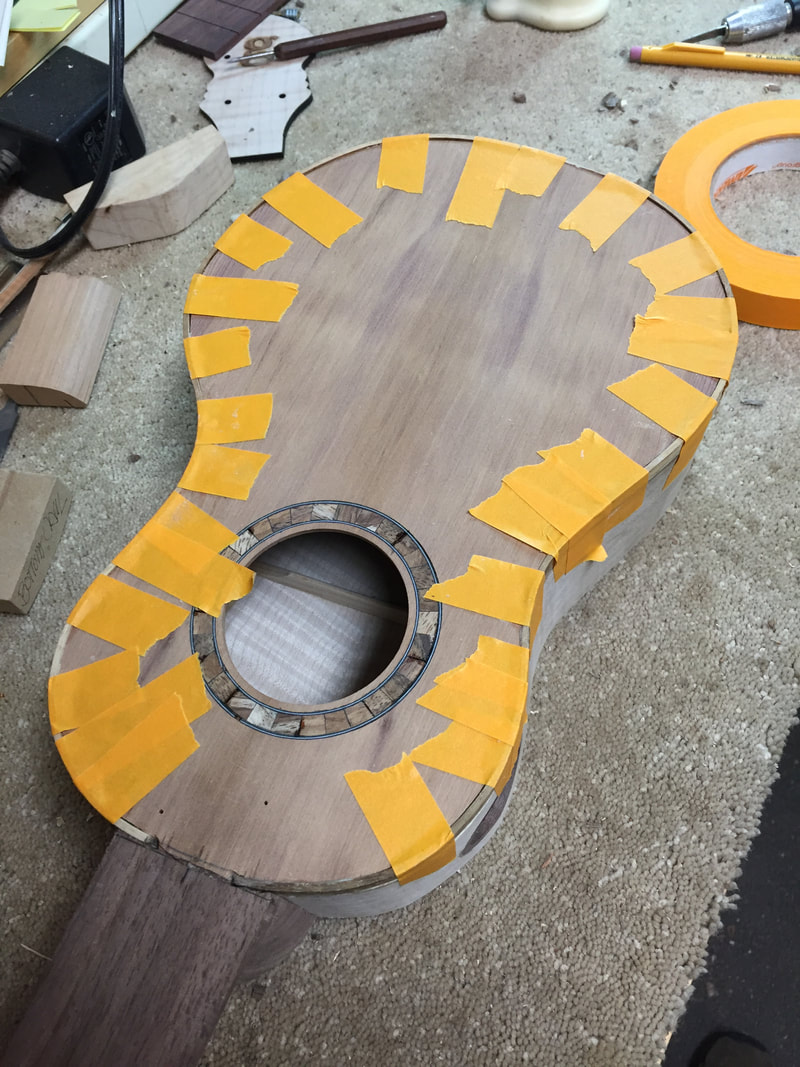
Here is the Concert with the top bindings done. Tomorrow I will do the bottom two.
Thats enough for tonight. I got good fits on all of these bindings. Think they are going to look good. We will see tomorrow when the tape comes off.
These bindings are for more than just good looks. They protect the delicate edges of your ukulele from the inevitable knocks and nicks. They also seal up the edges of the instrument's wood helping to minimize the effects of humidity change. Wood absorbs moisture up the grain which is exposed on the edges unless sealed with binding.
These bindings are for more than just good looks. They protect the delicate edges of your ukulele from the inevitable knocks and nicks. They also seal up the edges of the instrument's wood helping to minimize the effects of humidity change. Wood absorbs moisture up the grain which is exposed on the edges unless sealed with binding.
