OH! I KNOW, I should not be calling them butt blocks. How about stern blocks, or rear supports, or aft bulwarks- No, I think "Butt Block" tells the story and I hope you will forgive me if it seems a bit in-delicate.
Anyway today I shaped and installed all the butt blocks. Take a look.
Anyway today I shaped and installed all the butt blocks. Take a look.
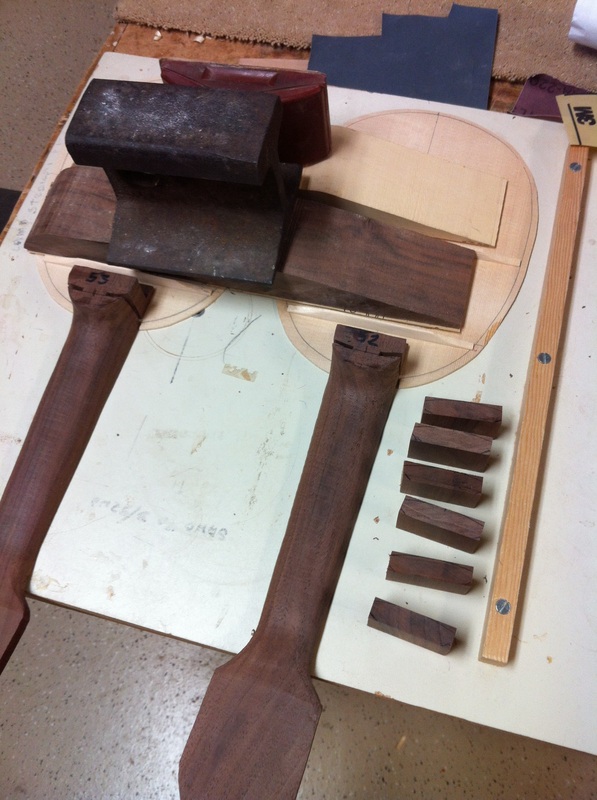
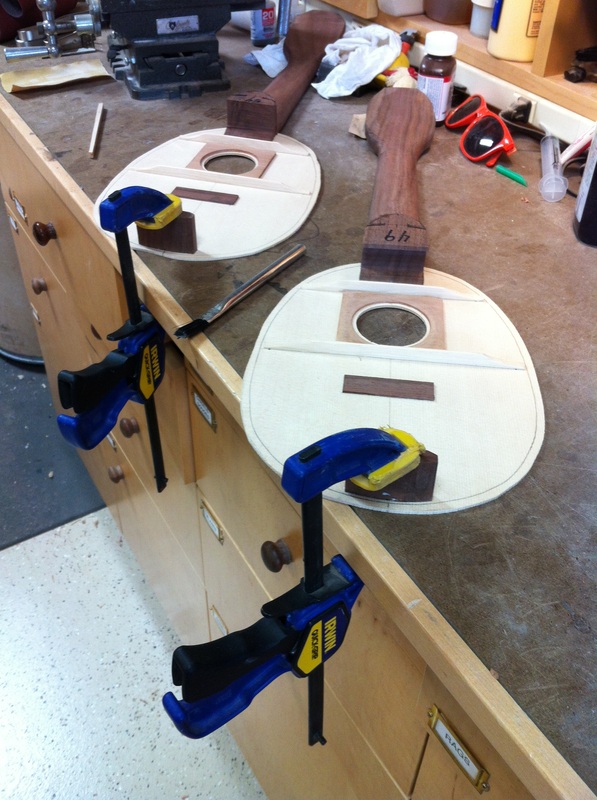
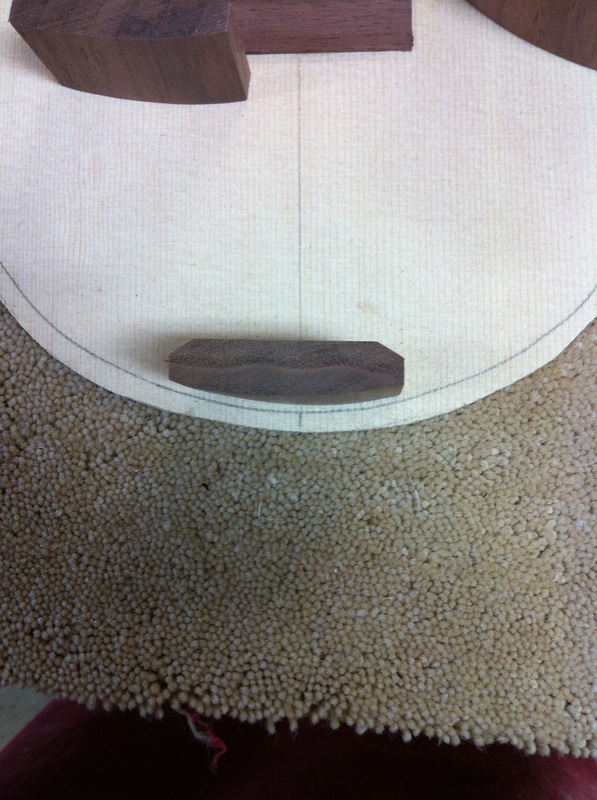
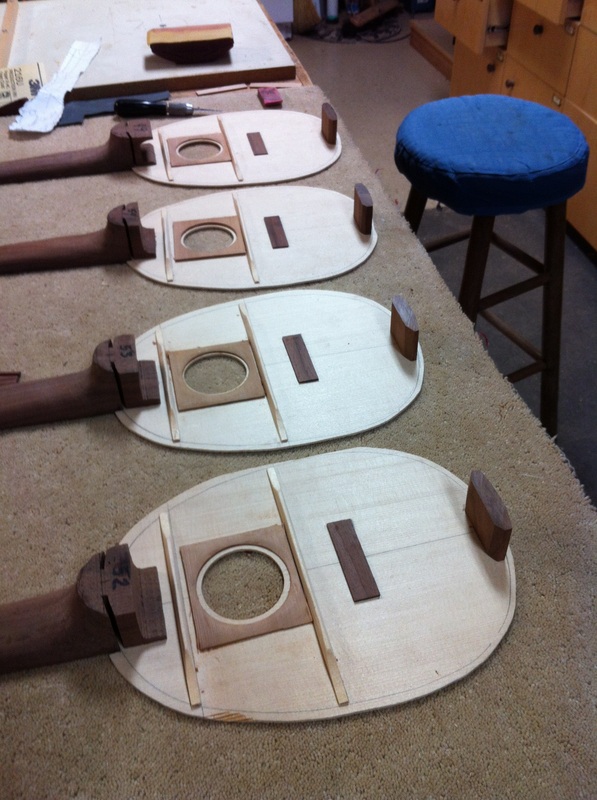
| 1. This picture illustrates my archaic method of clamping down on the supports around the sound holes. This nice piece of walnut spans both supports and I weight it down with a piece of railroad rail which also doubles as the shop anvil. On the right you see the six butt blocks cut from scrap walnut. It is really handy to have an overhang on your work bench. I use it to clamp the Butt Blocks on as the glue sets. | 2. Now if you carefully mark the curve that the side will take at the rear of the uke, and take your Butt Block to the sander you can shape it like this, You want to glue it to the top leaving enough space between its curve and the outside of the side. The side will be bent to set just inside the pencil line drawn earlier on the underside of the sitka spruce top. And here they are, all six are now fully assembled and waiting for their sides to be attached. I have a busy weekend coming up but I might get time to bend the sides. If not, surely next week will see the sides completed and it will be time to carve the backs. I am eager to get these little gems finished as they are really fun to play, and I have not had one for my own for over a year. This time I plan on keeping one for myself as they are a terrific travel uke. |


