SORRY for the long lapse in blog entries. None since my return from Ireland. First it was jet lag, then my computer got messed up. Just got it out of the repair shop this morning and all is well. So my first blog is about
INSTALLING A MI-SI PICKUP
INSTALLING A MI-SI PICKUP
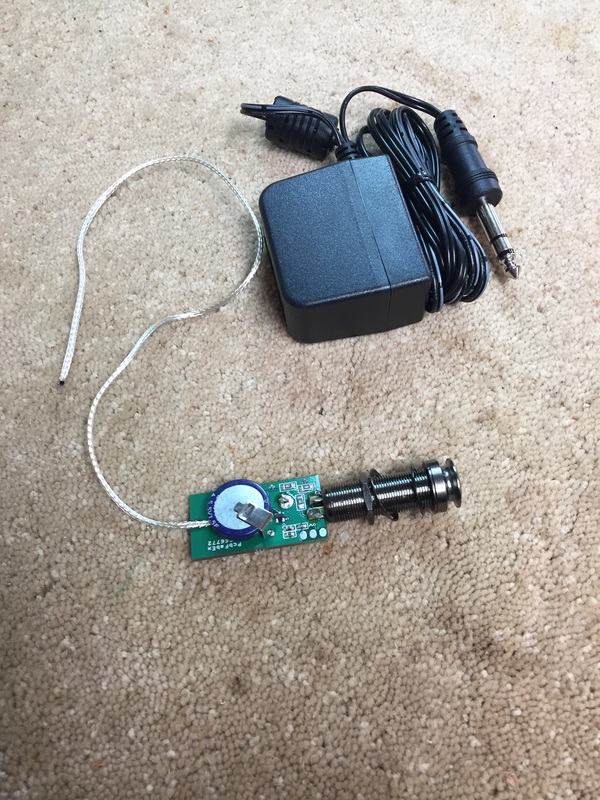
This is the Mi-Si pickup that is so successful in ukuleles. That round device with a blue rim is not a battery but a Capacitor. It stores enough electricity to power this pickup for 16 hours of playing and it receives its electricity by inserting the prong shown above into it for only one minute. It is a clean, neat system and I charge $150.00 to install them.
Gordon, who has purchased the new Walnut/Redwood tenor, wanted one installed before picking up his instrument next Saturday- so here was the process of installation.
Gordon, who has purchased the new Walnut/Redwood tenor, wanted one installed before picking up his instrument next Saturday- so here was the process of installation.
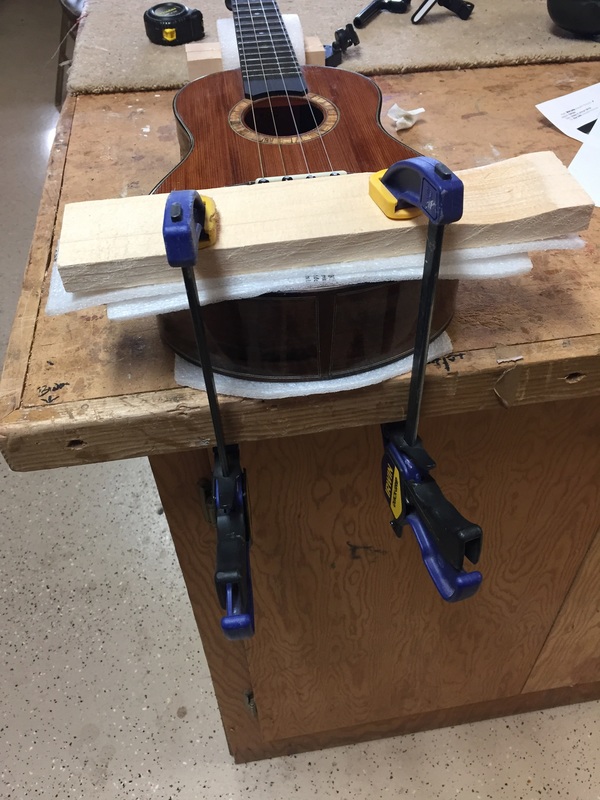
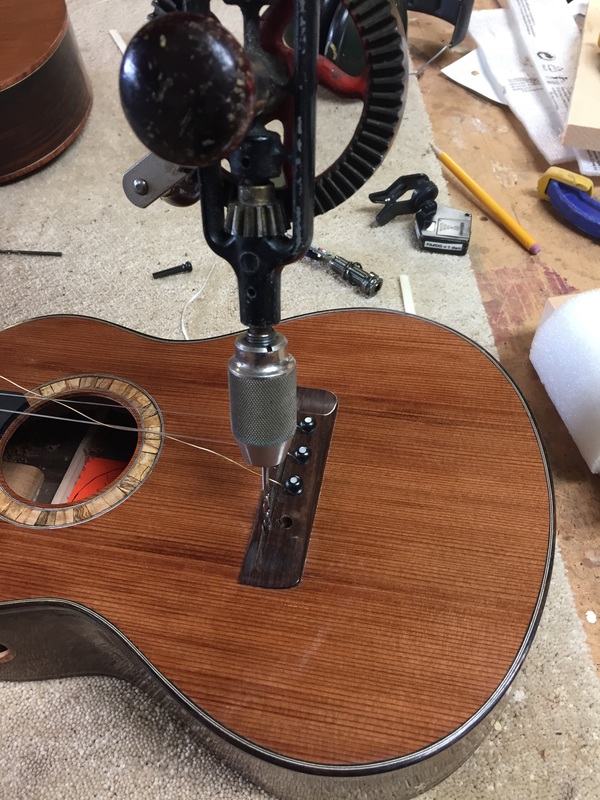
First, you want to stabilize the use so you can carefully drill the big hole through the butt block. I clamp it down like this, measure and mark the spot to drill dead center in the end piece.
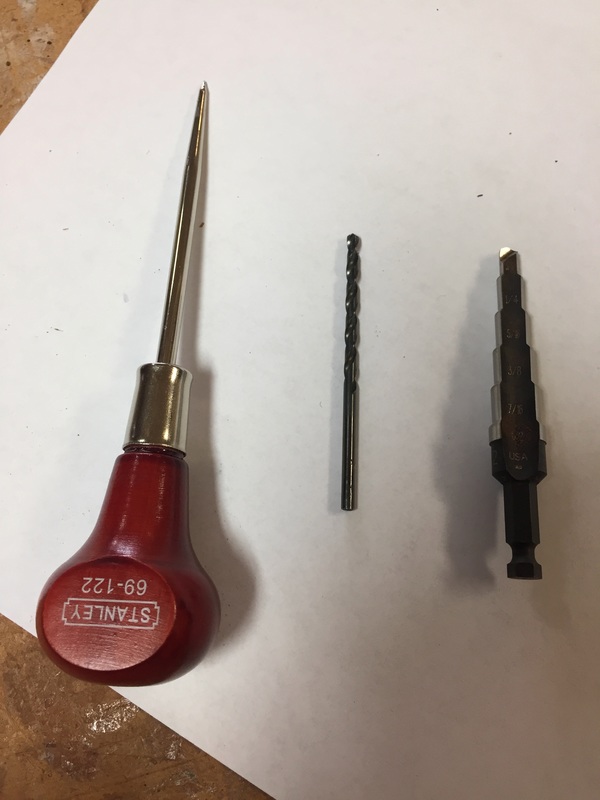
The auger on the left will make an indentation in the exact spot so that the drill bit will not wander. The drill bit is far too small but it will make a guide hole that that large graduated bit on the right will faithfully follow. The large bit is called a "step bit". I find that it makes perfect holes for these installations.
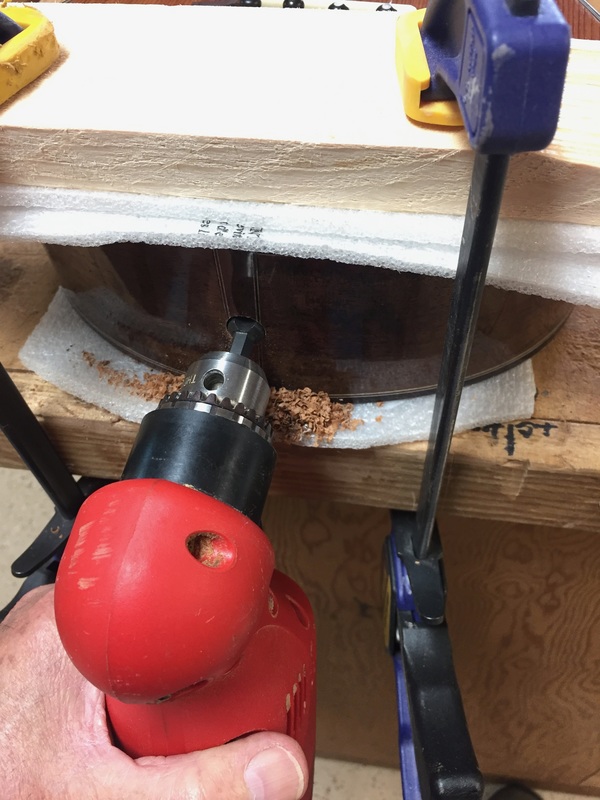
The step drill goes in all the way. This seems a bit scary, but that butt block is almost two inches wide and there is plenty of strength to support the pickup. Once the hole is drilled it is time to insert the Mi-Si.
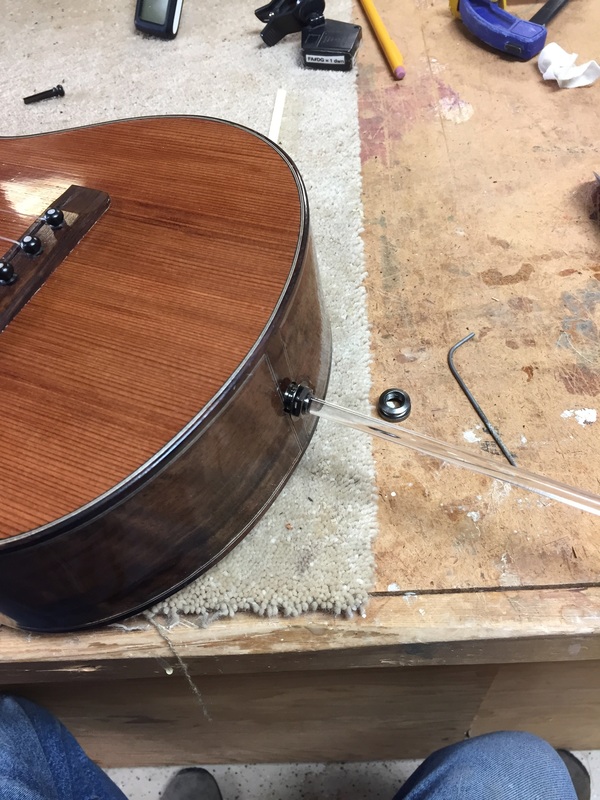
I hold the Mi-Si inside the ukes through the sound hole- then insert a long lucite rod in through the recently drilled hole. It just fits firmly inside the pickup. Now you carefully withdraw the rod with pickup attached, back through the hole until it is visible and grab-able. I usually have to do this several times while adjusting the threaded nuts and washers so that the protruding pickup is just the right length.
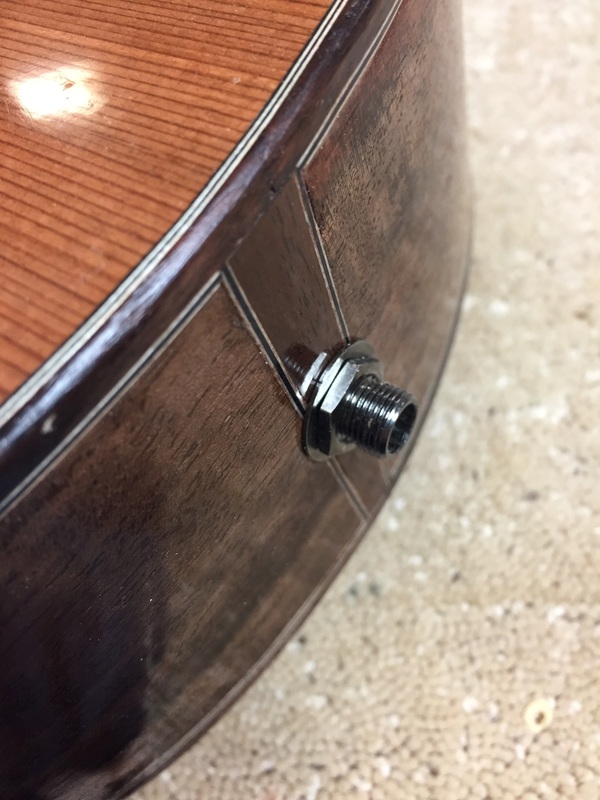
When the protruding pickup is just the right length, the washer and nut are threaded on and tightened firmly and we are ready for the next step.
A hole, exactly the width of the saddle slot is drilled in the slot. This hole is to accept the Piezo under saddle cable that picks up the vibrations from the strings. I use a hand drill as this is a slow and careful hole. You don't want to slip here and mar the finished instrument.
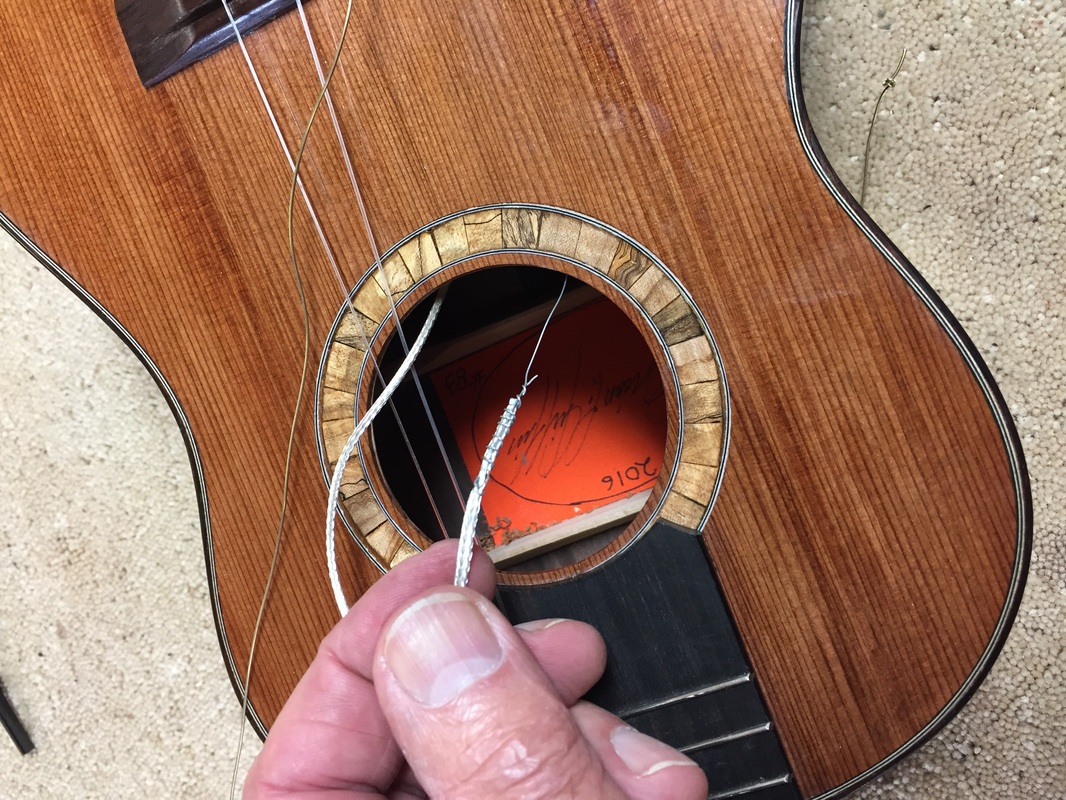
Now it gets tricky. You must lead that Piezo up through the tiny hole from the inside. I do this by inserting a wire down the hole, attaching it to the Piezo and then leading it back up the hole in the slot.
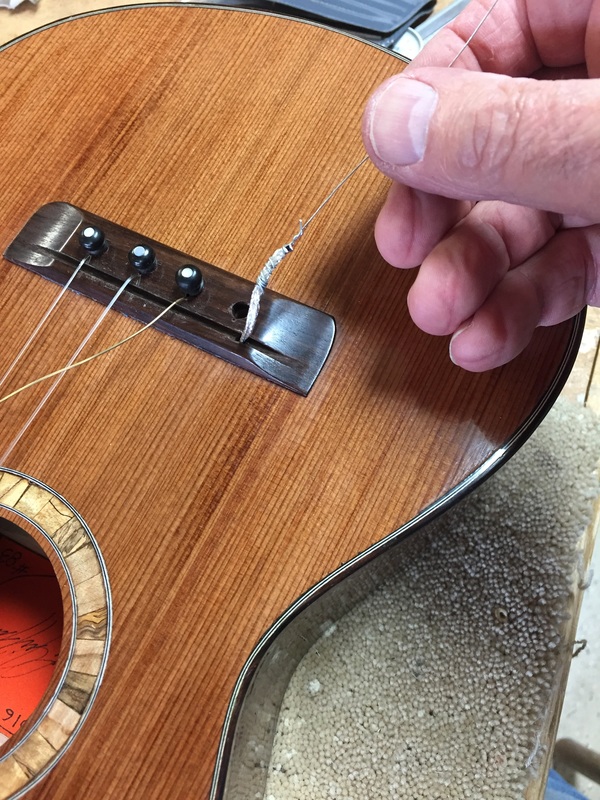
AW ! SUCCESS. Now all there is to do is un-attach the pull-wire and lay the Piezo in the slot.
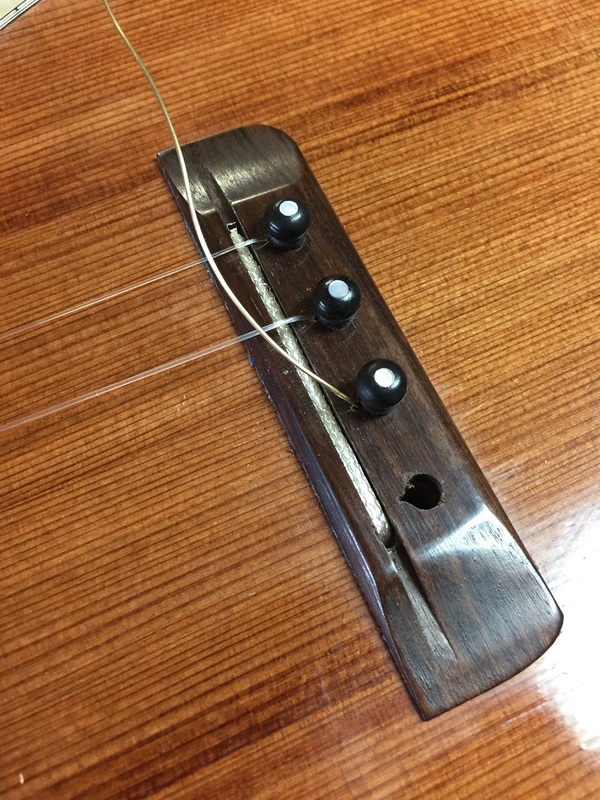
FINISHED. now all you need to do is replace the saddle and the G string and tune up the ukes.
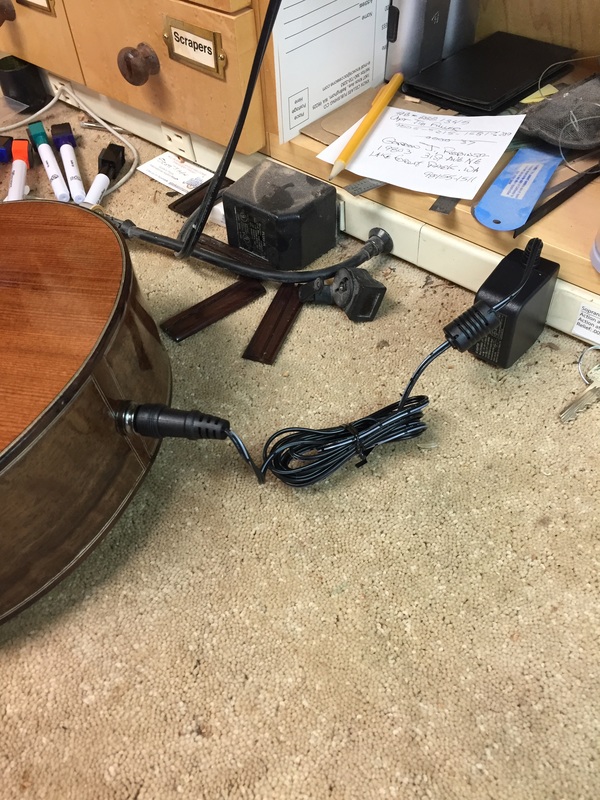 Lets power up the pickup. One minute plugged into the 110 circuit and it is ready to go. | 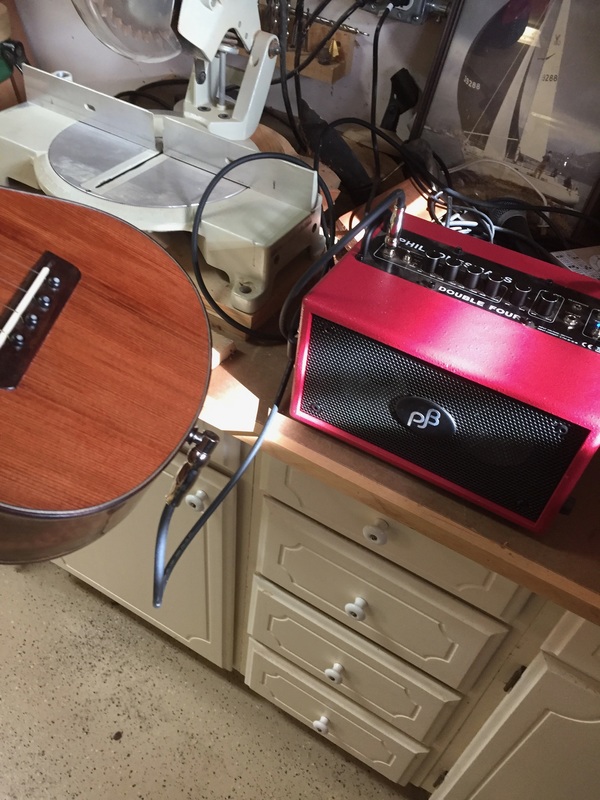 And here is the final test. Plugged into my Phil Jones Amp, it sounds wonderful. Job completed. |
