Before you attach the necks you want them pretty close to being finished. The necks are then attached to the soundboard.
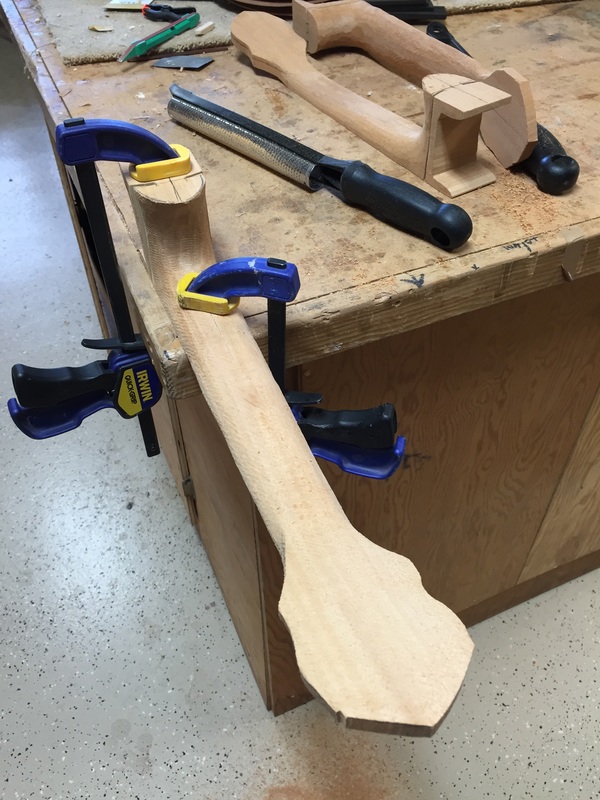
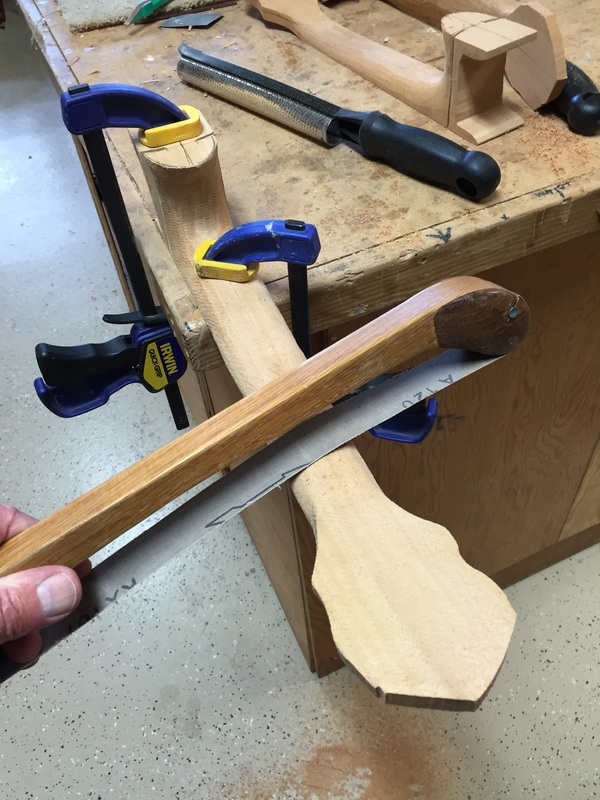
After shaping the necks with the rasp, I hold them down like this so I can apply the Bow Sander. With 80 grit sandpaper on the bow sander you can do a great job of shaping as well as sanding away the rasp marks.
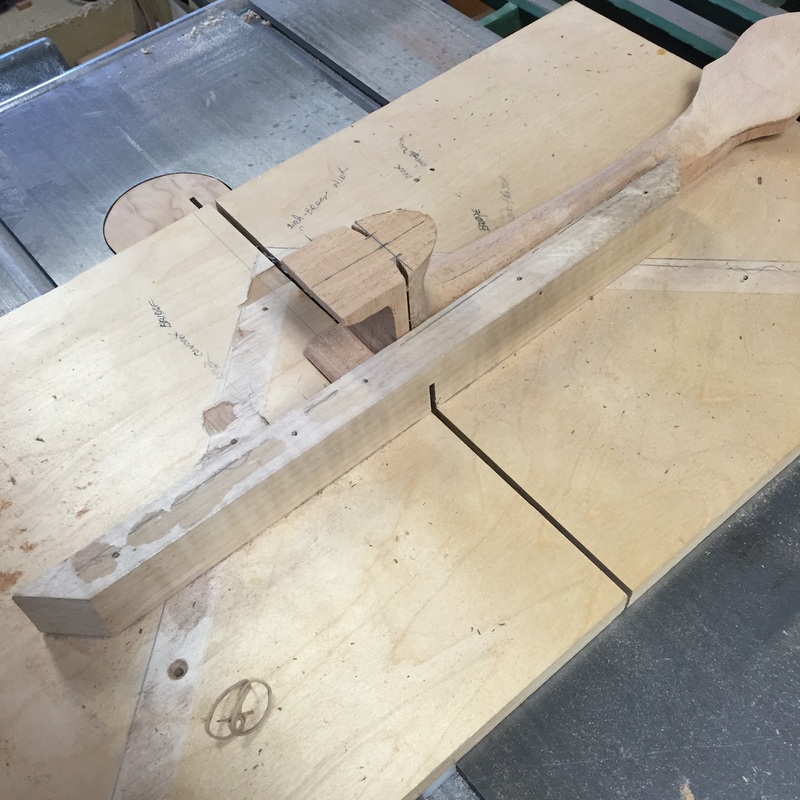
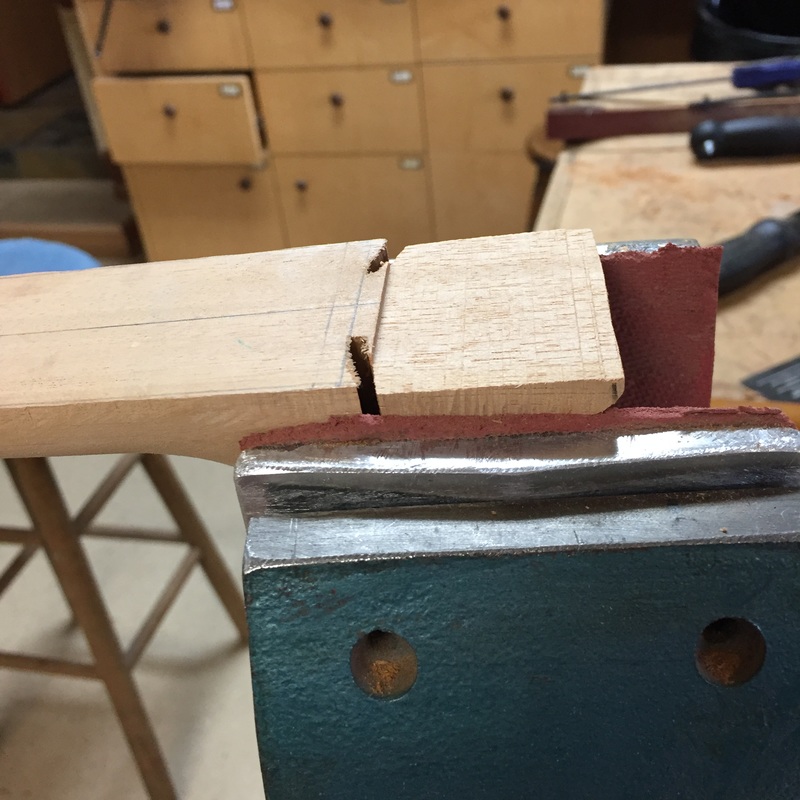
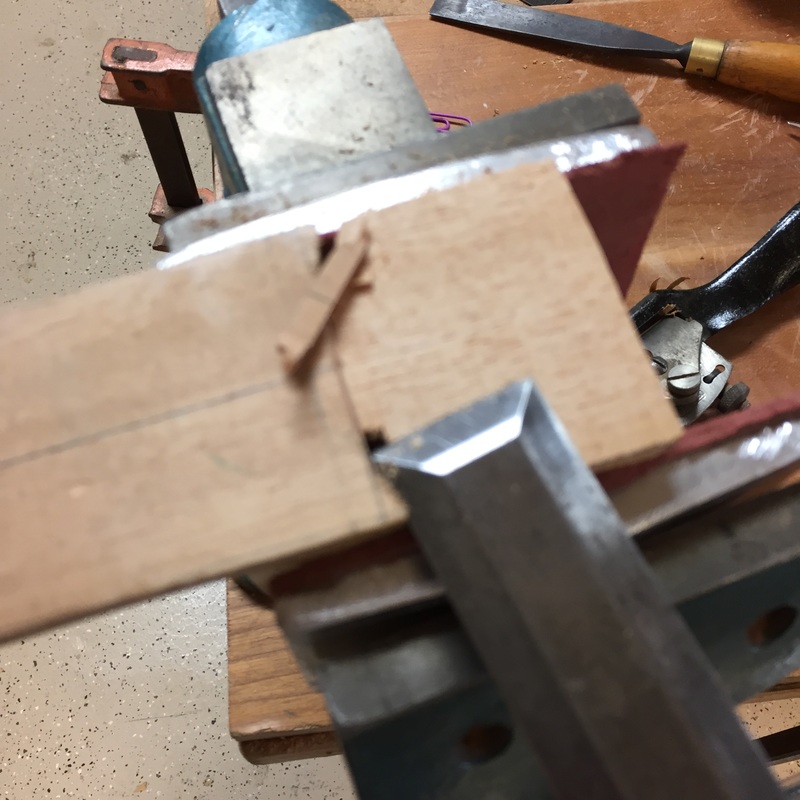
| Carefully setting the height of the blade, this sled on the table saw is an easy way to hog off space for the soundboard on the top of the neck. With a slightly curved chisel, I cut the angle | The recess has been cut exactly to the level of the soundboard. Now it must be cleaned up a bit to fit before glueing. And with the old english flat chisel The top is planned and smoothed. |
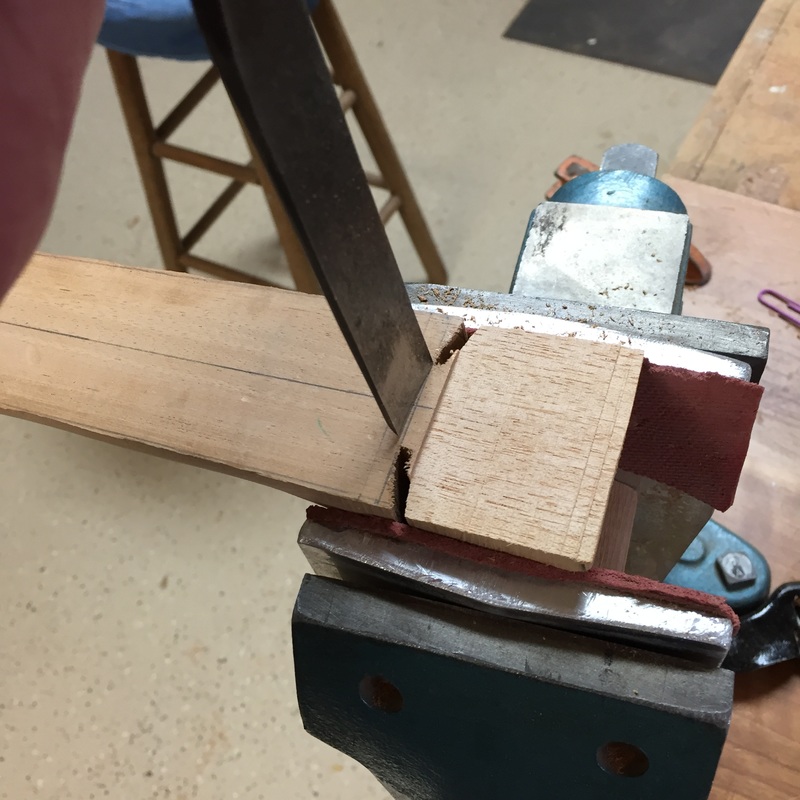
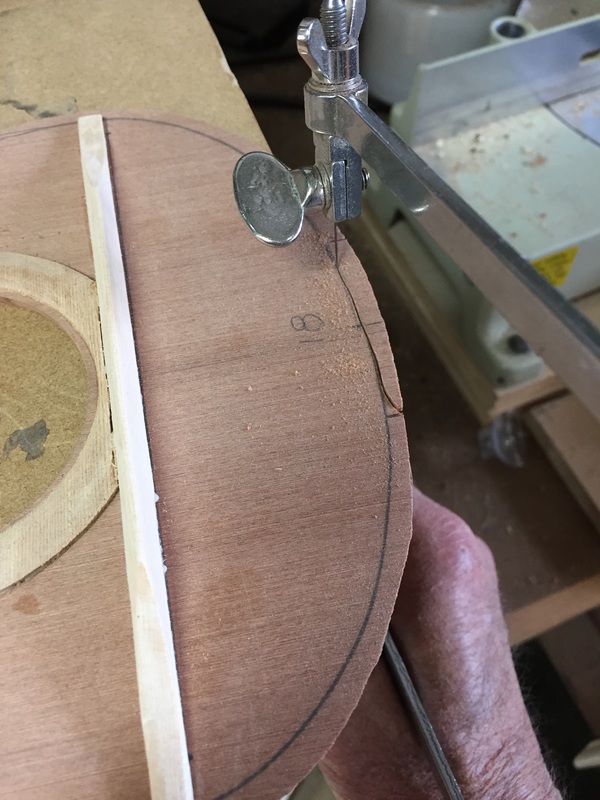
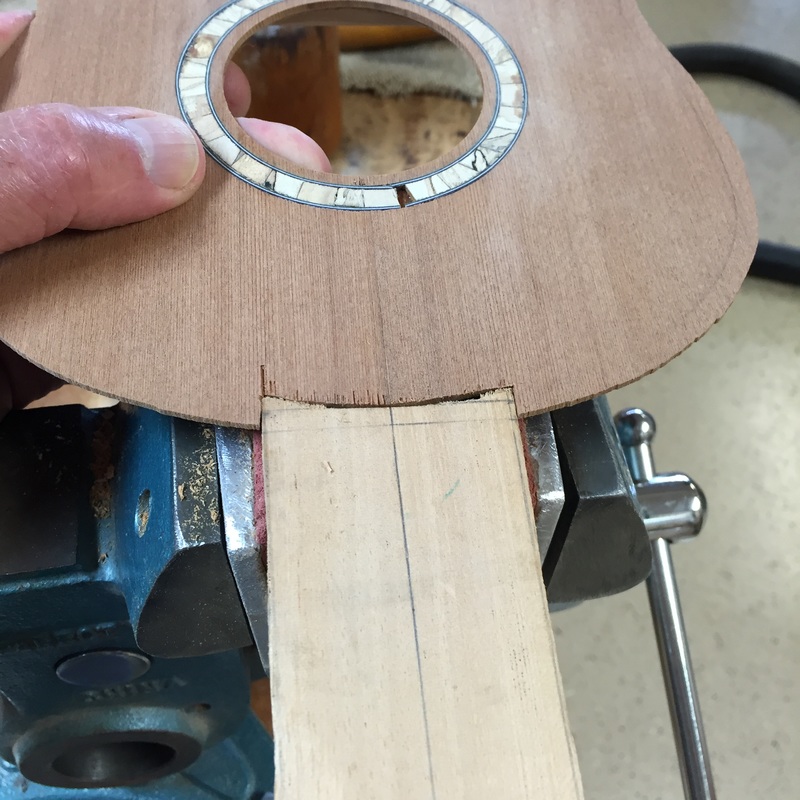
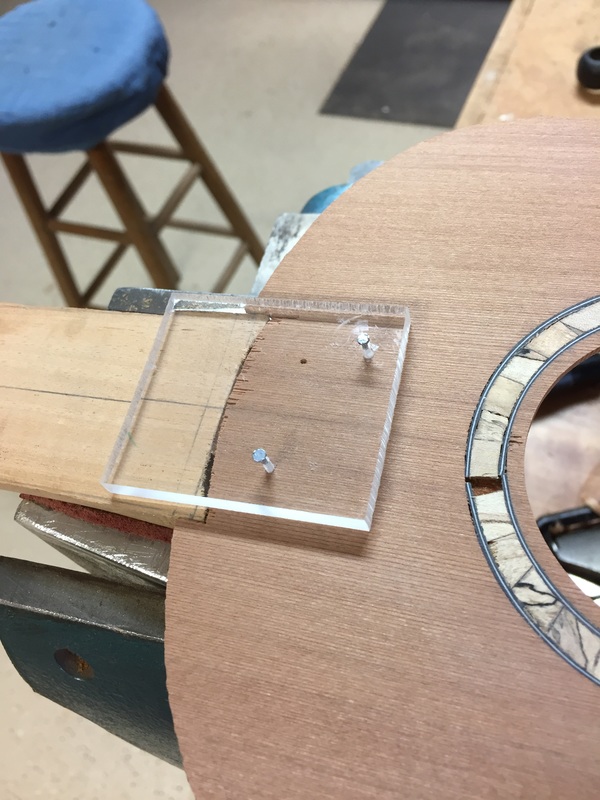
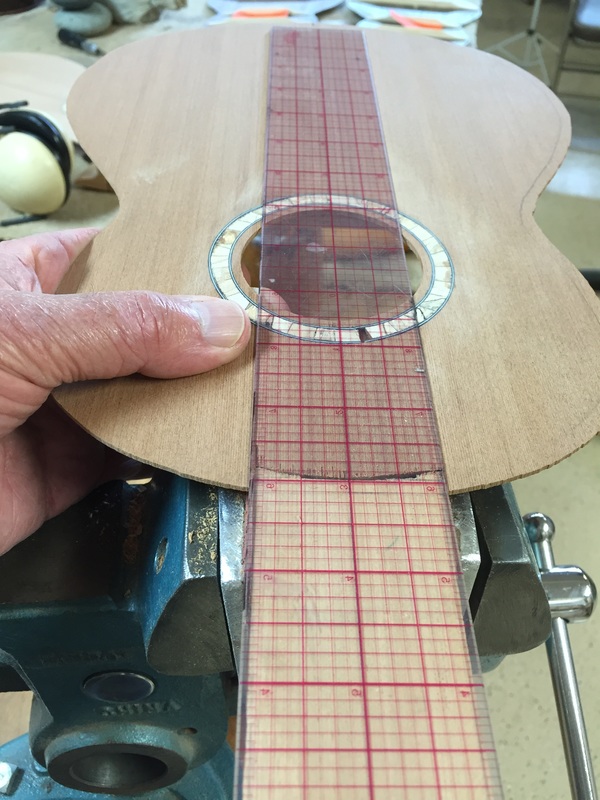
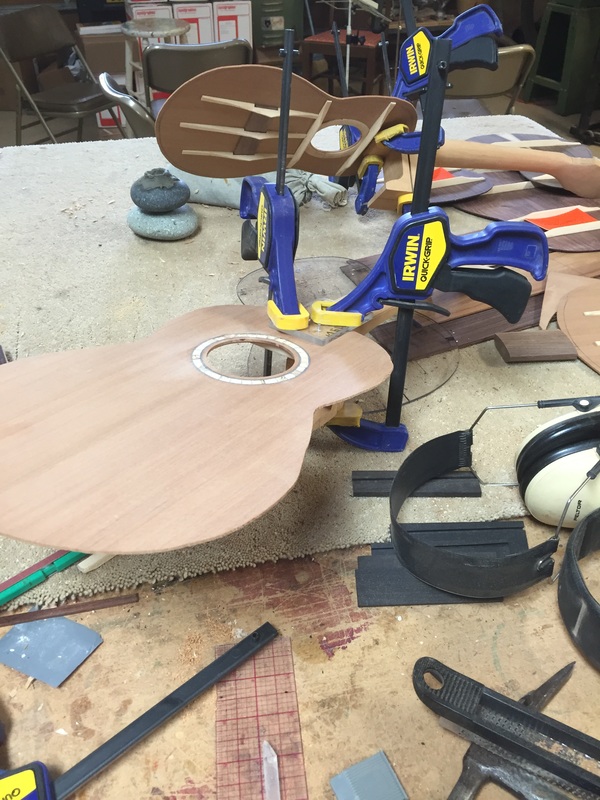
| With a jewelers saw I cut a notch to fit the neck. It is cut to the drawn line. with a little trimming with a sharp blade it is now fitting, but we need to be sure it is straight Now it is time for the gluing caul. There are two holes in it for two brads that will set the soundboard into the neck. First one brad is tacked in. Then the top is adjusted to be perfectly straight and then the second brad is tacked in. Then the brads are removed, the glue is applied and put back together with the brads returned to their holes and it all lines up again. t | This is a crucial stage. The neck must be straight with the body, so check and check again Two of the tops are now glued to the necks and clamped. I will most likely get the third one connected after dinner. Before long we will be at the side bending stage. These ukes are coming along really well. Stay tuned. |
