THIS IS ANOTHER CRUCIAL STEP; If you goof up here the ukulele will never sound right. It will never have proper intonation, so take it slow, take it careful. Check and check again before you apply the glue.
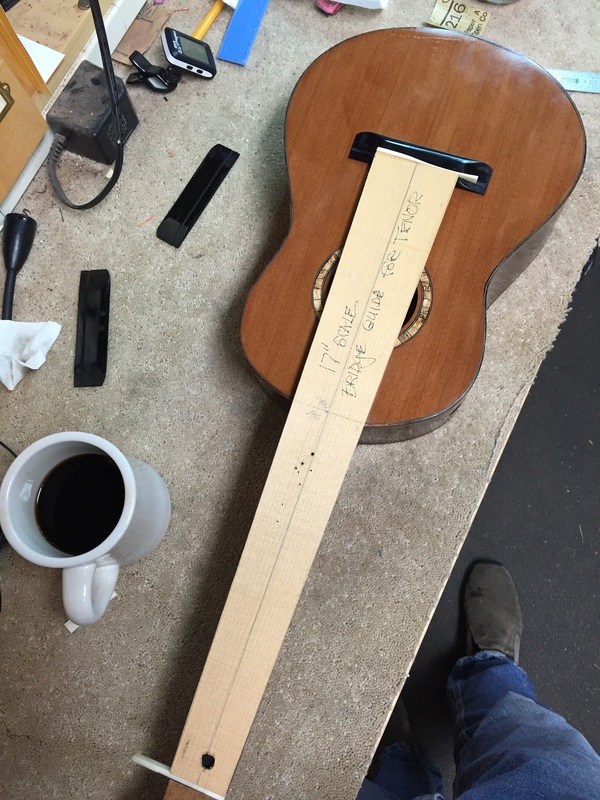
It is a great deal easier, and safer, to make an accurate 17 inch template and use it to place the bridge. This piece of spruce goes between the saddle and the nut and is the very same each time you use it.
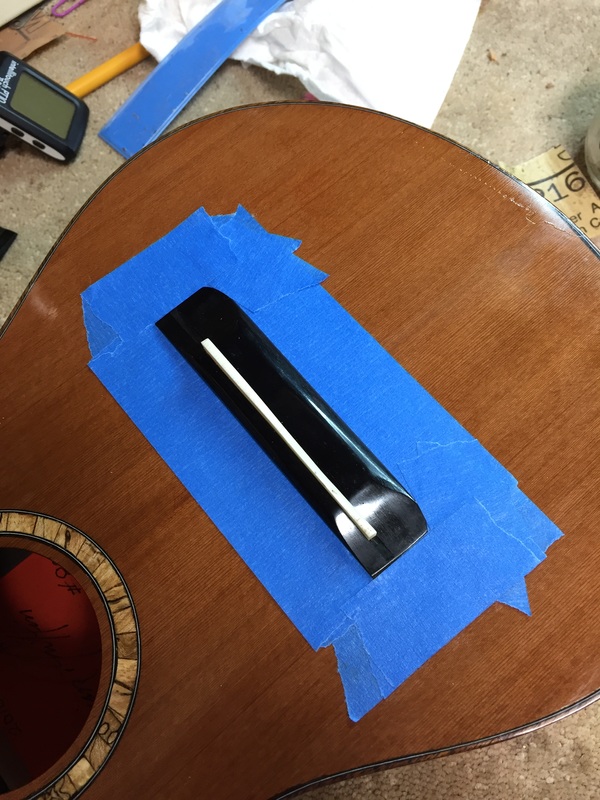
When that bridge is perfectly centered, surround it with several layers of masking tape. That prevents slippage and marks the place to glue it down. Now its time to make way for the glue.
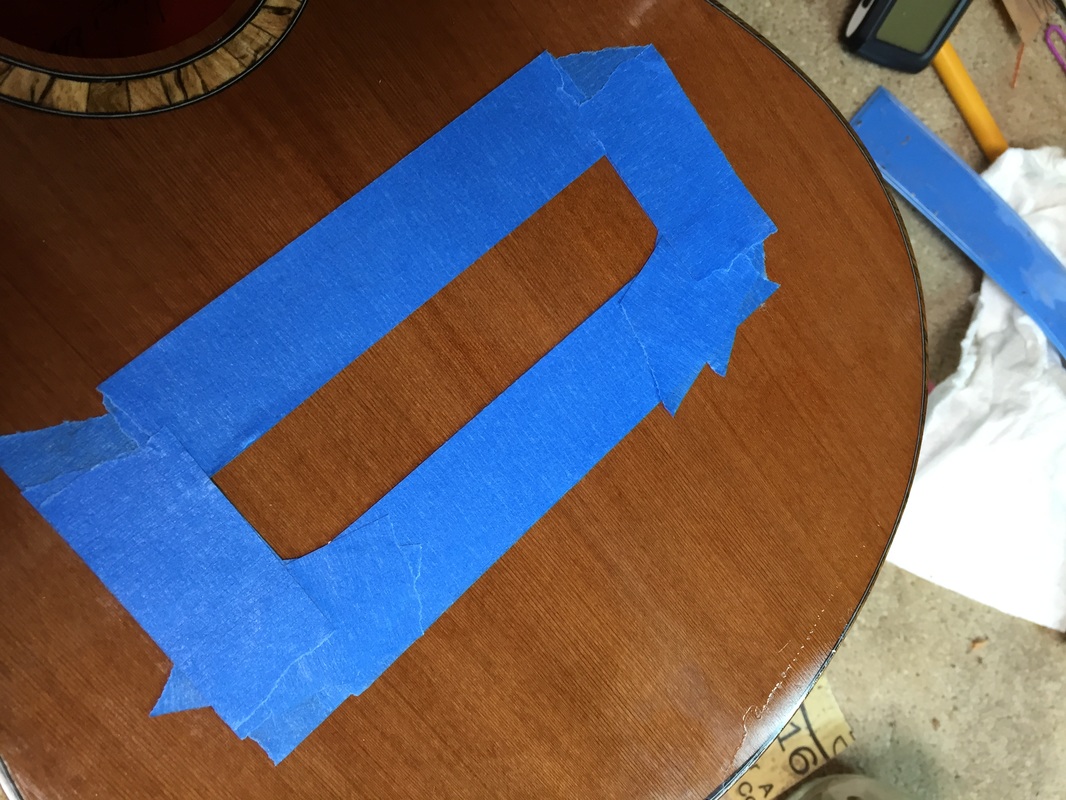 Here is where you want it to go, but it will never hold fast on all of that shellac, so "see the right hand picture"you scrape away all of the finish within the bounds of that tape. Not hard to do, just a bit of scratching with a safety razor blade. | 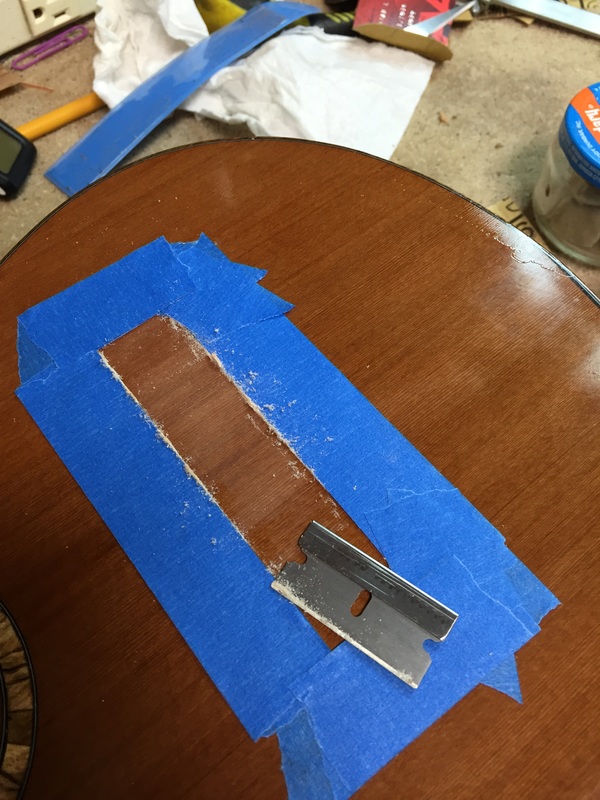 |
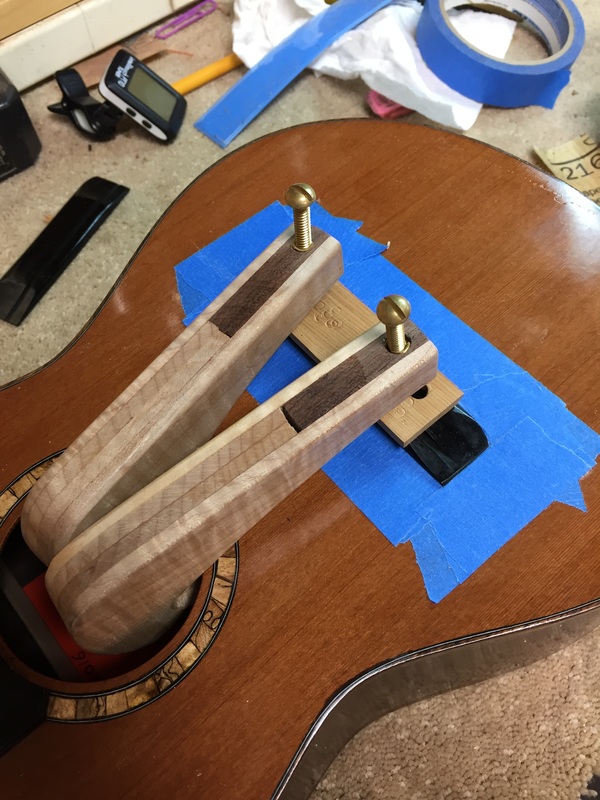
Now for a bit of glue brushed on both bridge and top, and a hold down with these homemade clamps built to fit tenor ukes with the interior bracing that I use. Tomorrow I will add the Peghed tuners and string this baby up.
