Wow, I had forgotten how labor intensive this part of the build is. I spent the entire day messing around with bindings and their application, and I am only a little more than half done.
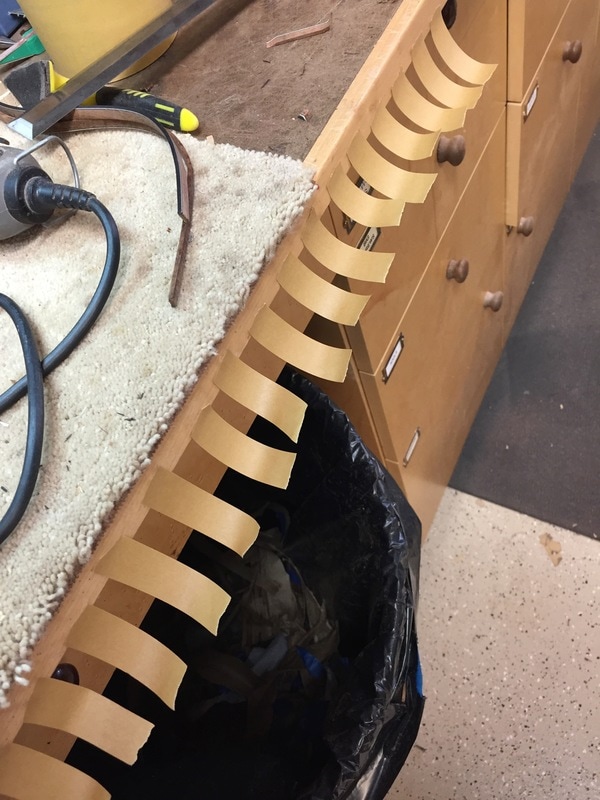
The bindings are held to the instrument while drying by this special tape. You need to get the tape all ready to apply before applying the glue. Here is how I get ready for the glueing
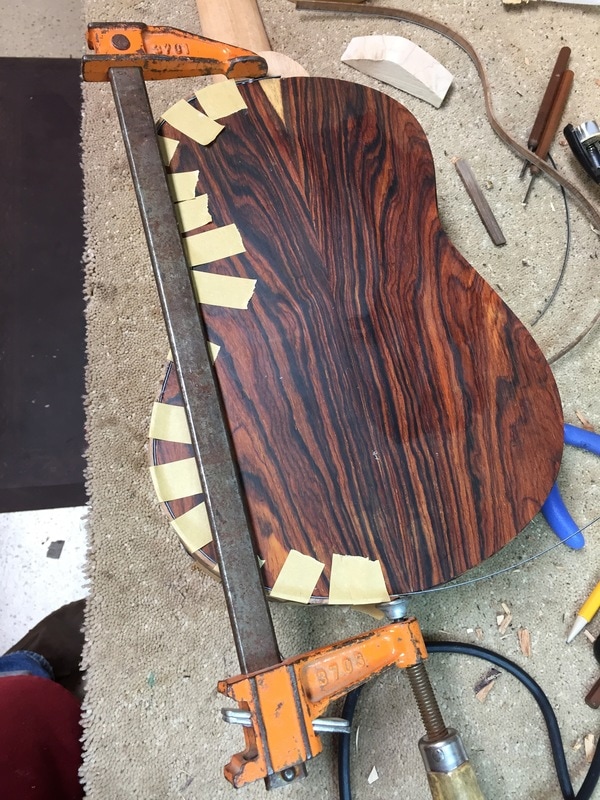
After carefully positioning the binding, the glue is applied, the tape grips it to the instrument and you wait for the glue to dry. The tough point is frequently in the tight bend of the waist and if needed I apply this clamp system to hold the binding in tight.
One of the problem points is always at the very ends of the bindings where it is tough to bring the binding tight to the body with tape. In those situations I use clamps to bring the binding tight to the body.

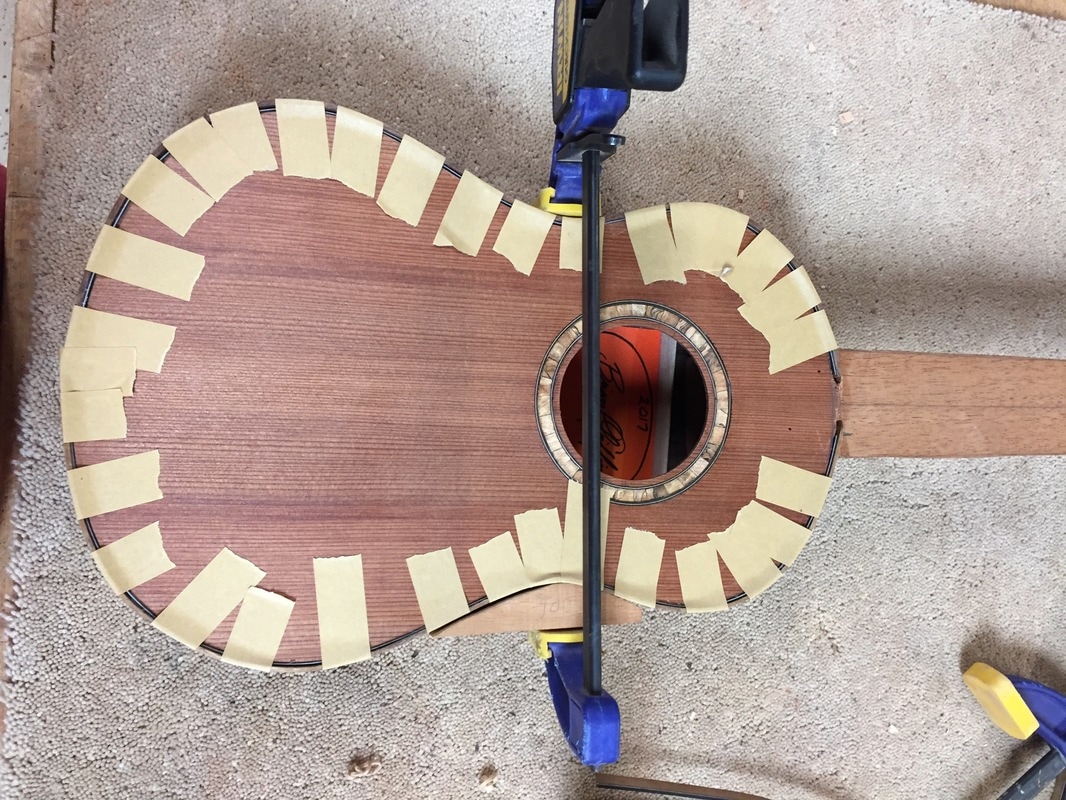
This is a topside bound up with white/black/white purfling. Some of the bindings seem to fit just write, without tension or pressure. Some of it must be forced into position. This particular fit was an easy one.

This one needed a little help. I was not pleased with how tight the waist binding was. I decided to help it out with this clamp at the waist. You will see how this all worked tomorrow when I should have the bindings all attached.
