THIS IS NOT A SMALL CHALLENGE .
getting the bindings and purfling tight to the body are crucial to what the uke will look like. It begins with a good bend of the bindings, then a successful cut of the grooves that they both sit in --and then you have to get them in the proper place and glue them in. That was the challenge today. So far So good.
getting the bindings and purfling tight to the body are crucial to what the uke will look like. It begins with a good bend of the bindings, then a successful cut of the grooves that they both sit in --and then you have to get them in the proper place and glue them in. That was the challenge today. So far So good.
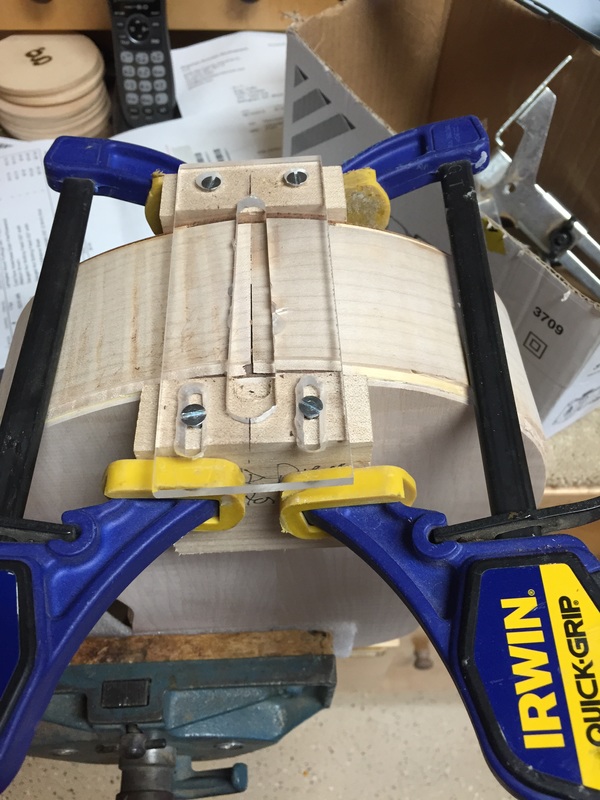
Also have to cut the groove for the end piece. Here is the jig that guides the router bit. Got the grooves all cut with mishap.
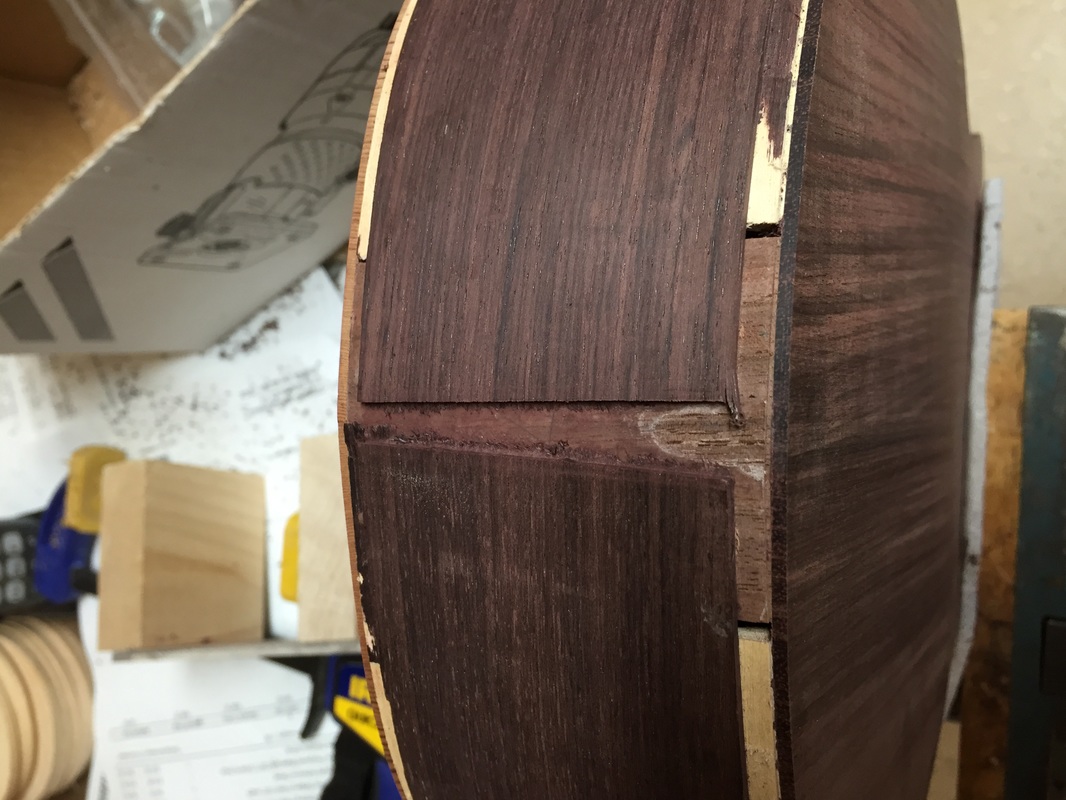
Here the cut has been made. I will have to fill all of these spaces with bindings and inlays. The cut is always a little scary, the worst is over. (or is it?).
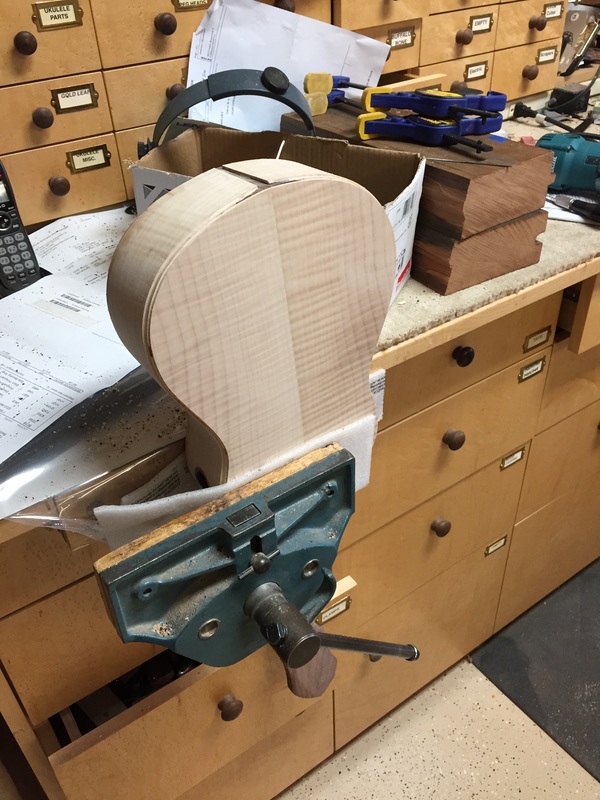
This is all done with the uke held firmly in the bench vice. Be sure to pad its jaws well.
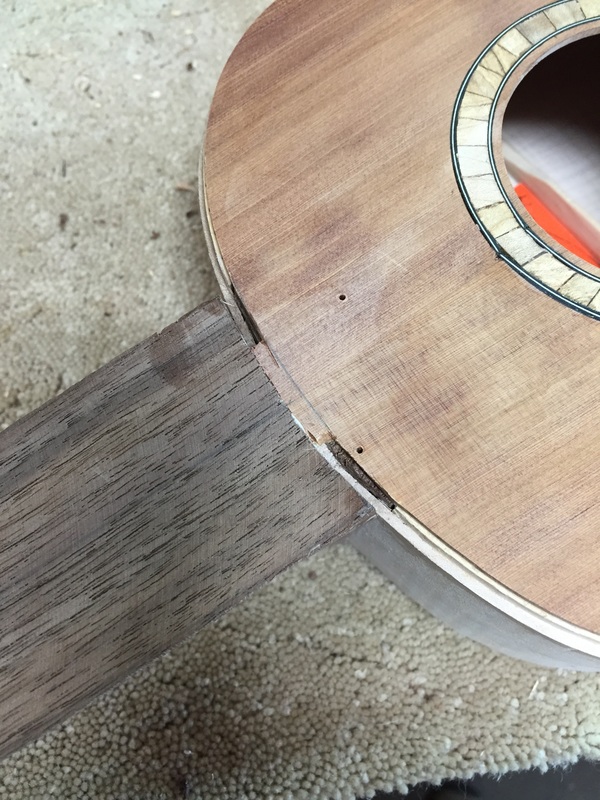
Then you must gouge out channels to hold the binding at the neck
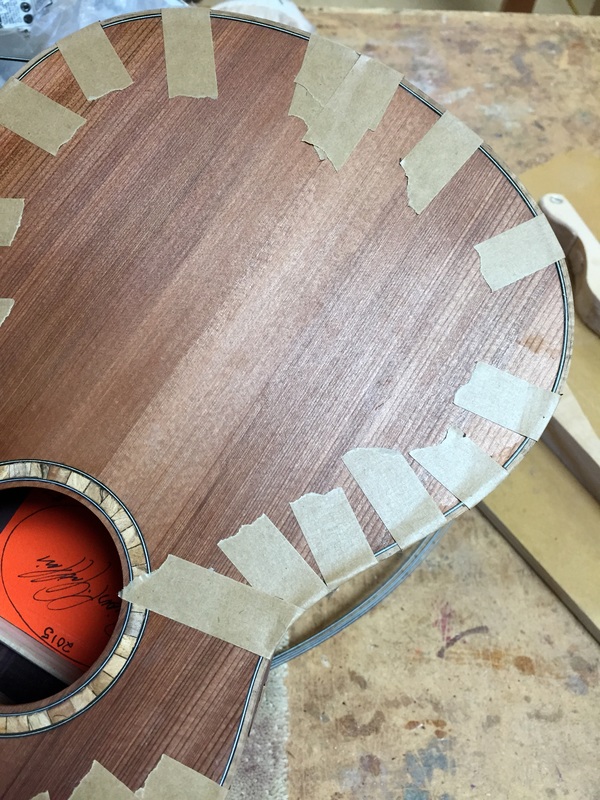
Then it is time to add glue and hold the purling and binding in place with this special tape while the glue dries. So far it is looking good.
