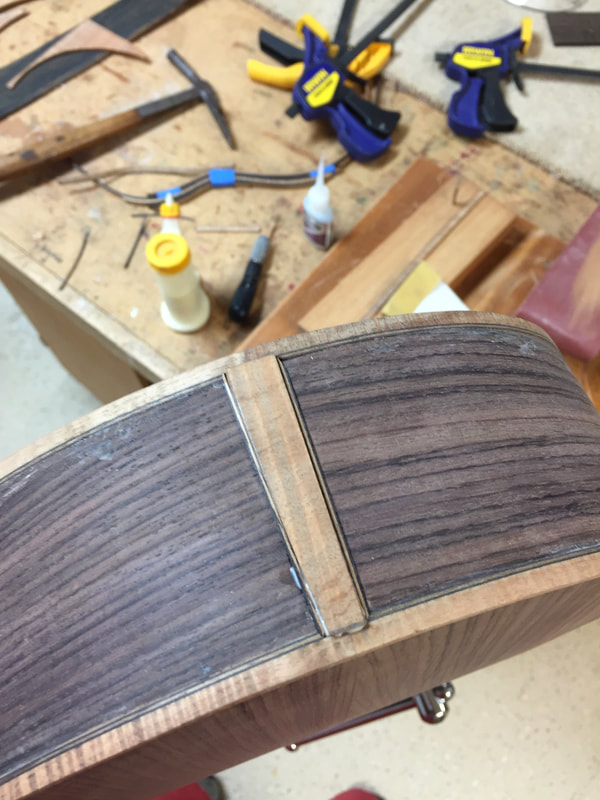
Today I got the last of the binding installed, the end piece attached, and the heel plate glued on. About all that is left is the Peg head plate and then lots of sanding and finishing.
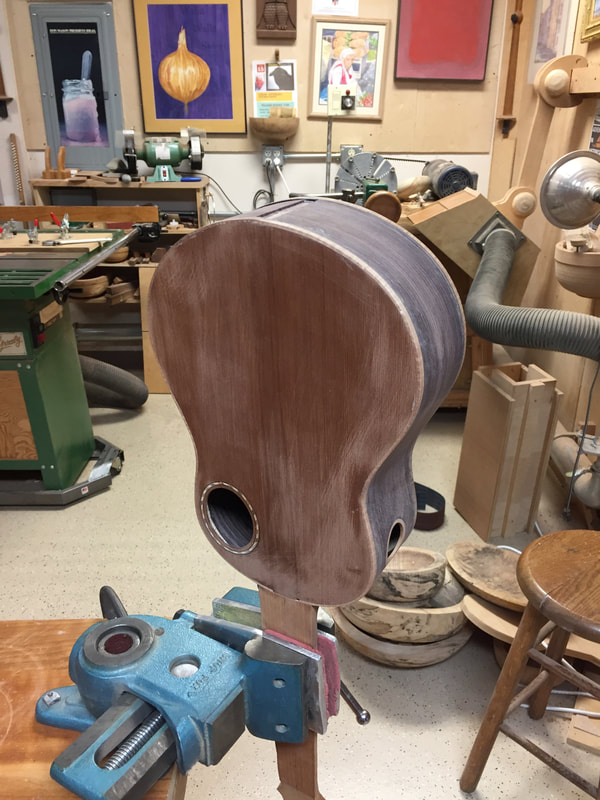
Time to install the end piece, The Parrot vise gets turned sideways to hold the instrument.
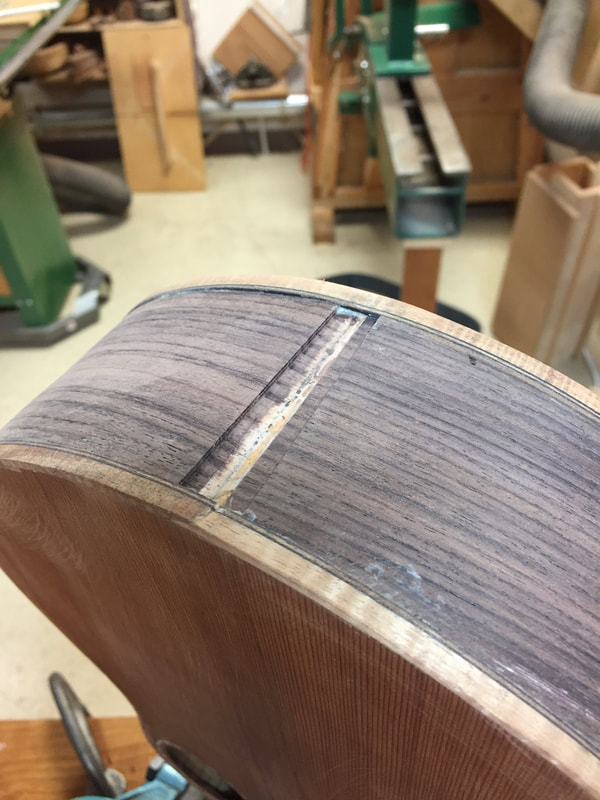
Here is where we start. The groove is cut, but we want to install an end piece with some purfling that matches. Where do we get it?
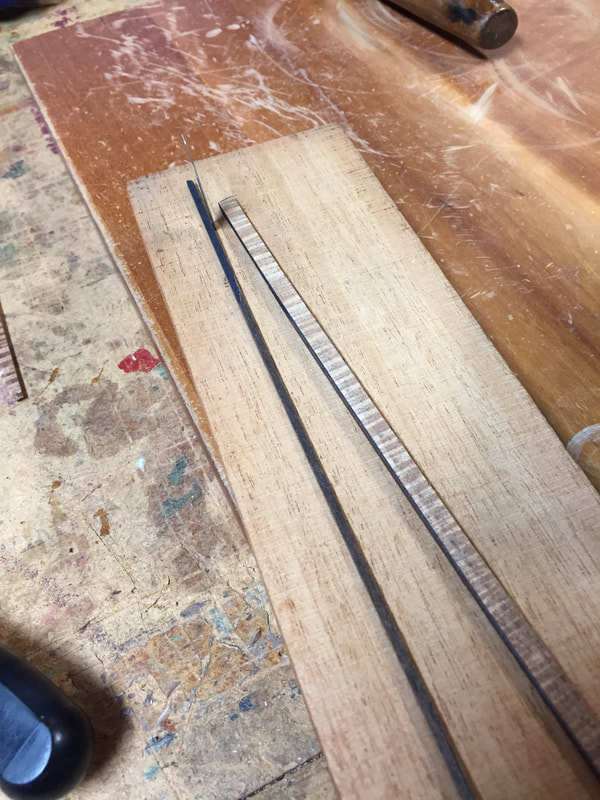
From a scrap piece of binding. (always keep scraps, you never know when you will need them). I have hammered an Exacto blade into this piece of scrap wood and I will use it to split away the purfling from a piece of the same binding I have used on this ukulele. If you heat the scrap and the blade it aides the separation of purfling from binder. Use a heat gun and blow hot air on it.
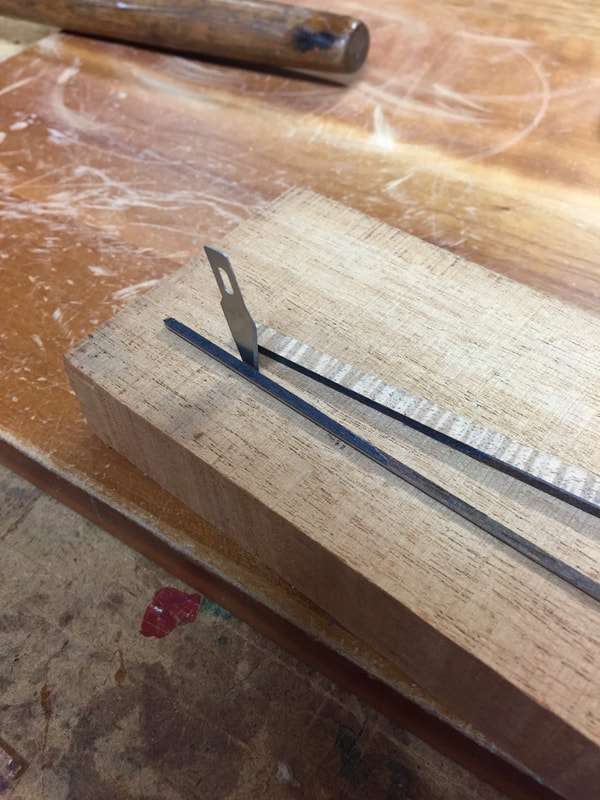
Heat is the secret here. Heat the blade and the binding.
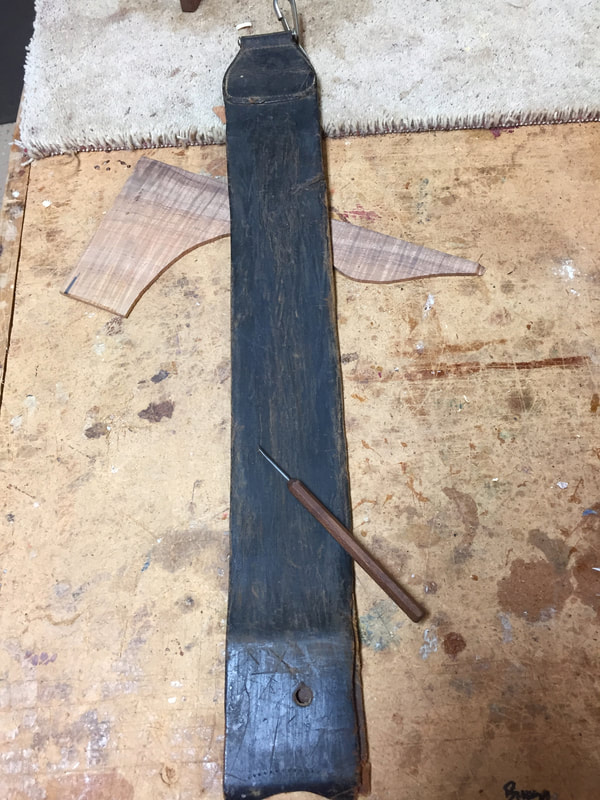
Now we will need sharp tools. My grandfather's razor strop will provide that sharpness.
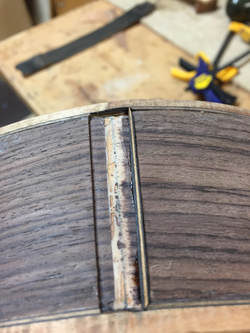
Here is the groove we must fill, with one of the pieces of purling put in place with super glue
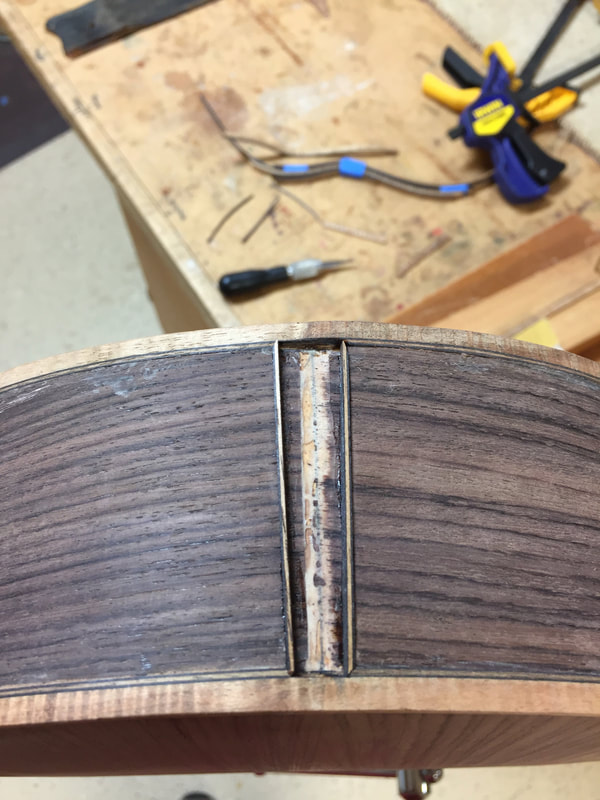 |
Now we have both pieces superglued in and we know the space we need to fill.
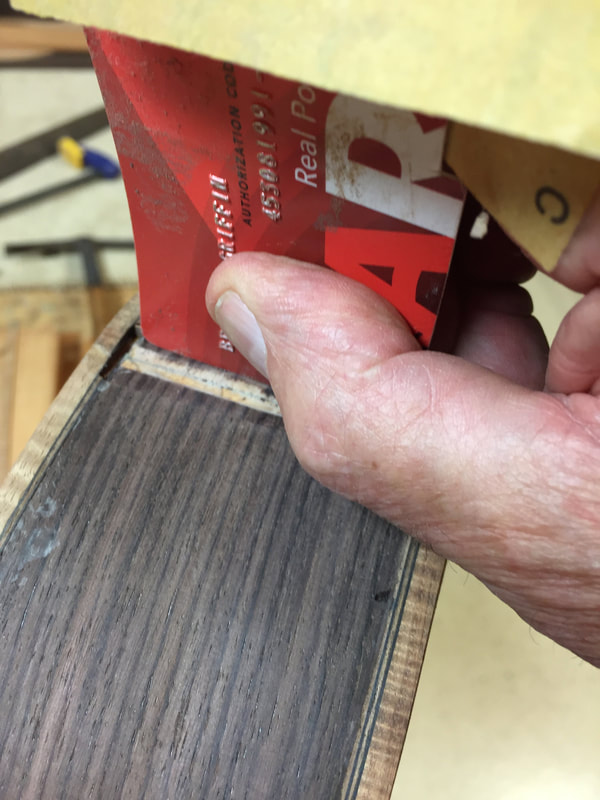
Here I am using an old credit card to keep the purfling in place for the few minutes it takes for the super glue to set up.
In my stash of wood scraps I selected a piece of figured koa that is very similar to the Australian Blackwood binding. Actually the woods are very similar, both being of the same Acacia family. I fitted it carefully and glued it in. When sanded down flush I think it will make a fine matching end piece.

Now for the heel plate. This is a piece of the same ebony used for the fingerboard. I think I will consider a black/white separator here.
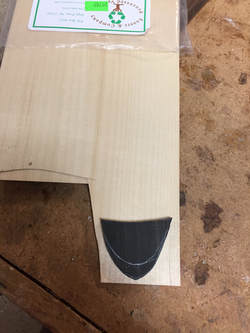
I have cut out the black stripe from a piece of ebony veneer. Now I lay that over a sheet of maple veneer and trace the image.
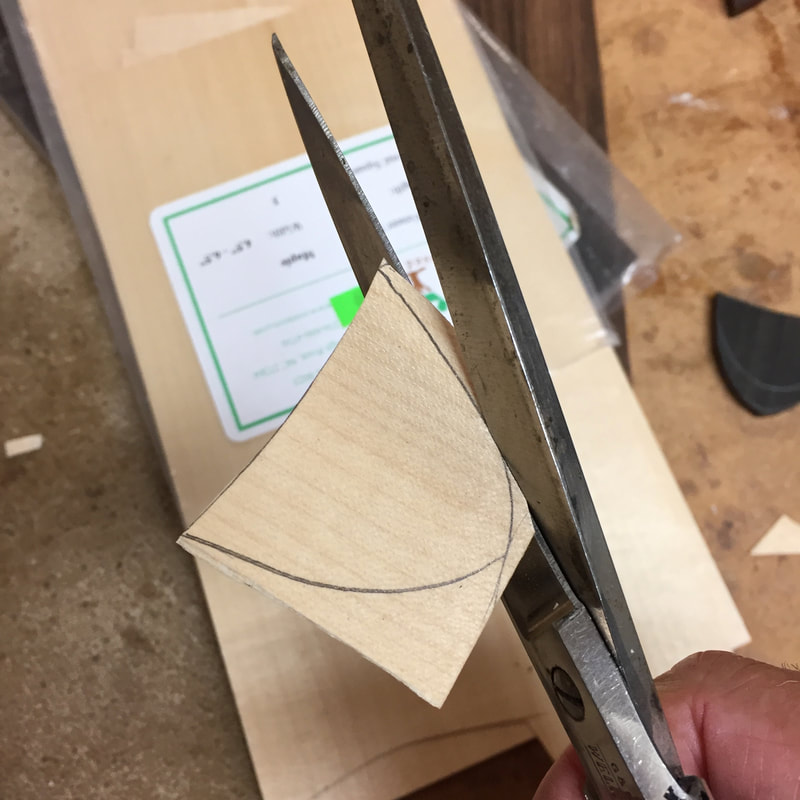
and with scissors cut it out.
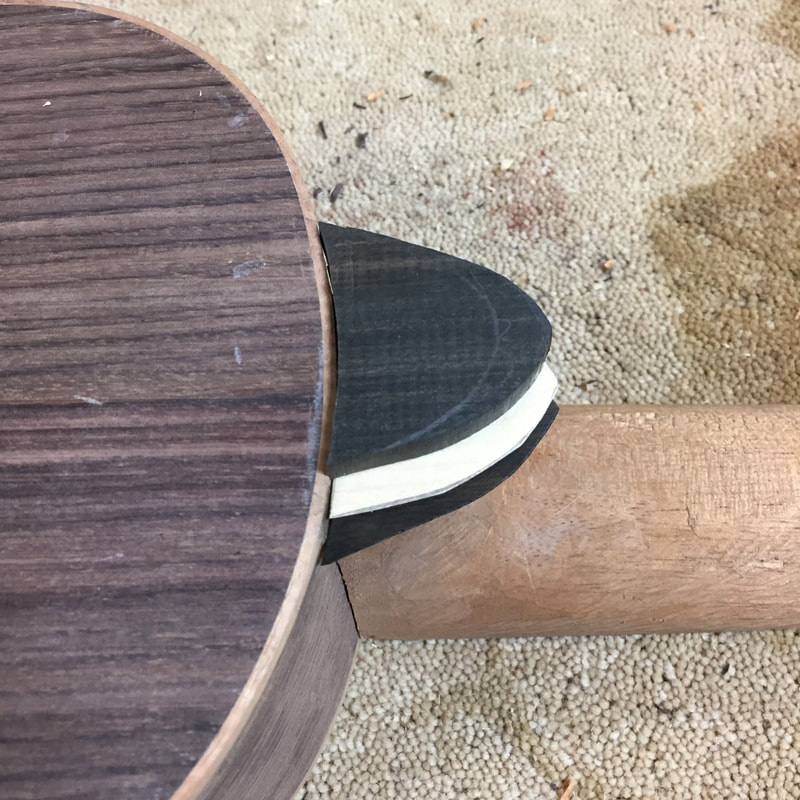
Now they are layered on the heel, ready to be glued. Ebony, (black) veneer at the bottom, Maple (white) veneer in the middle with the thick ebony heel plate on top. When these are glued in place and trimmed smooth they will make a nice complement to the binding and be just the same thickness.
