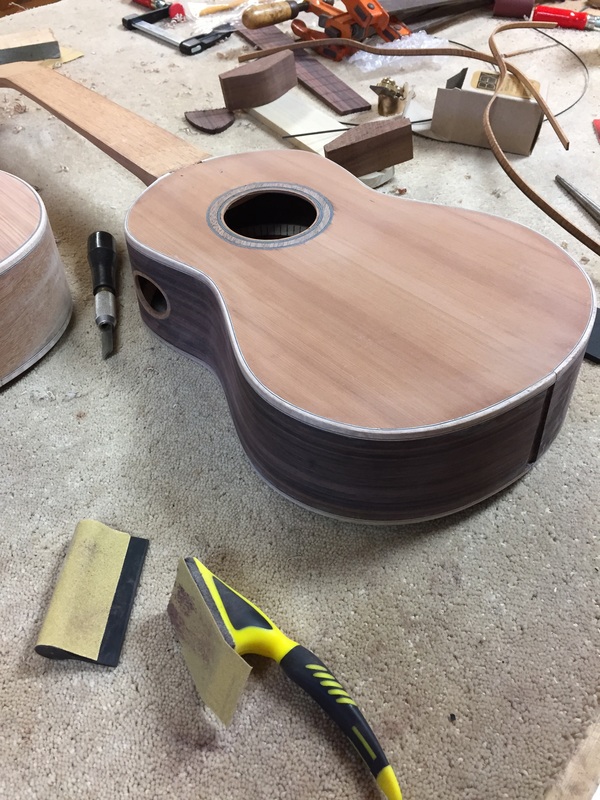
ON THIS HOT, HOT DAY I enjoyed a whole day in the workshop attaching binding and purfling to the tenors. Made a lot of progress and should be able to finish them up in the morning.
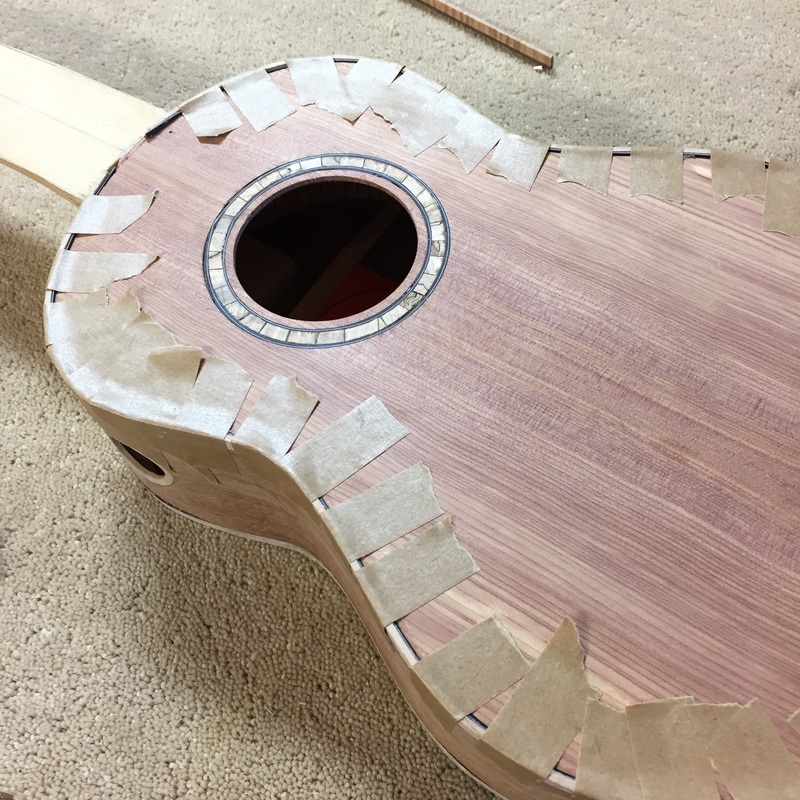
Once the binding is carefully cut to length you glue up both the slot on the Uke and also the binding being sure everything has glue. Then with this remarkable tape you attach the binding. The tape is very strong and very sticky and you can exert lots of pressure to keep the binding tight to the groove.
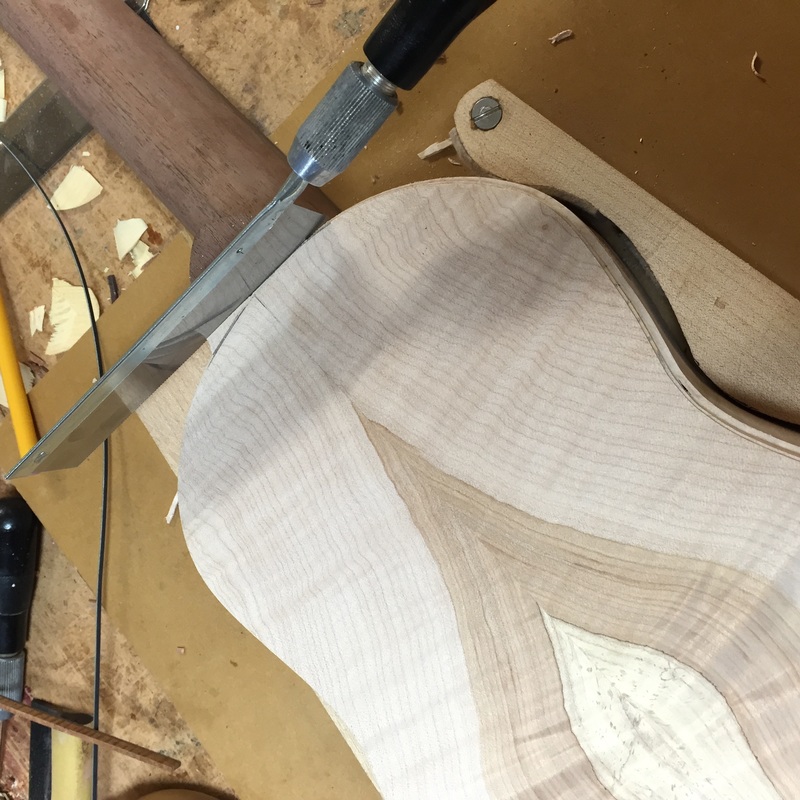
Oops ! I forgot to mention you must cut away the excess bottom and top wood to make room for the binding and make a pleasing round connection. I start with this little exacto saw
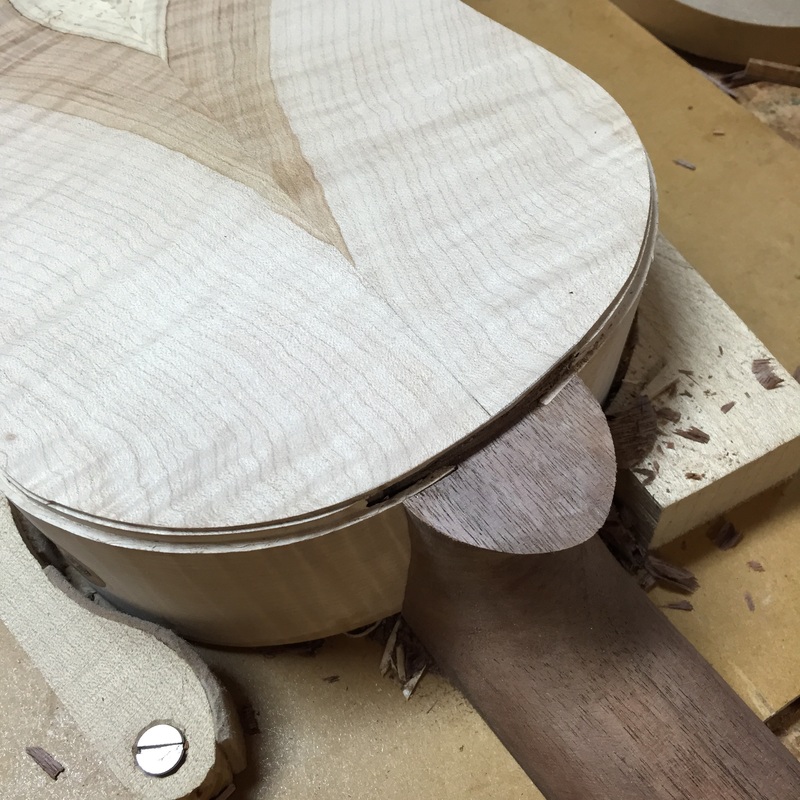
Here it is all prepared for the binding. Notice I have trimmed down the heel even to the binding line. I will put a piece of maple veneer on the heel for a contrast line and then glue a Honduran Rosewood cap on that. It ought to be pretty
Once the glue has dried I take this tiny and very sharp finger plane and carefully trim the protruding binder down to the level of the top. The binding comes a bit wider than I think looks good on a ukulele.

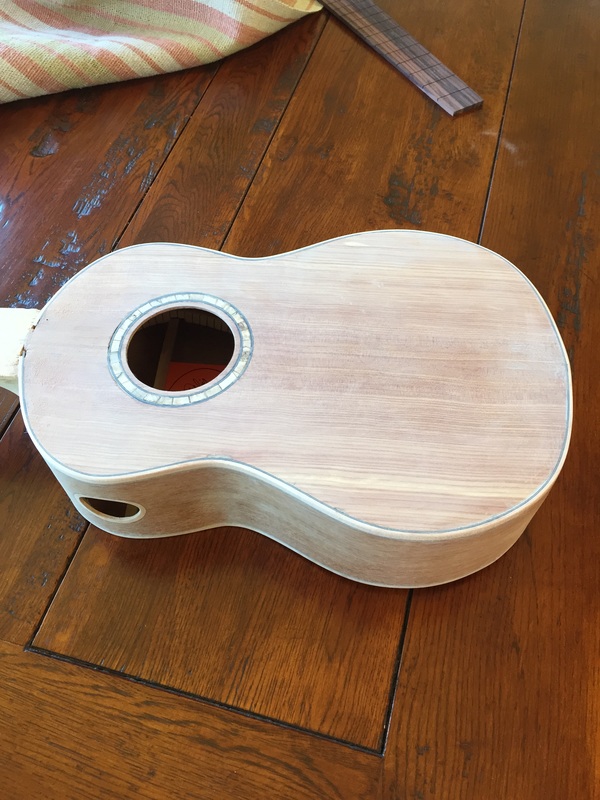
After some careful sanding and rounding the sharp edges the uke begins to look pretty nice. This is the Cumaru/Juniper uke for the Christie family summer home, ,made with cumaru scraps from their deck project and juniper from the tree on their San Juan Island property.
 |  |
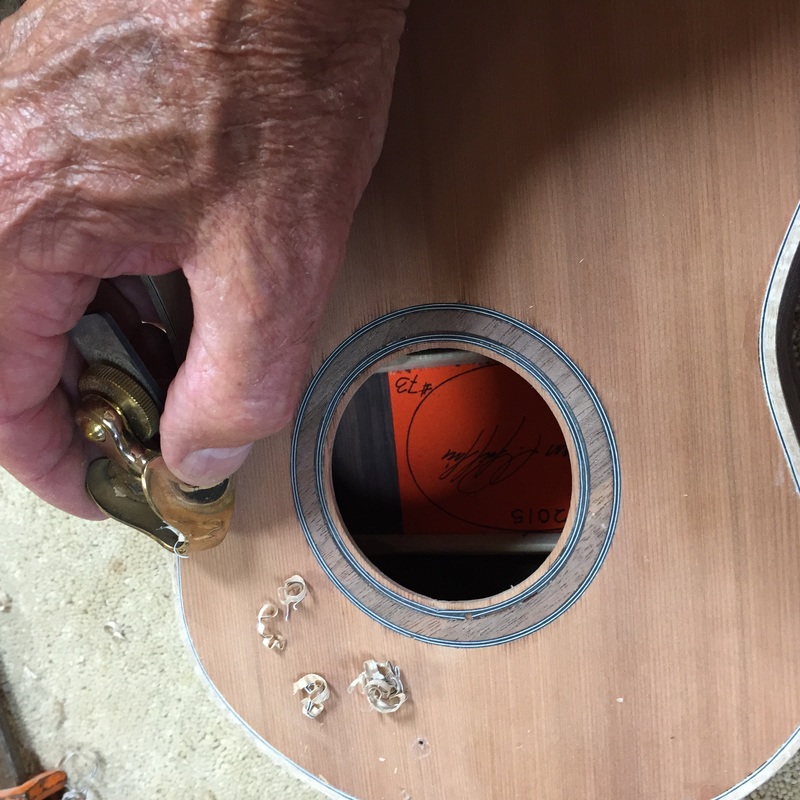
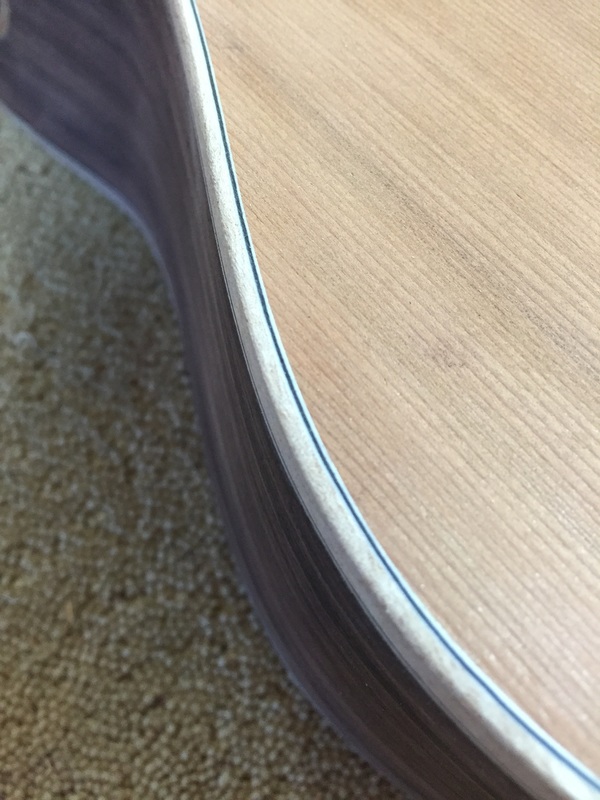 white/black/white purfling on the redwood/rosewood tenor. |  glueing on a Honduran Rosewood heel cap. |
