I had a nice piece of Honduran Rosewood just right for fret boards. I sawed off three slices with my band saw, trued them up with planer, thickness sander and table saw and immediately cut the fret grooves in them.
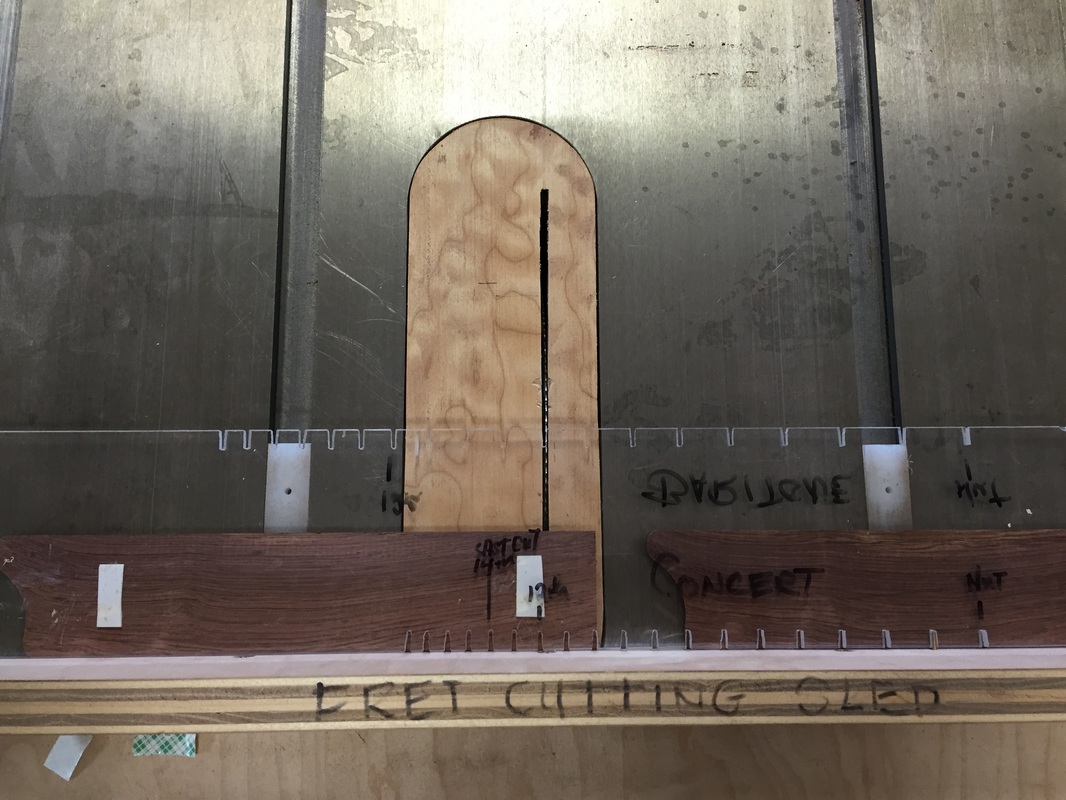
Here is the method. It is done on the table saw with a special thin saw blade. The fret board is passed over the blade in a succession of passes, each pass cuts one groove and between each pass the fretboard is moved up one notch- controlled by the acrylic notched plate to which the fretboard is attached with small rectangles of white double backed tape. It is all controlled by the saw sled which has a small brass pin that indexes with the notches on the acrylic jig.
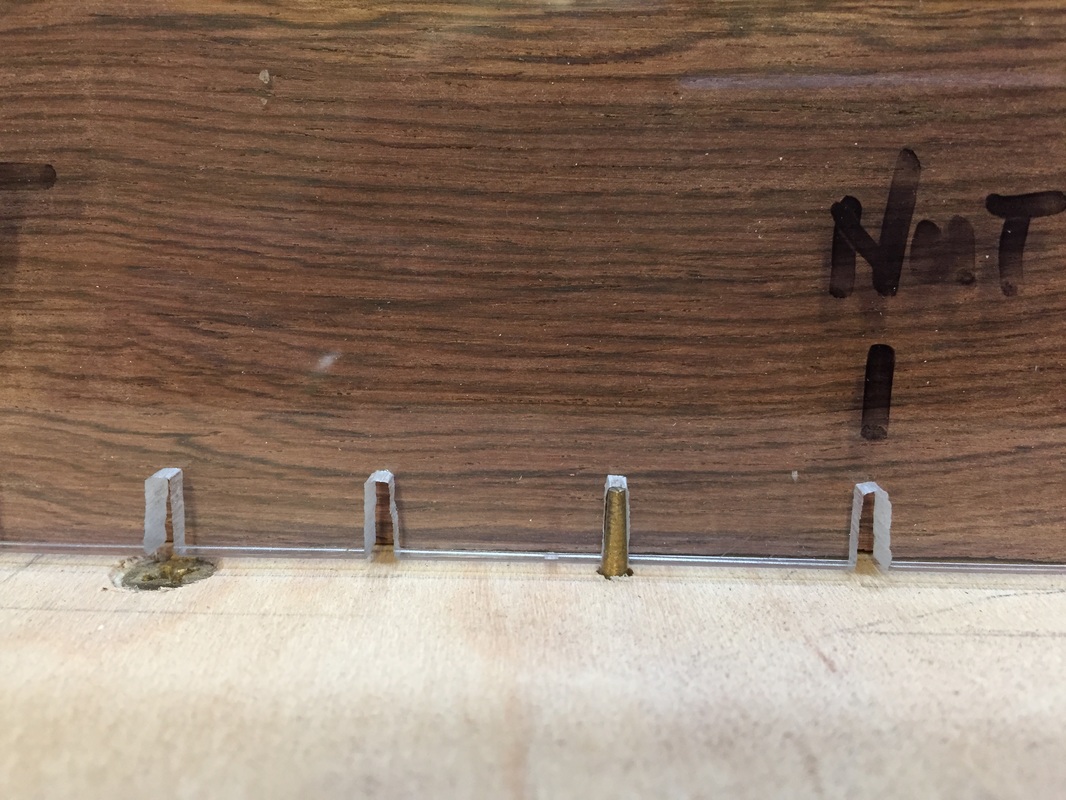
Here you see the index pin which assures that the frets will be properly placed. as long as you advance the fretboard after each cut.
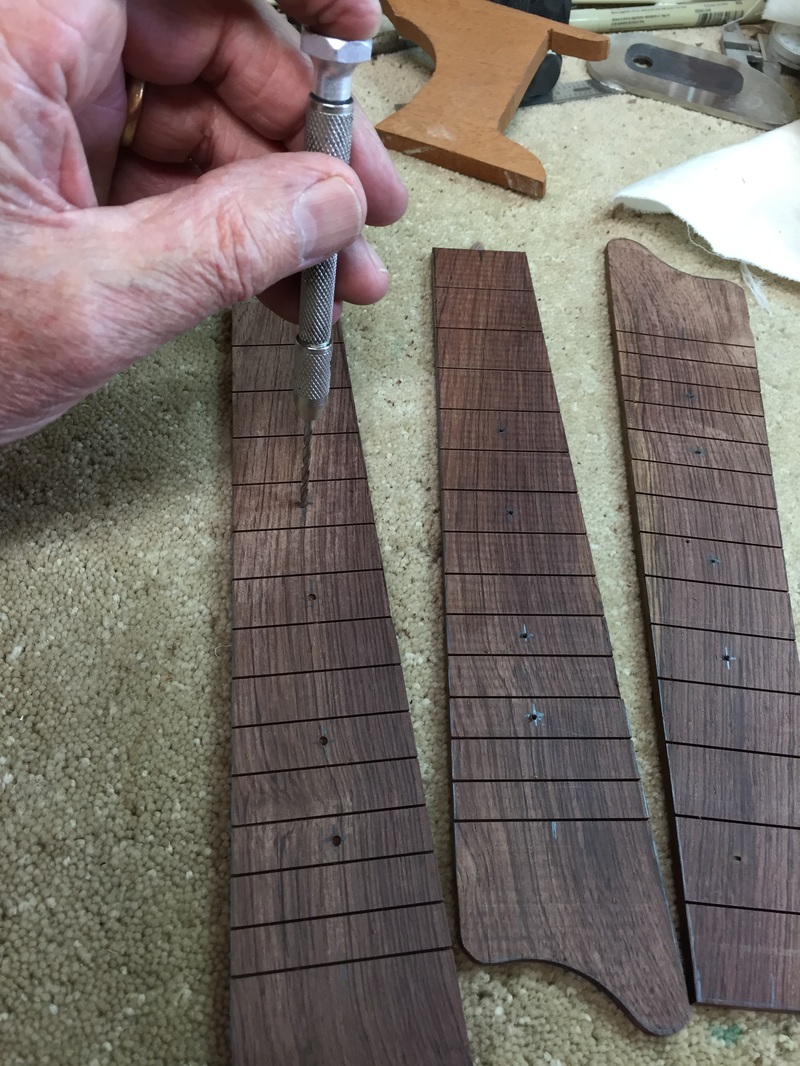
Now we have the fret slots cut, but the board is still two inches wide. It must be tapered to match the neck.
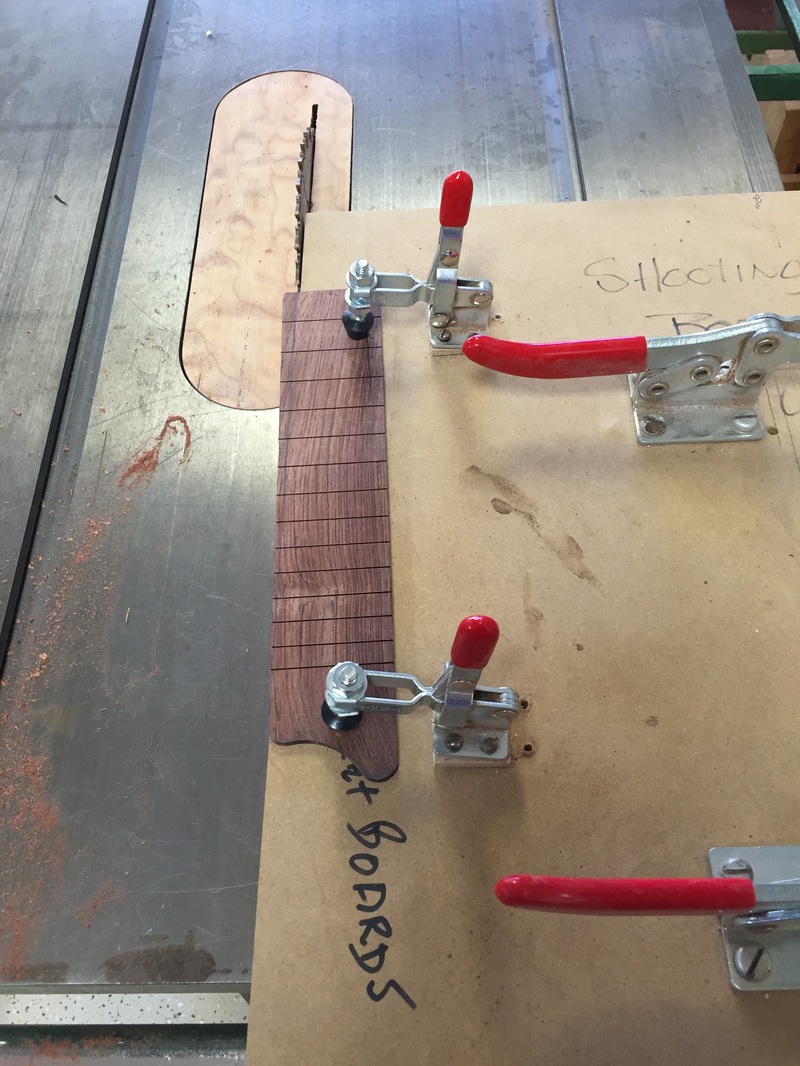
The angle cuts are made with the aid of a shooting board with clamps. You simply clamp the board to the sled at the angle you want to cut, and run it through the saw.
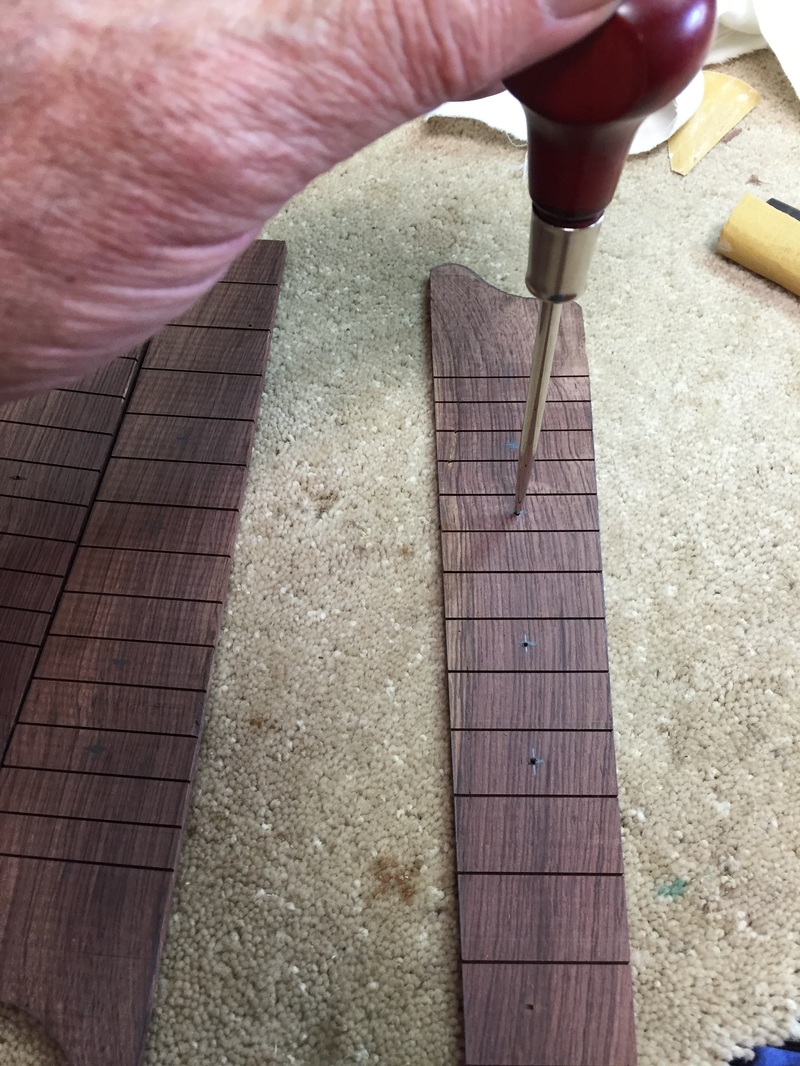
Now that they are tapered it is time for the marker dots. Be sure to start the holes with an awl that will guide the drill bit and prevent its straying.
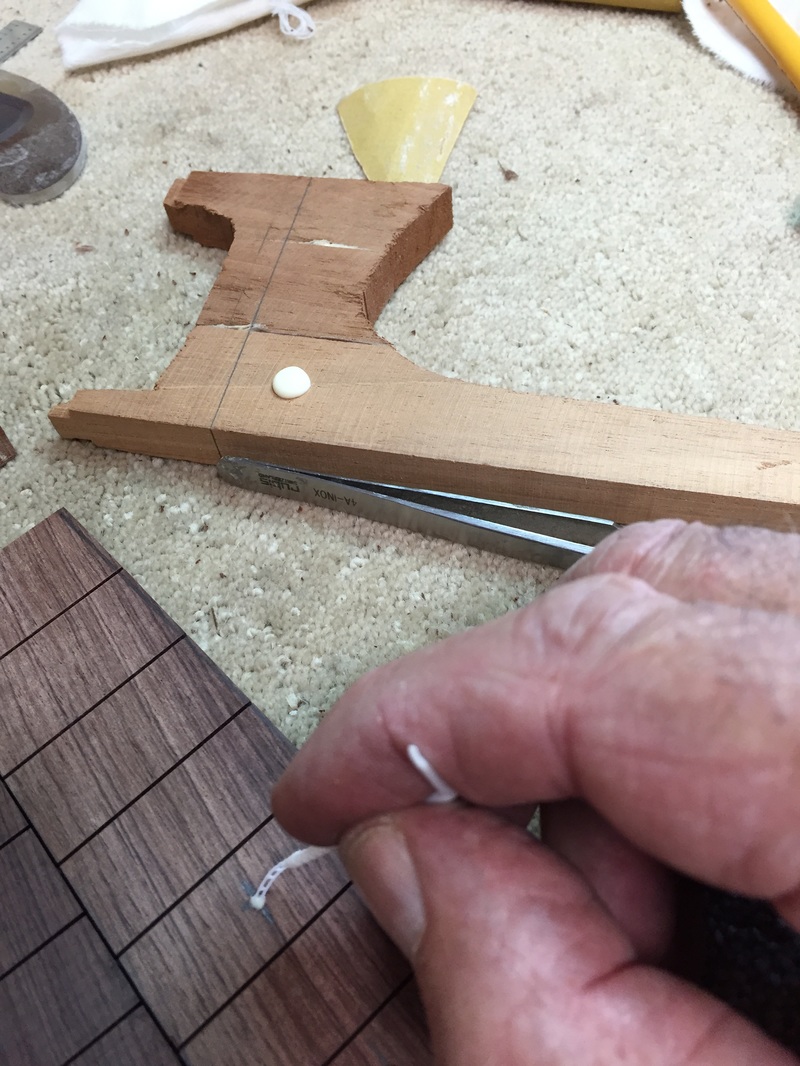
A little glue on a scrap of wood to dip from, a tiny drop in each hole and then press in the Mother of Pearl dots.
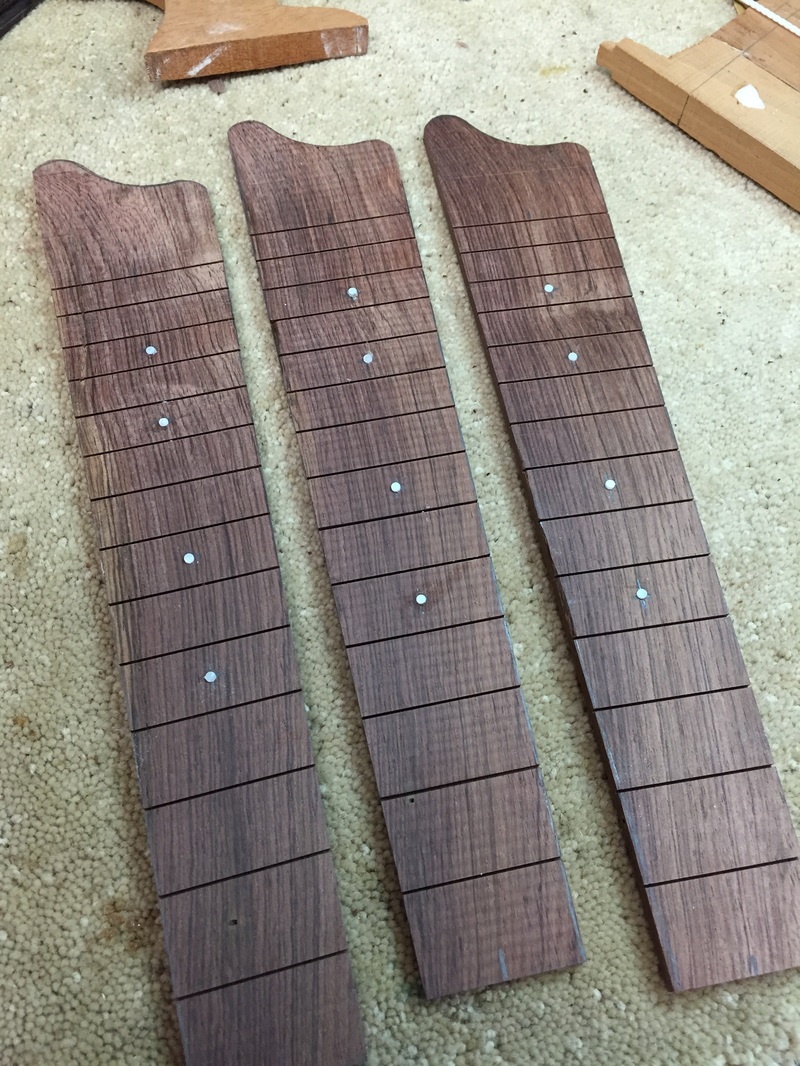
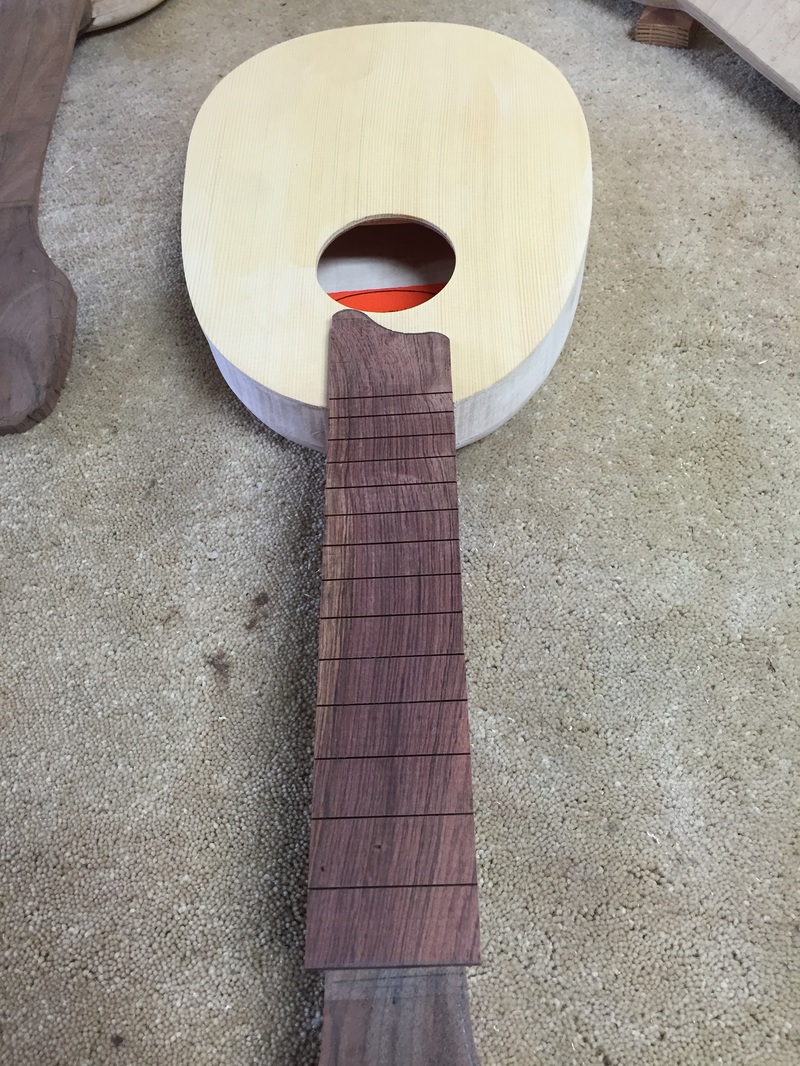
And here they are- Once these are sanded smooth they will be ready for the fret wire, and then they can be glued to the neck.
