I had all day in the workshop, and things were going well. I wet sanded the Bari, and the concert with 600 grit wet and dry and then got another coat of French Polish on them, they are looking grand. Then I turned to the soundboard for #106, a Kasha tenor.
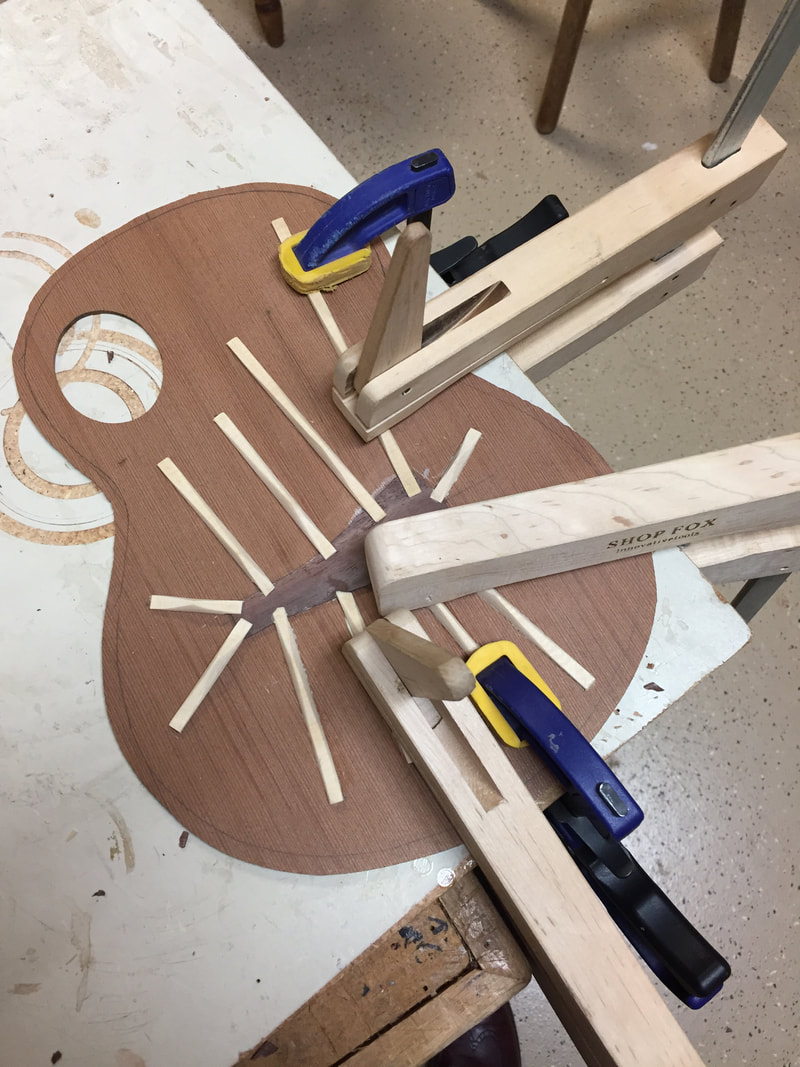
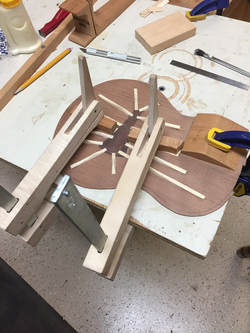
I have not used the "Go-bar" method of clamping these very small tone bars, This clamping technique has worked very nicely even though I could only glue them four or five at a time-let the glue dry and then do a few more. Took longer but I got really firm clamping.
As the glue dried on the sound board I selected a neck blank of Honduran Mahogany from those that I had made up a couple of months ago and started the neck.
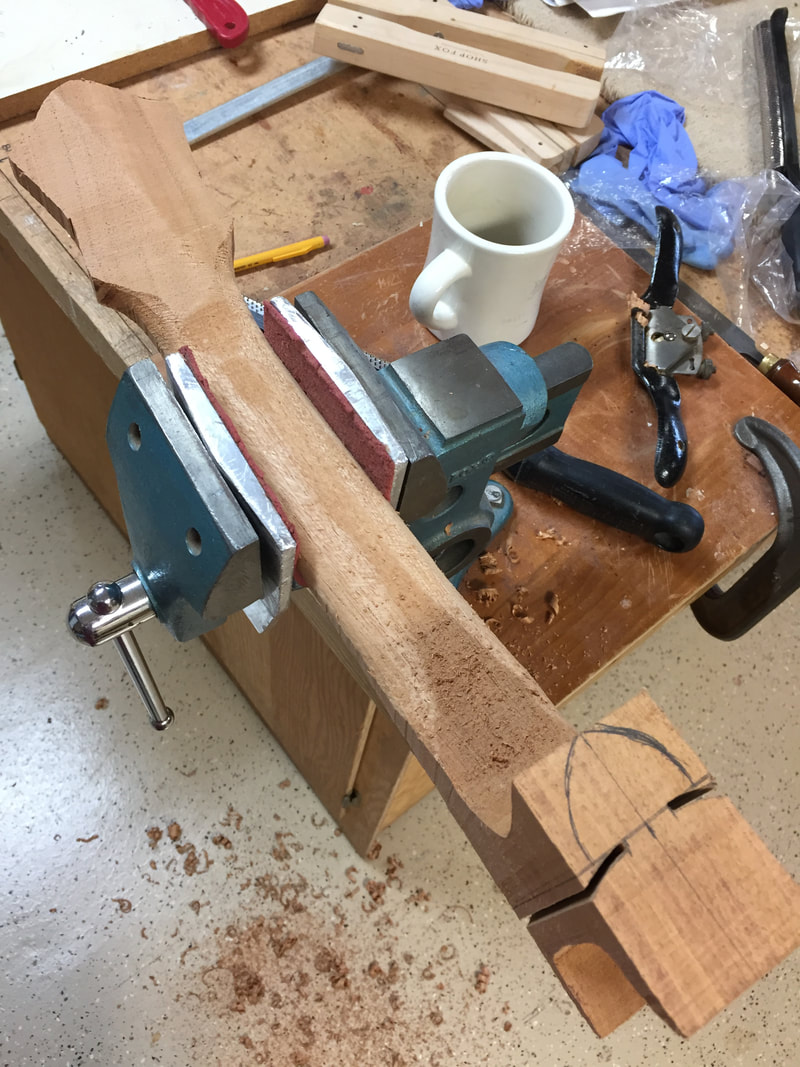
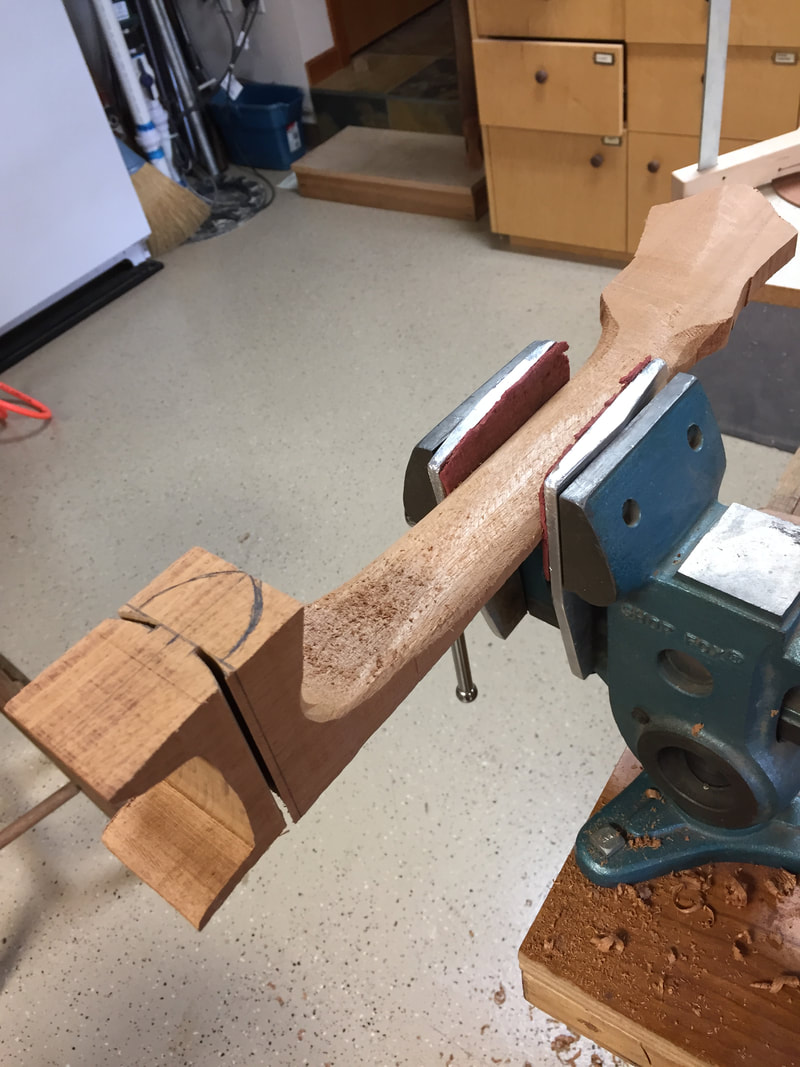
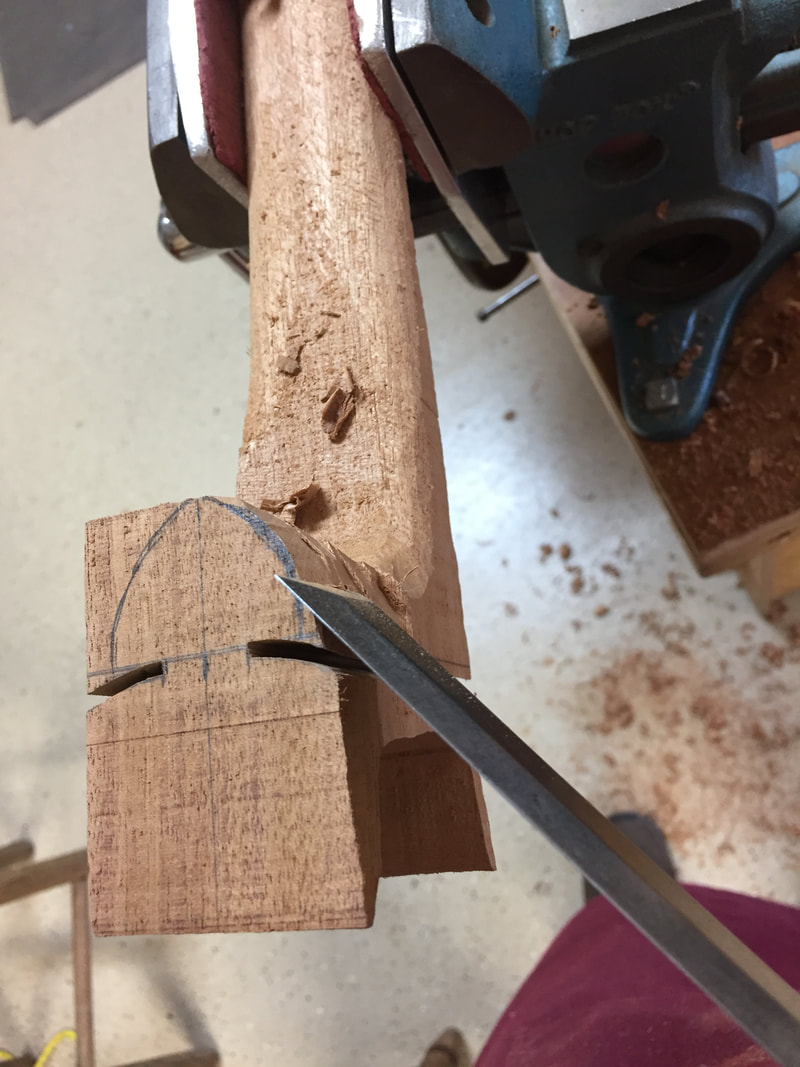
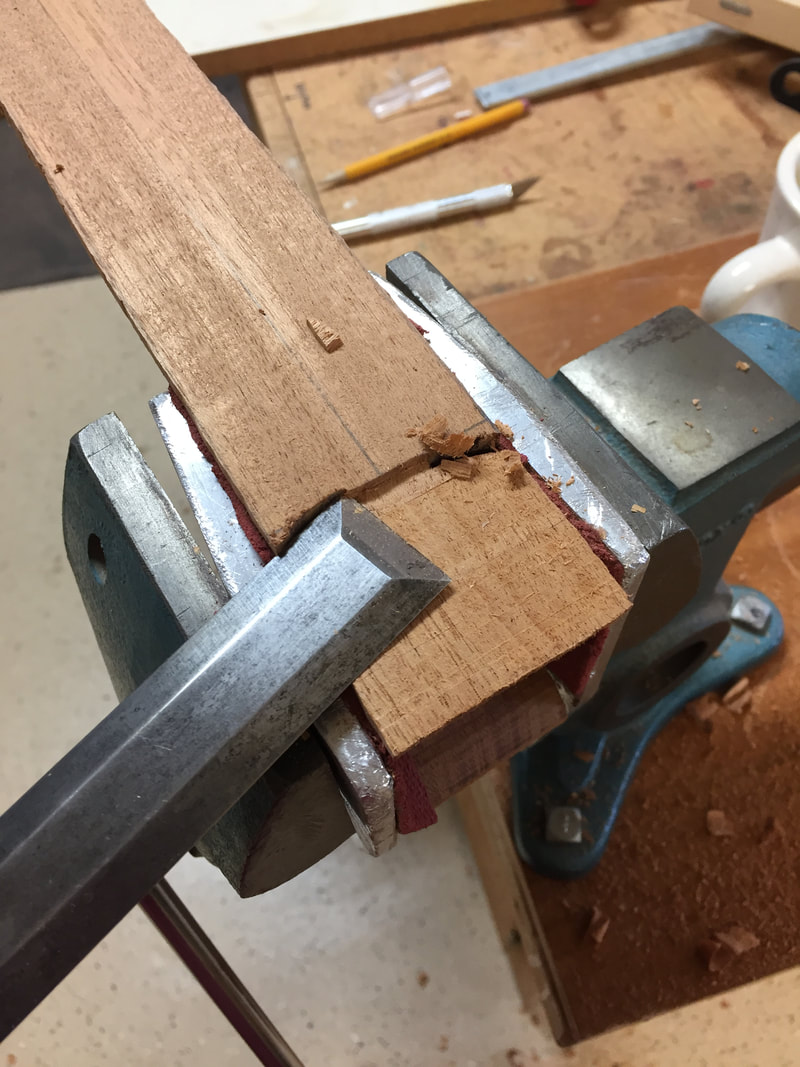
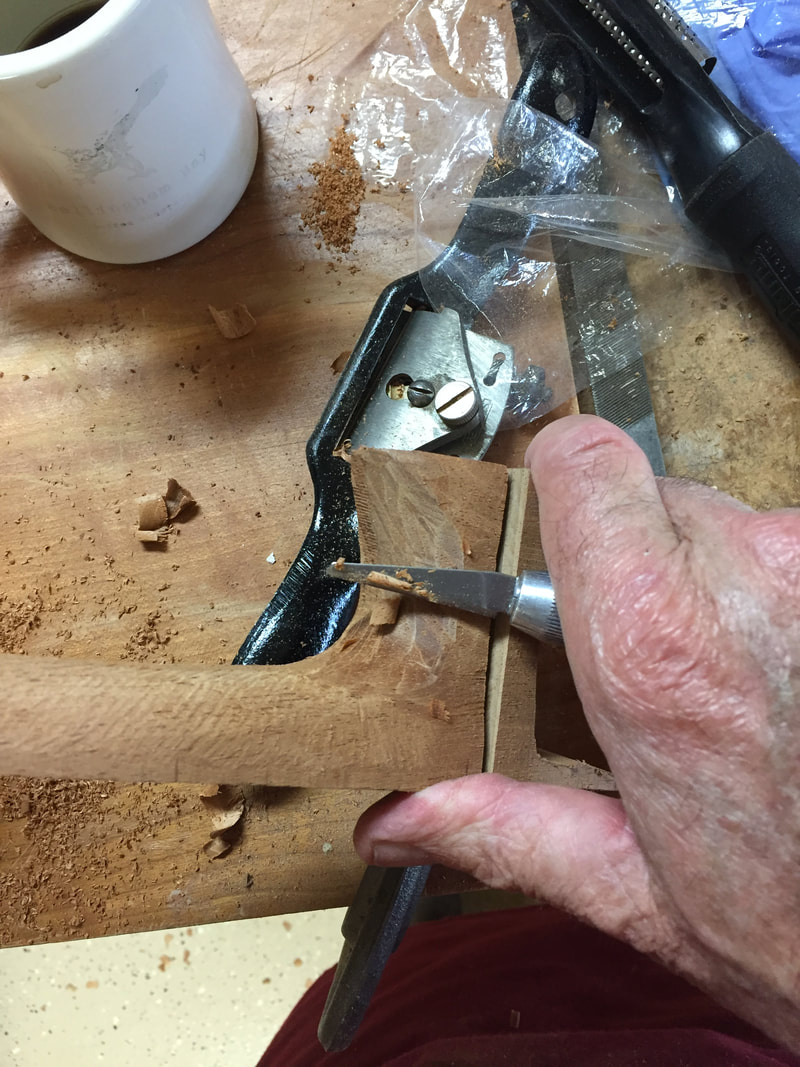
A visitor to the shop recently, surprised me when he asked, "Do you have a machine to carve the necks". The answer is, I start with a flat board, cut it into three pieces, glue them together, and then with bandsaw, spokeshave, rasp, bow sander, chisel, and exacto knife, carve the graceful, curvaceous, slim and slick necks that are so important to a good instrument. The carving of the neck is my favorite part of uke building. Not a machine operation.
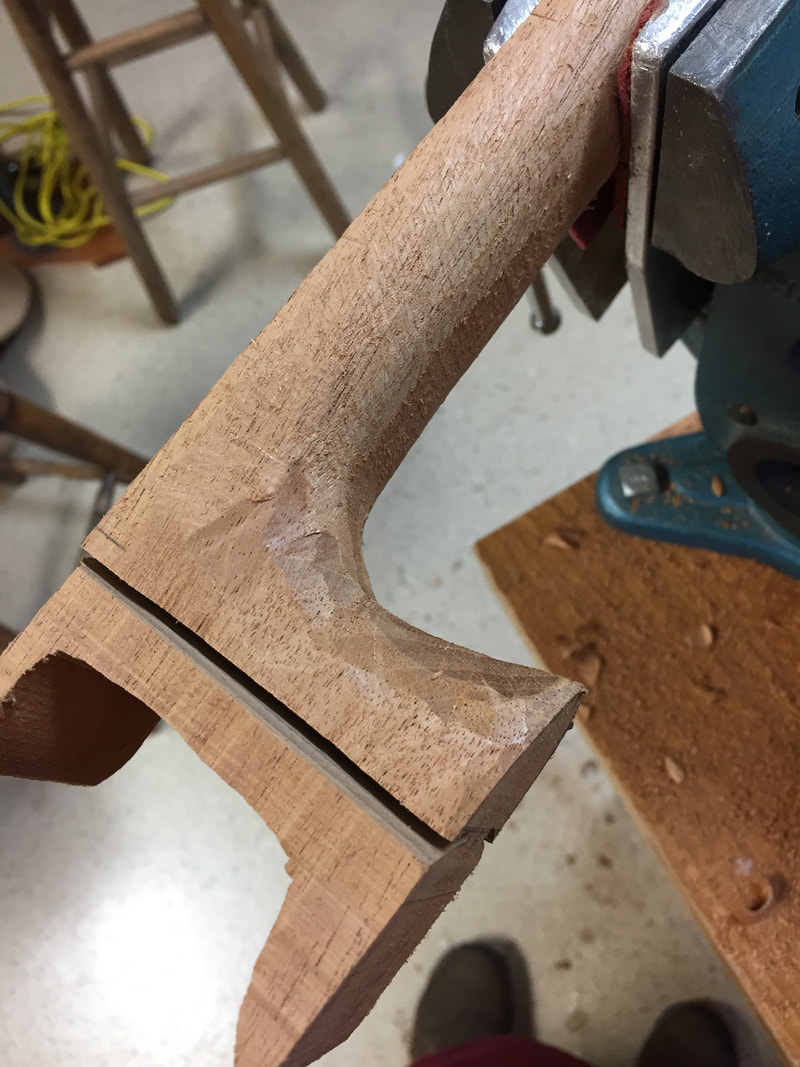
Now the neck is carved and fitted to the soundboard. Final shaping and sanding will come when the instrument is put together.
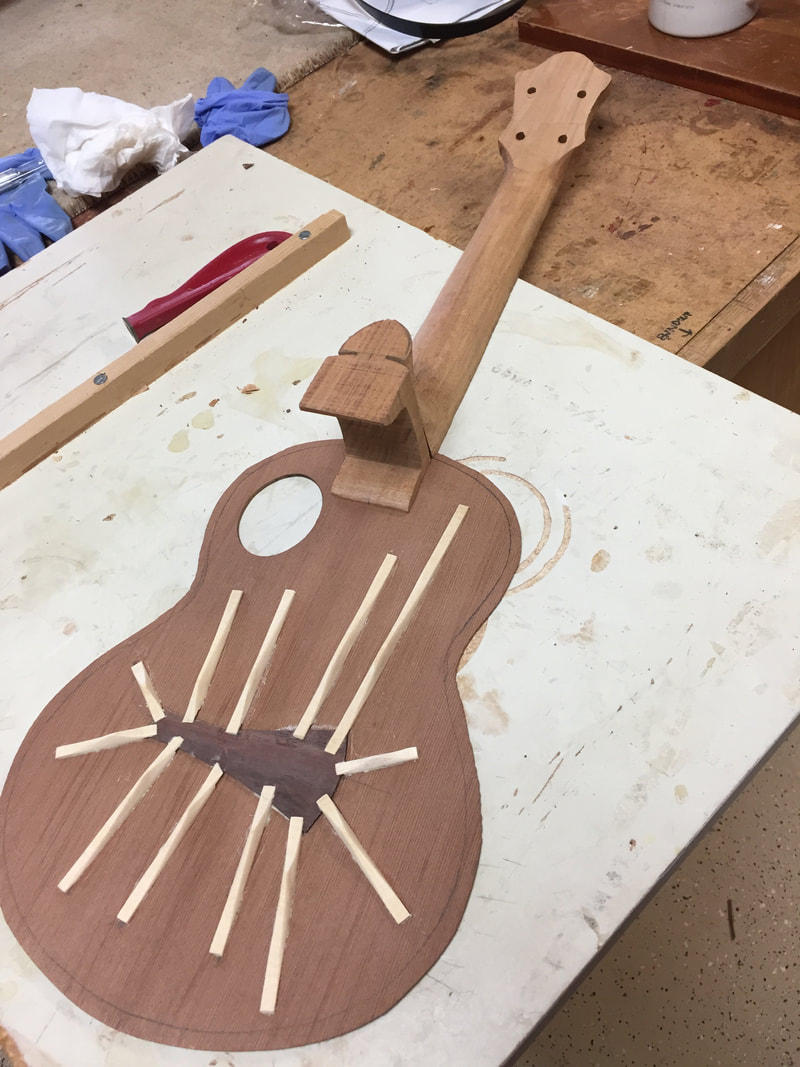
The last task of the day was to cut out and glue the veneer braces along the center joint and around the sound hole. The veneer is thin and tough maple that supports potential splitting or separation areas. Light weight insurance.
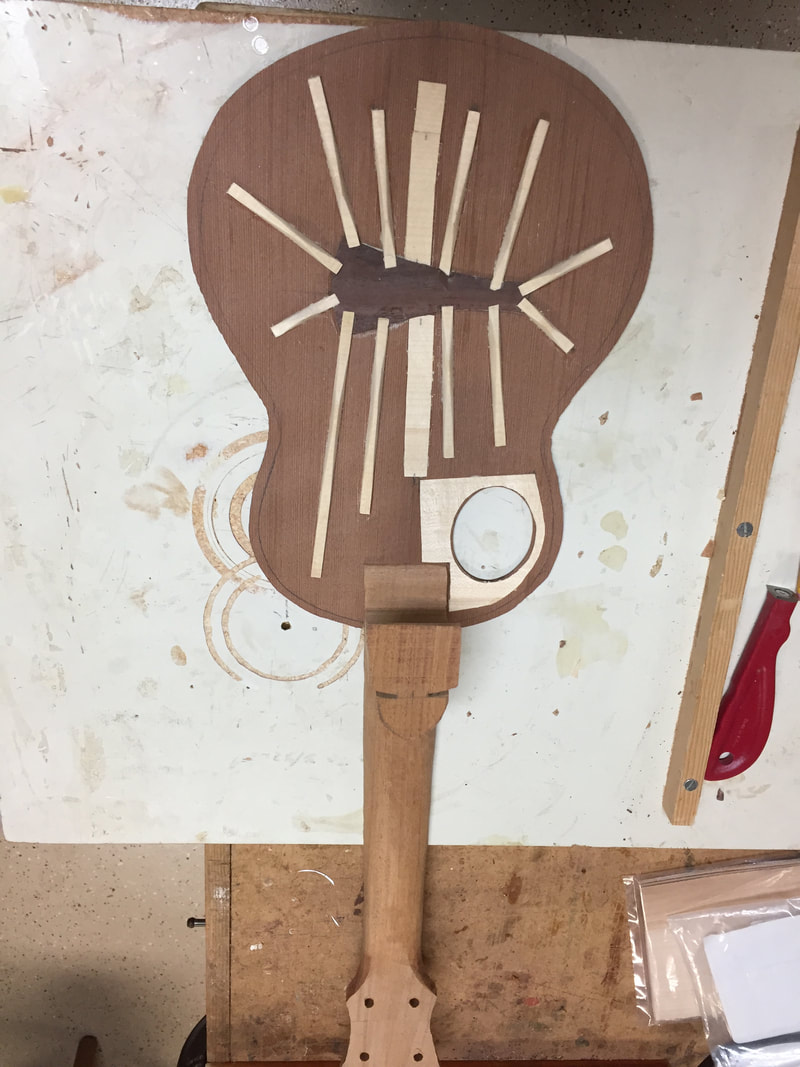
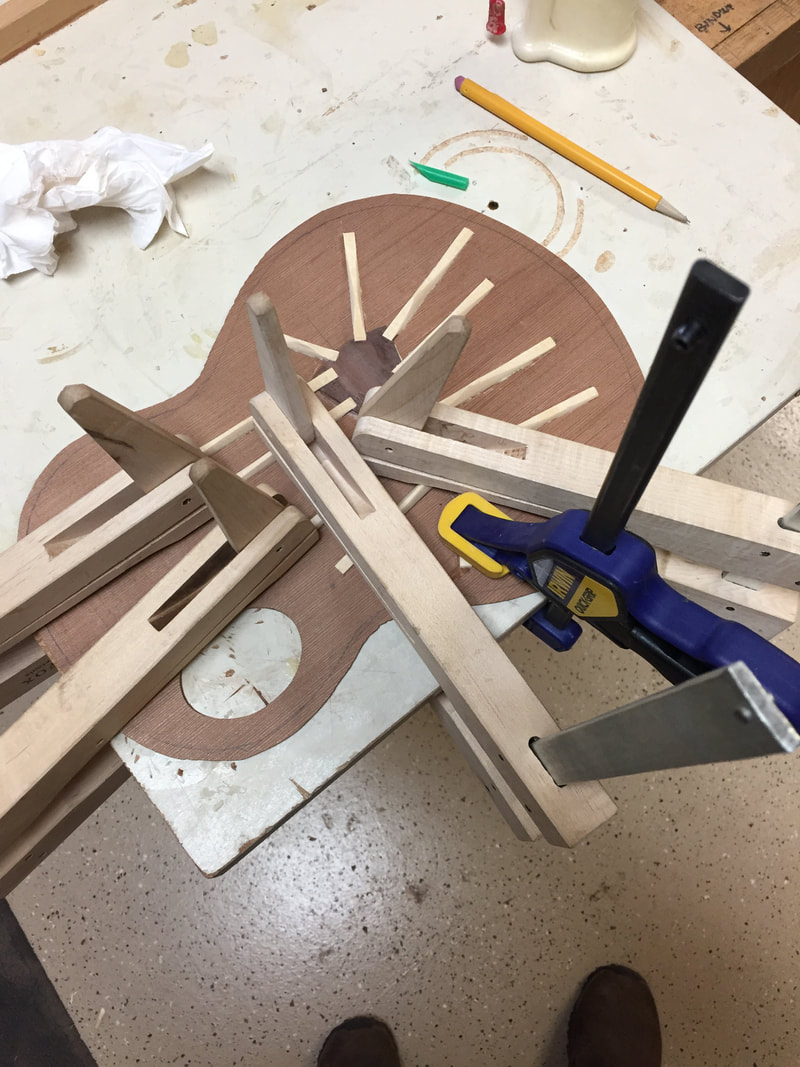
The completed sound board and neck ready to join together.
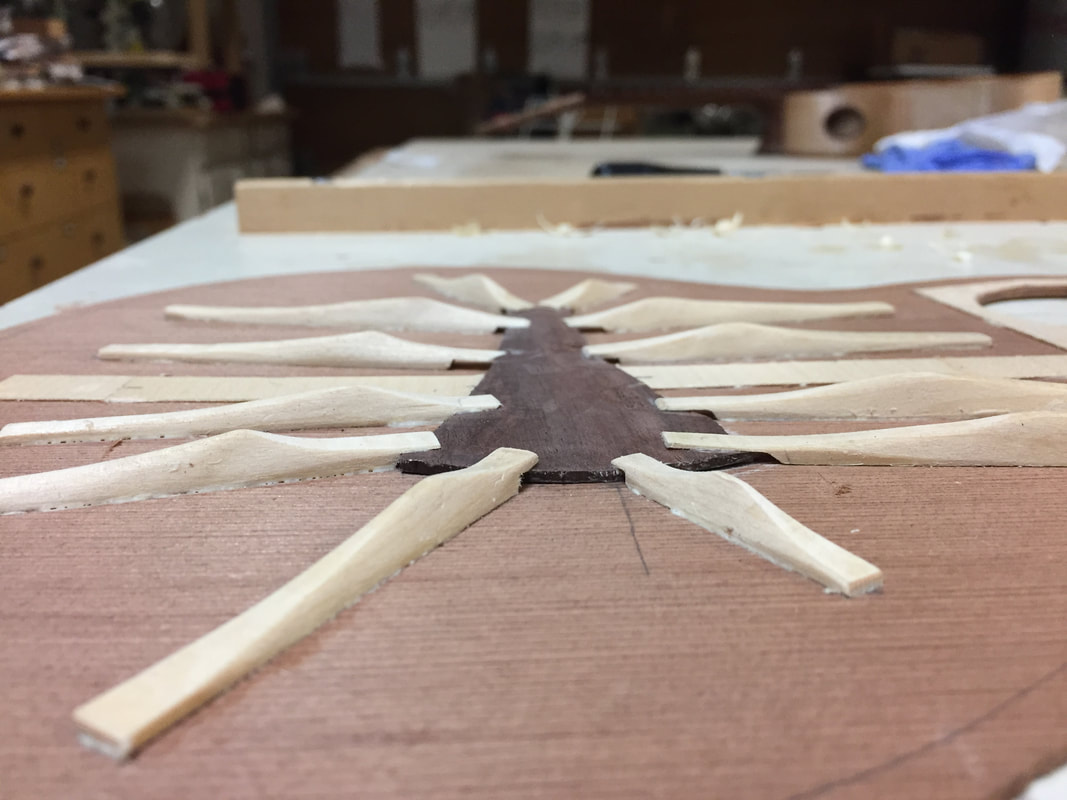
Here is a side view of the tone bars.
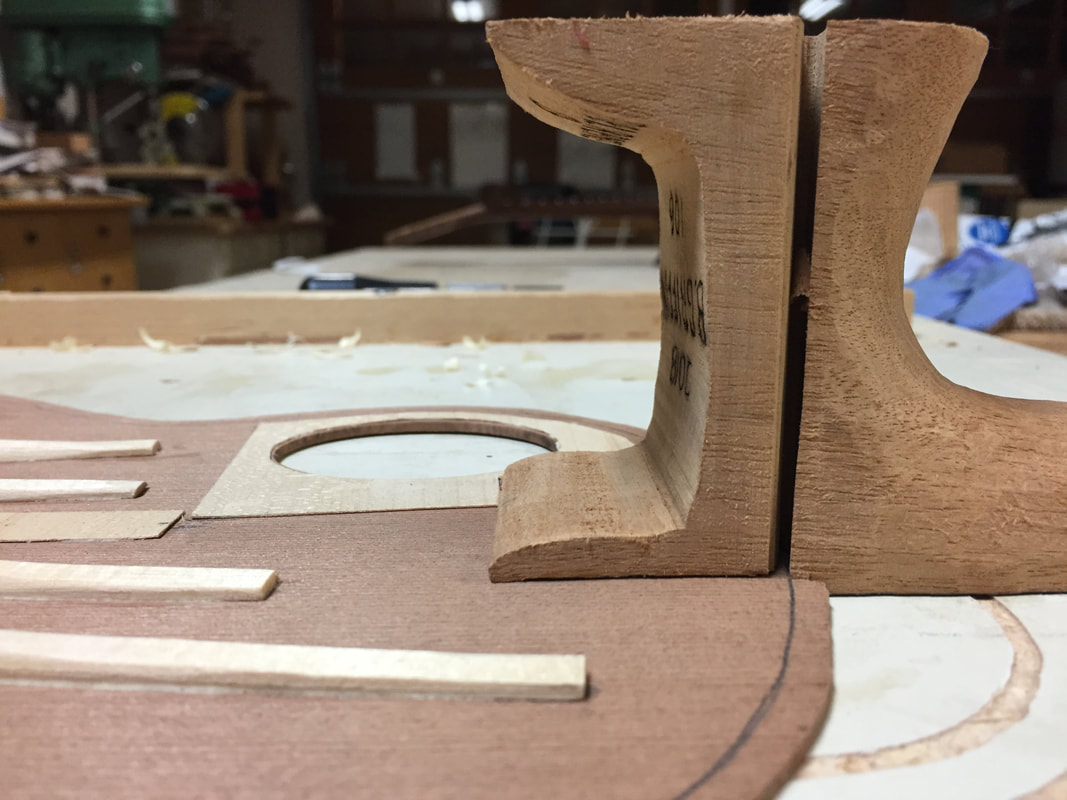
- And the Spanish heel. The curved sides will slip right into the cut which was done on the band saw. This is the construction method of the Spanish classical guitars, most ukes join body to neck with screws and glue, pegs and glue, or mortised joints, I prefer the old fashioned method.
