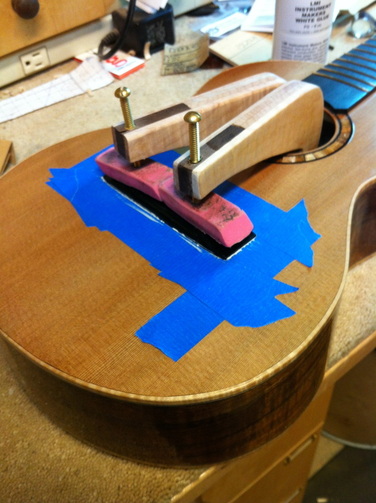
Drove me into the worksop tonite and I glued on bridge on Bob's uke. take a look at how it is done

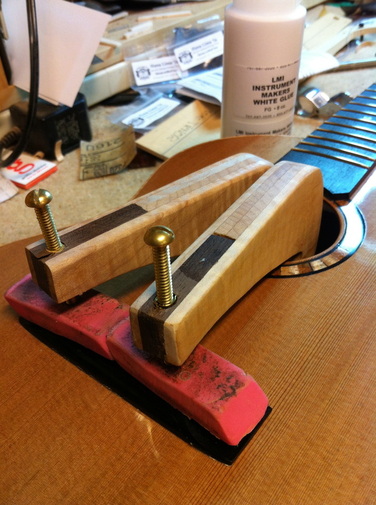
I put a thin coat of glue on both the soundboard and the bridge and put it in place. The tape keeps it from sliding around when the clamps are tightened. . I made these clamps when I could not find a commercial one to fit a uke and jump over the braces under the sound board. Because those are simply brass bolts with no protective end I put a couple of rubber erasers on top of the bridge and screw those bolts into them. Works fine.

After eight or ten minutes the glue has tacked up well and the bridge won't slip around any longer so you can take off the blue tape that was preventing the slippage. That allows you to carefully clean up the glue ooze that inevitably sneaks out a bit onto the shellac surface. I find a stiff piece of paper folded tight makes a convenient and effective glue scoop if pushed around the edges. Much easier cleaning it up now than in the morning when it has set up hard.

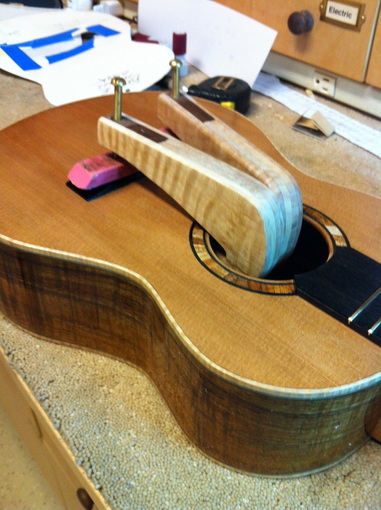
Here is one more view from the other end. I will leave this clamped until morning and then cut the string notches in the nut, install the Peghed tuners and then be able to locate the location on the bridge for the strings and the string pins. I received the 3 degree tapered reamer from Fed Ex just before dinner. It is a beauty, the right size for the pins, so I will be ready for that adventure sometime tomorrow. Who knows, might even get it strung up and hear what kind of a voice it has. Keep your fingers crossed!
