GOT SOME PROGRESS MADE today. I have that broken fretboard replaced and the new one ready to get frets in the morning. Also some nice progress on the East Indian/Redwood. It is looking good.
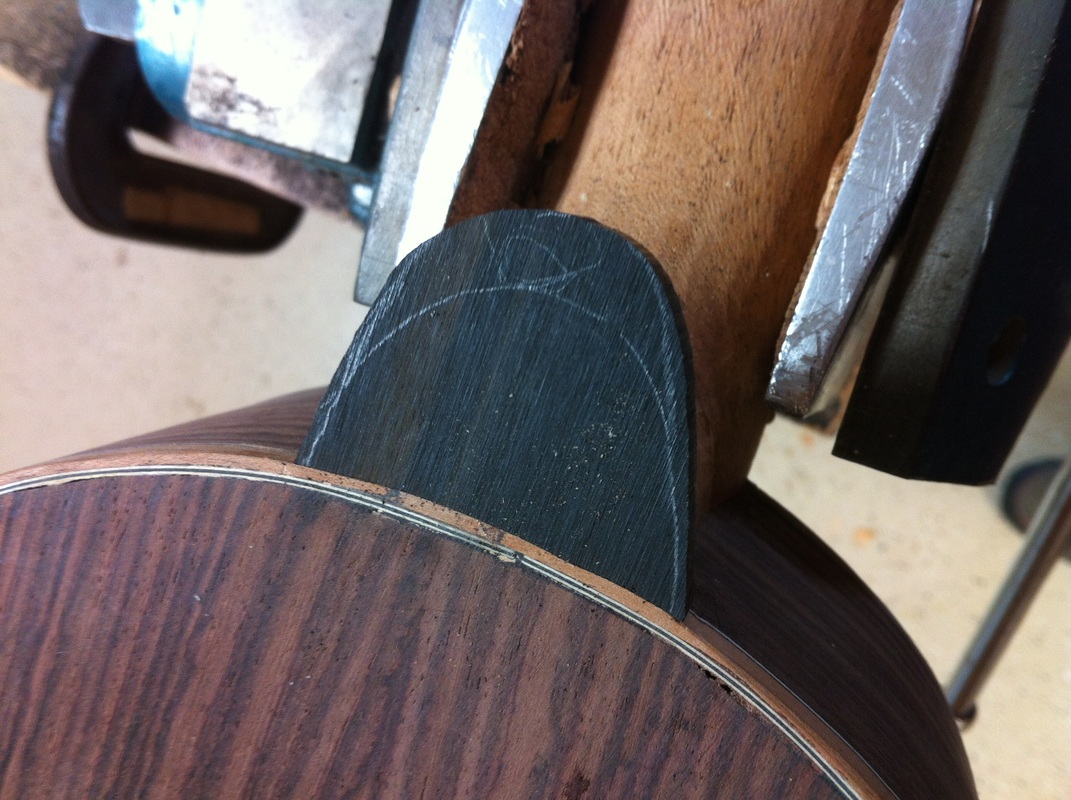
Getting the ebony end cap ready to shape. Here I am fitting the loose cap. I like to make this hook sweep out so I have to cut this a bit long so I will have enough wood to work with.
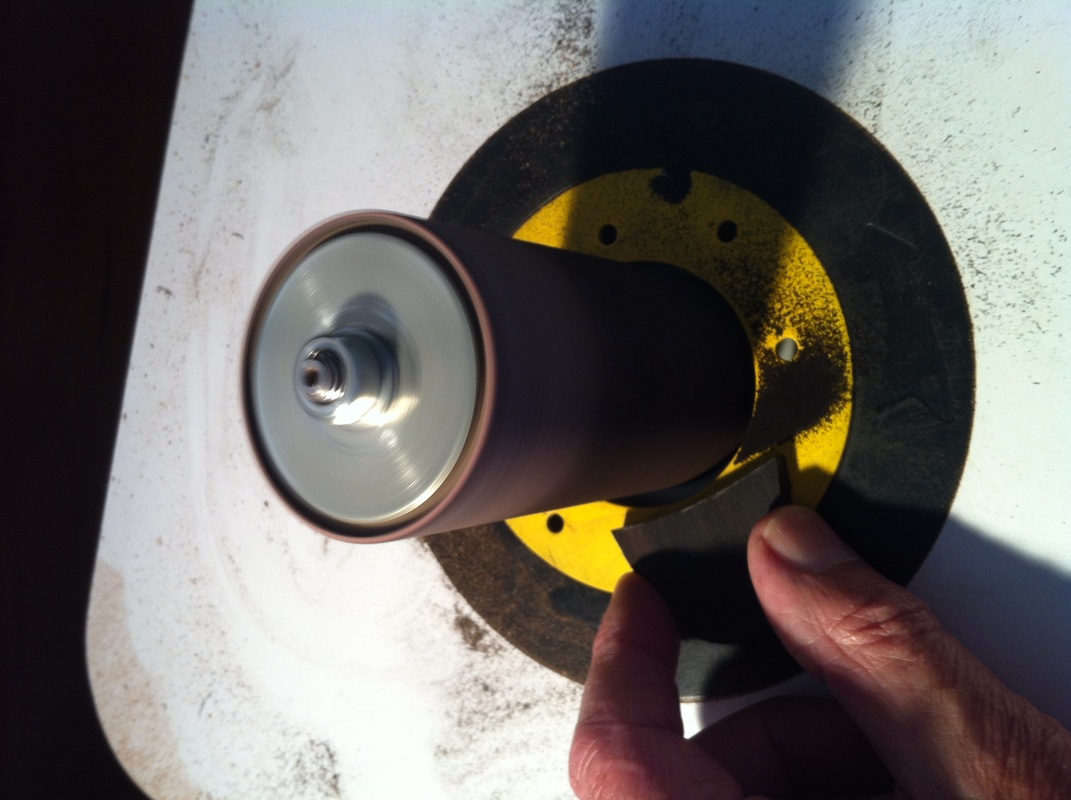
Takes a few trips back and forth to the sander to get that fit just right.
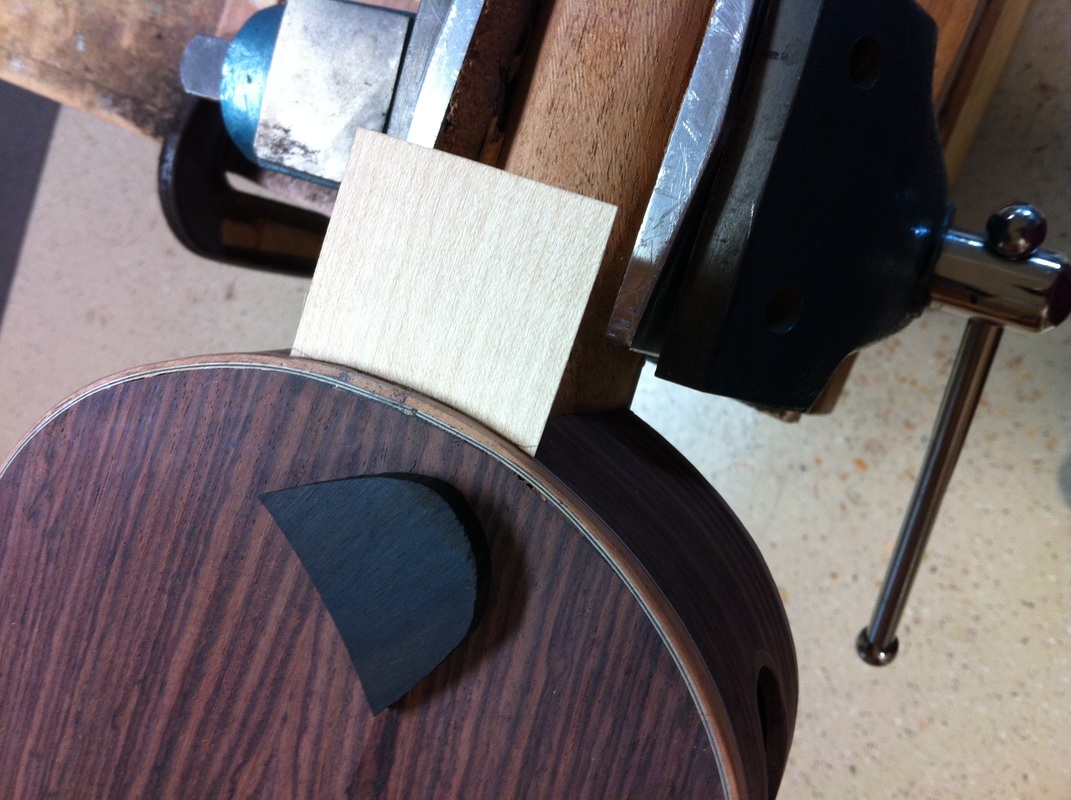 | 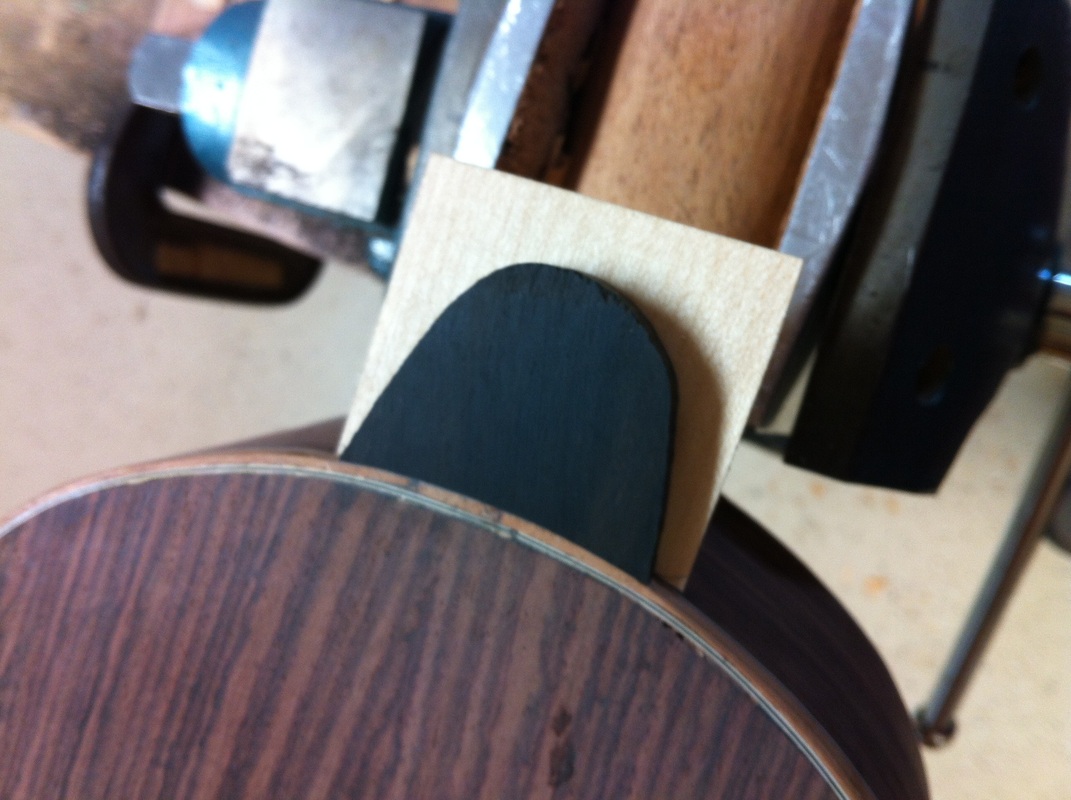 |
I want a little line of white between the ebony and the Honduran Mahogany neck so I will glue this piece of maple veneer to the neck and then the ebony on top of it. Lets see what it will look like. Here is the sandwich ready to glue.
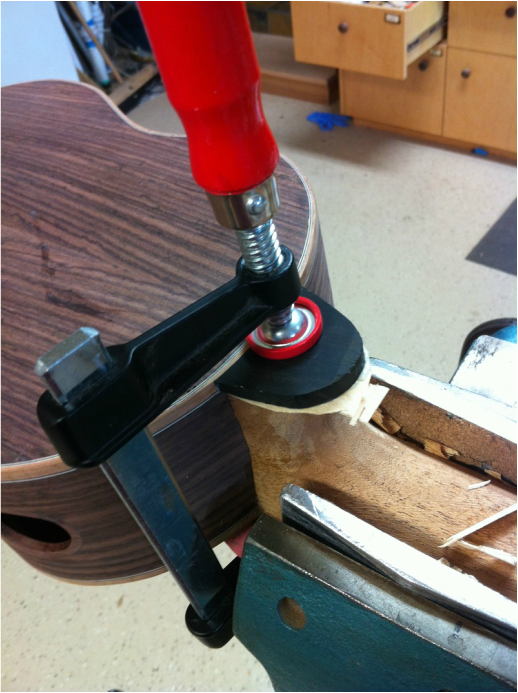
The sandwich is clamped- I am going to the Farmer's Market for lunch. See ya later!
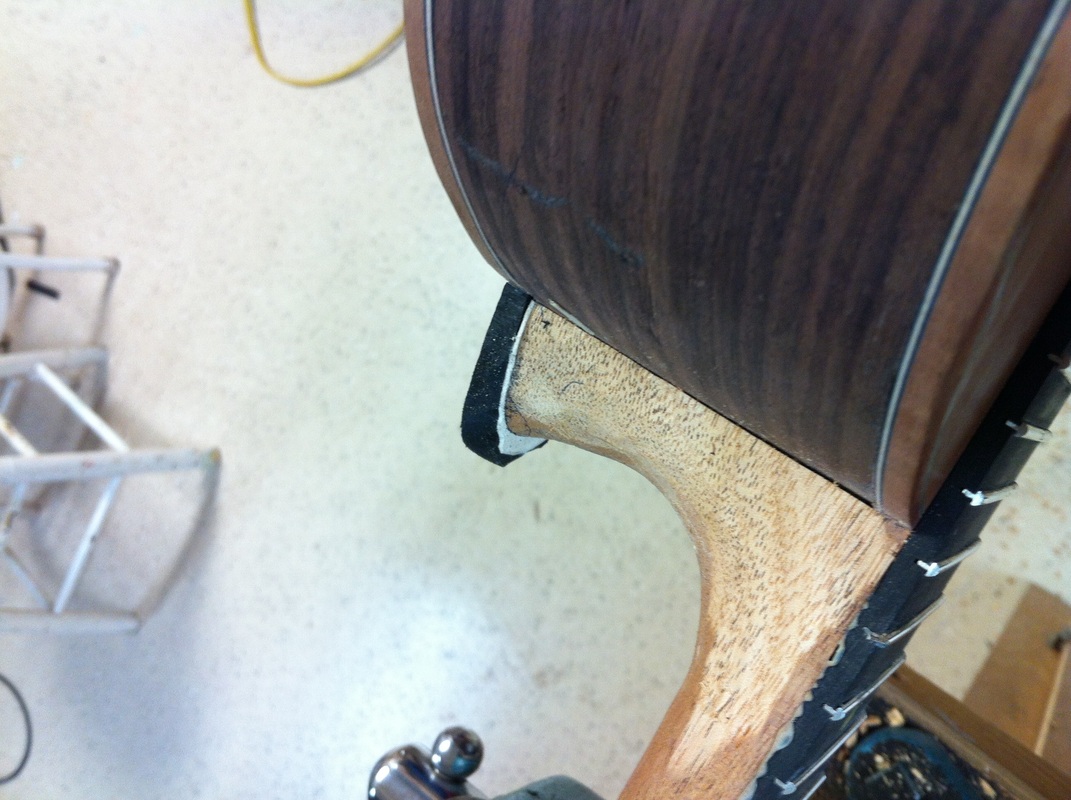 Time to start carving now. The ebony cap is set off by the maple veneer. lets shave it down and see how it looks. | 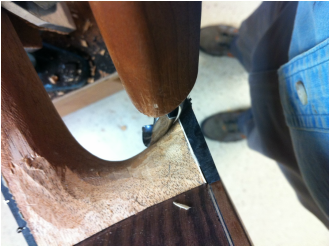 I used to do a lot of wood carving and have collected a good assortment of carving tools over the years. This is a hand made forged curved knife that takes an edge sharp enough to shave with. It cuts this ebony like butter. |
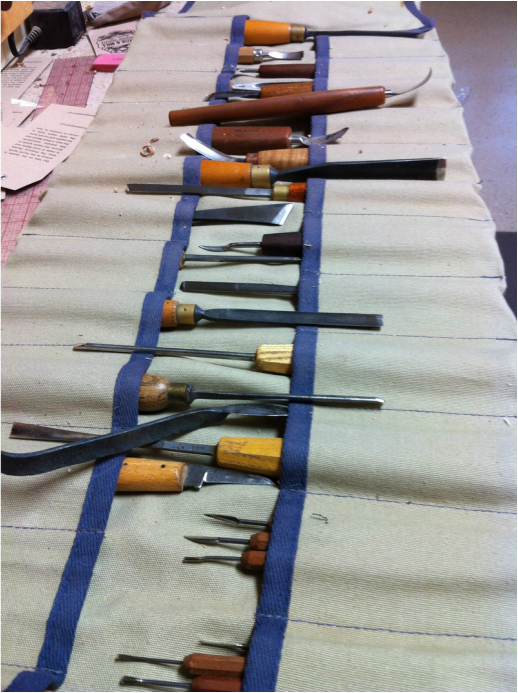 | Here is about half of my carving tools, really helpful when carving necks. The curved blades are especially helpful. |
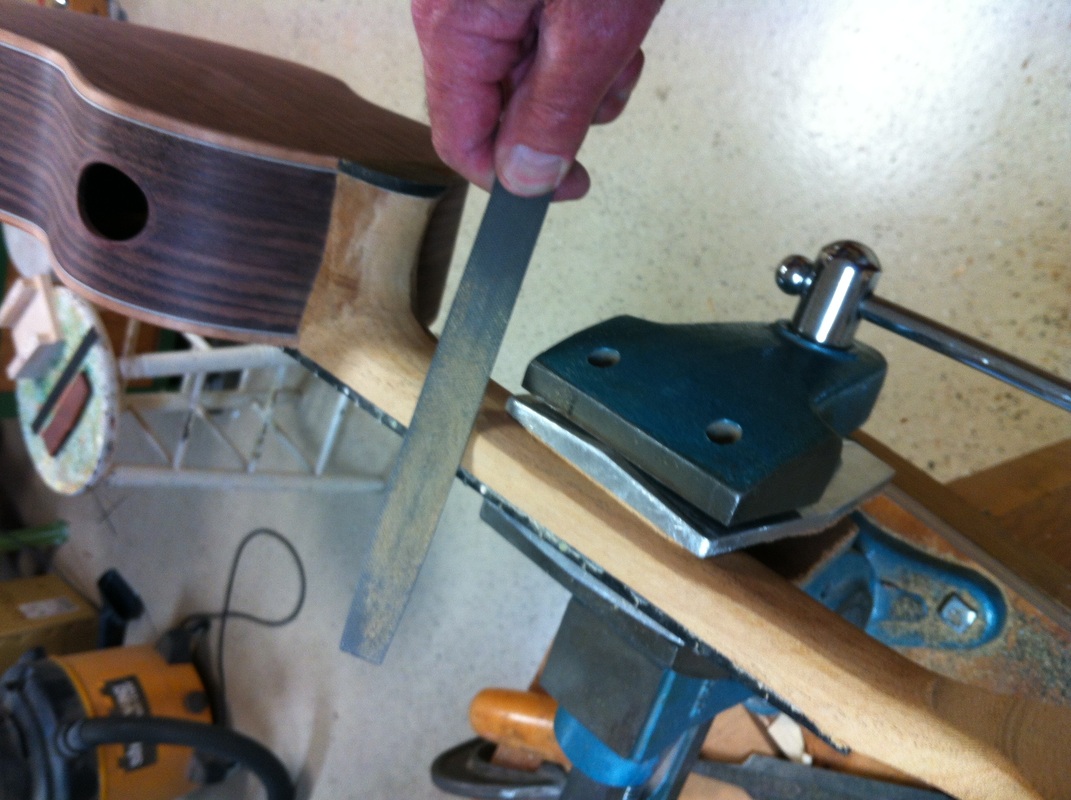 First I like to use a fine toothed rasp to roughly shape the neck. Here I am taking it down to the ebony fretboard. then I work on rounding it. | 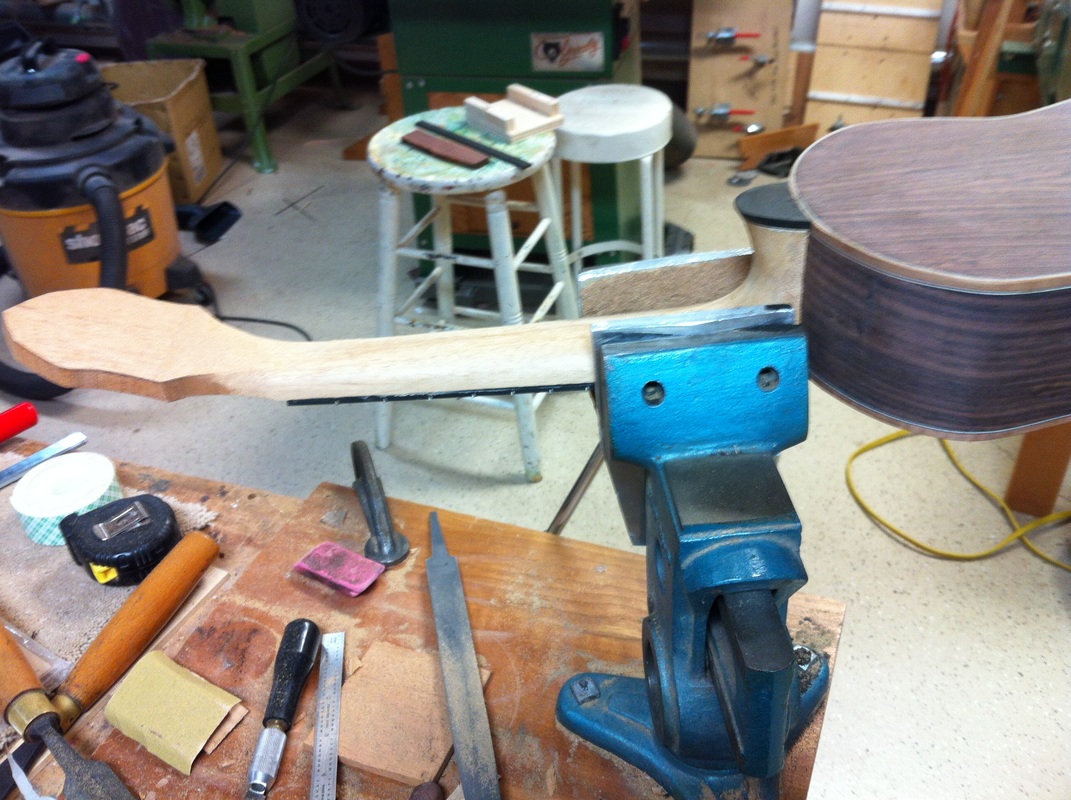 After the rasp roughing in the shape I will sit down comfortably in a chair with a sharp scraper and really begin to refine the neck shape. A lot like whittling, kind of a sensory thing. The scraper and holding the uke by hand you can scrape and shape the entire length of the neck. I will take my time, this is an important phase. |
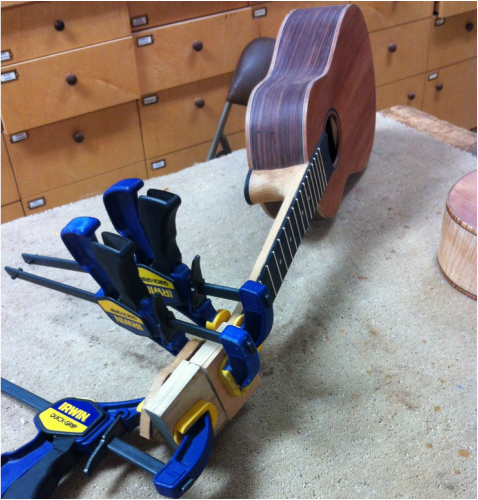
I think it is time to get the peghead plate glued on. It will be easier to see the whole neck and shape it all together.
While this is drying I will cut the new fretboard taper and install the dots on the replacement fretboard. ---
Got that done and now it was time to quit for dinner. Enough for one day.
While this is drying I will cut the new fretboard taper and install the dots on the replacement fretboard. ---
Got that done and now it was time to quit for dinner. Enough for one day.
