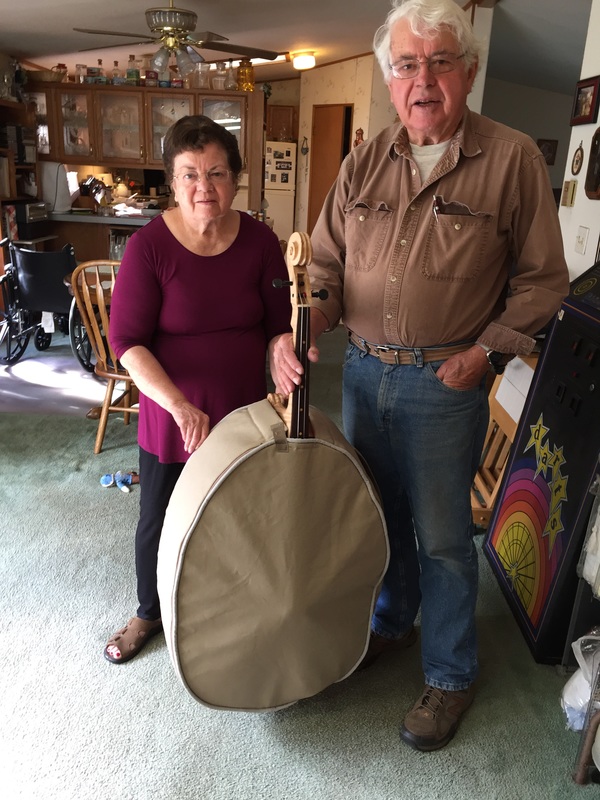
This morning after breakfast I took a long drive out into the county to the home of seamstress Betty Jackson. She had completed the protective "Gig Bag" for my bass. Here we are posing with the new bag in her home workshop.
The padded bag has a carrying handle and a big pocket for music. Ought to make it easier to transport as well as protect the body finish. I am pleased.
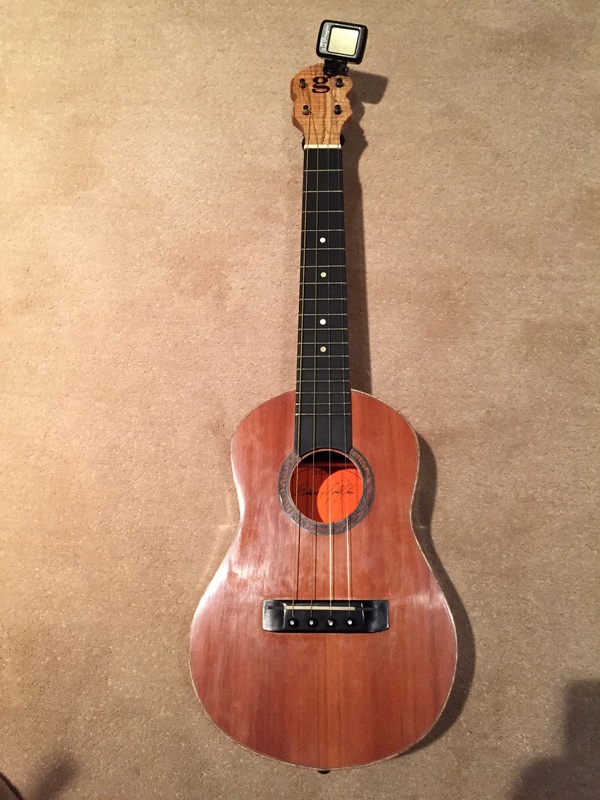
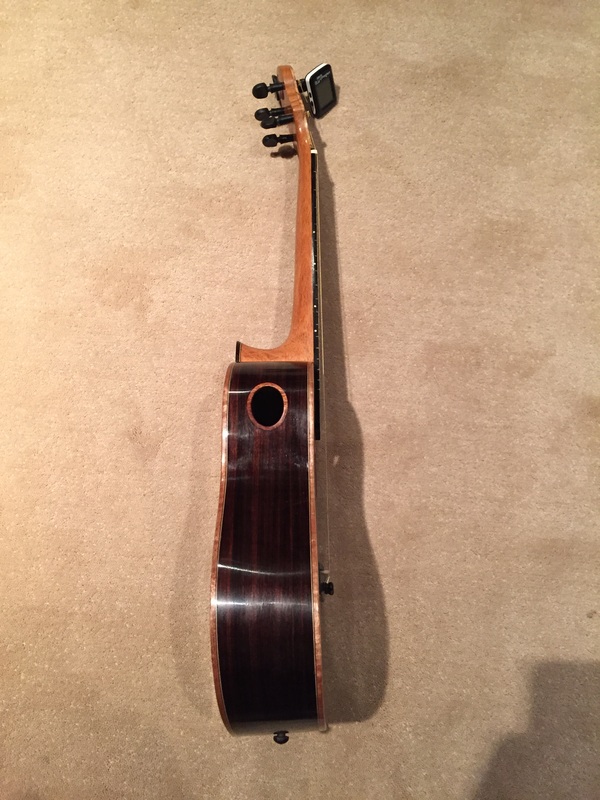
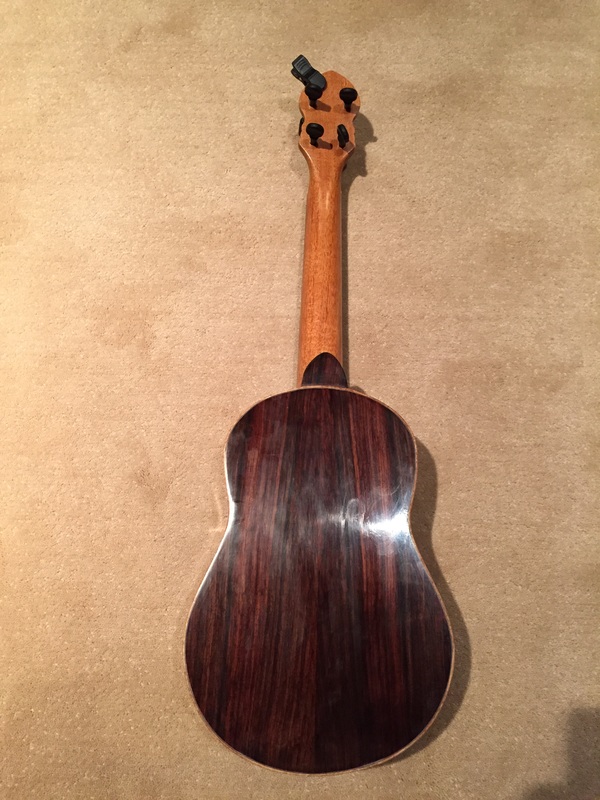
Next I decided that the tenors French Polish was complete. It was time to string them up. First order of business was installing a strap button in the Cedar/Rosewood #73.
Next I decided that the tenors French Polish was complete. It was time to string them up. First order of business was installing a strap button in the Cedar/Rosewood #73.
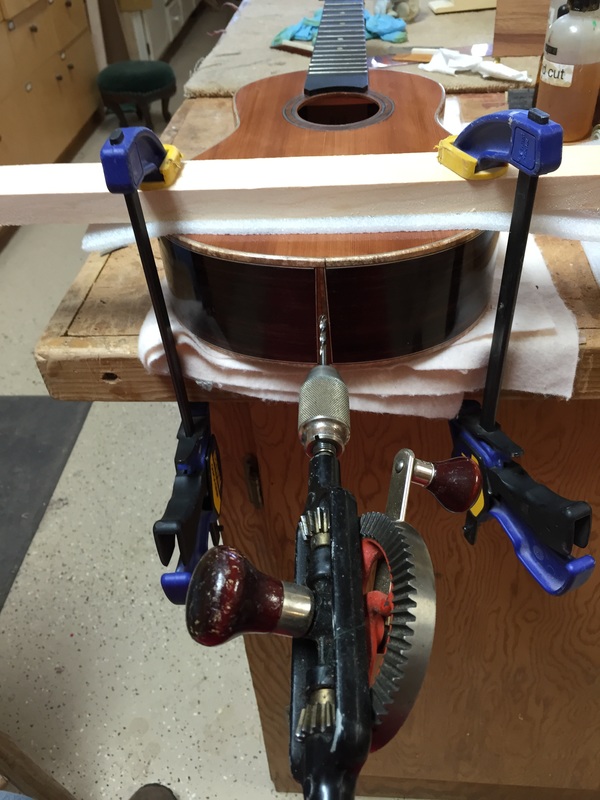
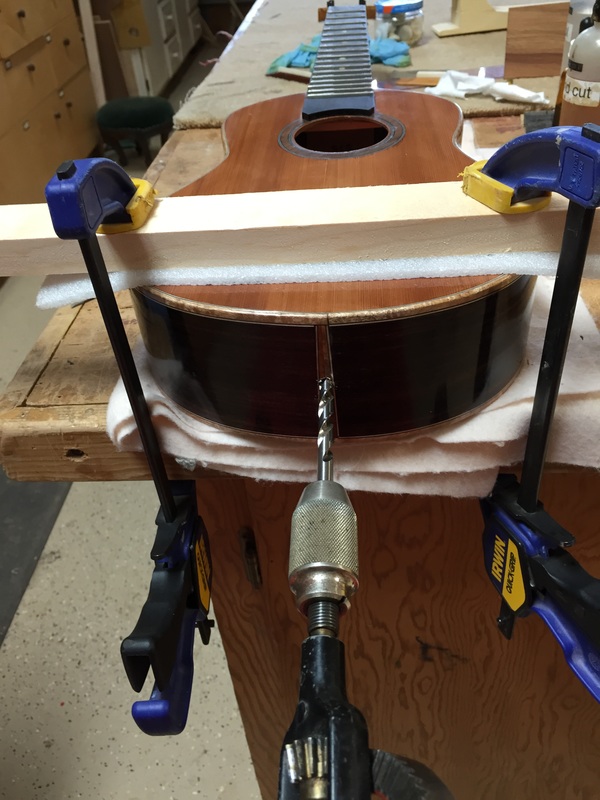
I strapped the uke to the workbench, carefully marked the location, hand scribed a small indent to guide the drill bit and then drilled a pilot or lead hole with a small bit. I like to use the hand drill, I think I have less chance of losing control and marring the surrounding finish.
With the pilot hole to guide me I now drill the large hole that will accept the shank of the ebony strap button that I had turned on the lathe a couple of days previously.
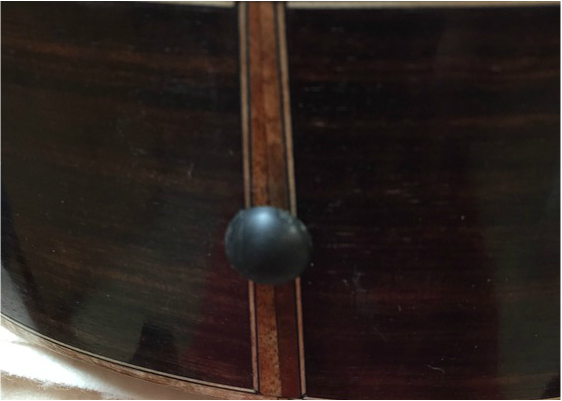
Now with a little glue applied to the sides of the hole as well as the shank of the button- it is inserted and is ready for a strap.
The next task it glueing on the bridge. first I establish the proper place using a template between the nut and the saddle. When its proper position I surround its edges with blue tape. Then the shellac is scraped off within the blue tape preparing for the glue. The bridge is glued on using clamps. NEXT
The next task it glueing on the bridge. first I establish the proper place using a template between the nut and the saddle. When its proper position I surround its edges with blue tape. Then the shellac is scraped off within the blue tape preparing for the glue. The bridge is glued on using clamps. NEXT
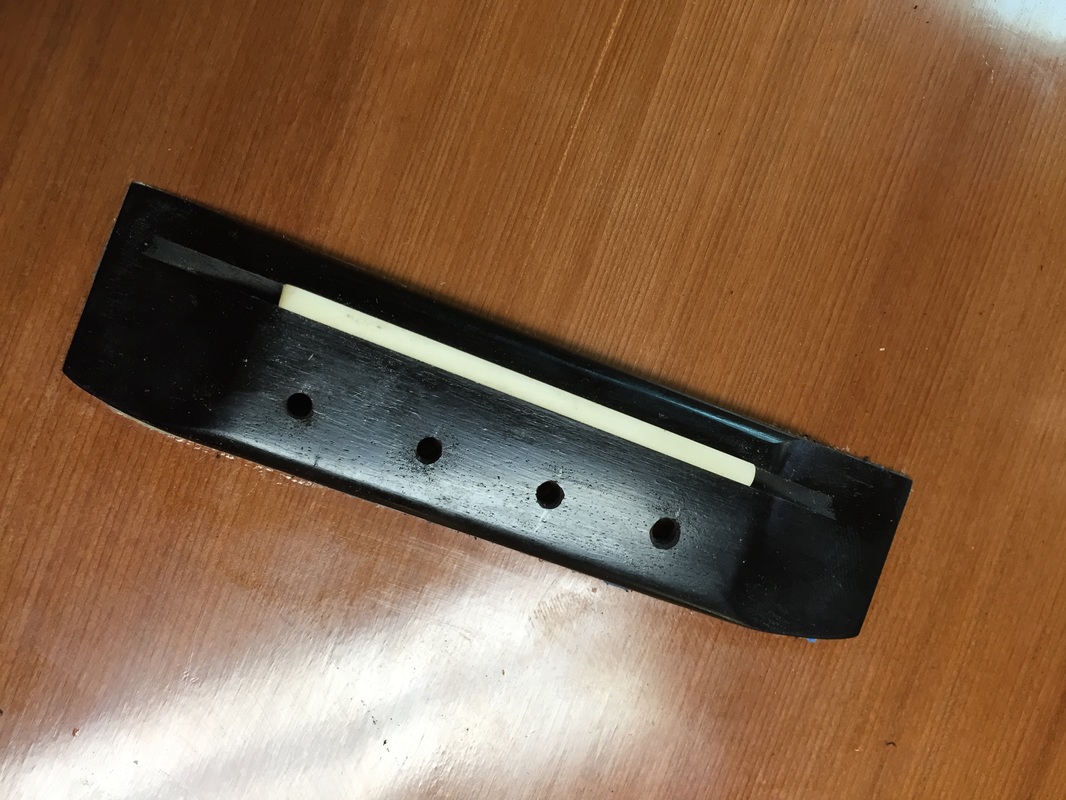
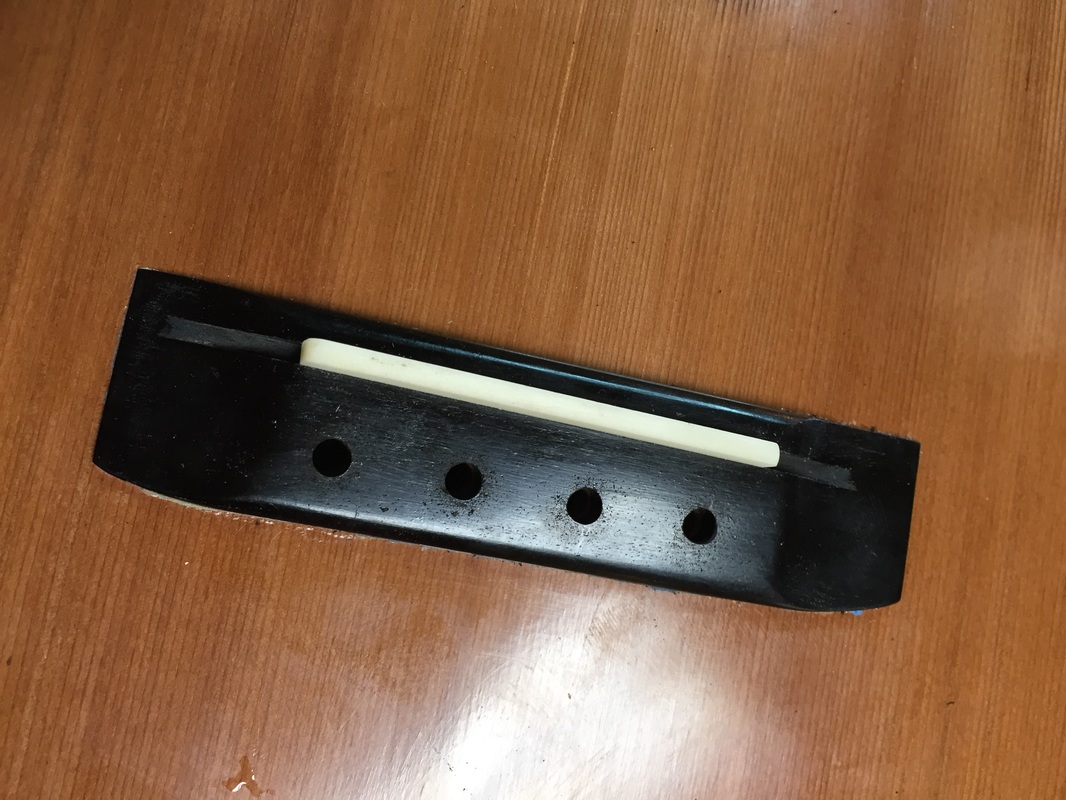
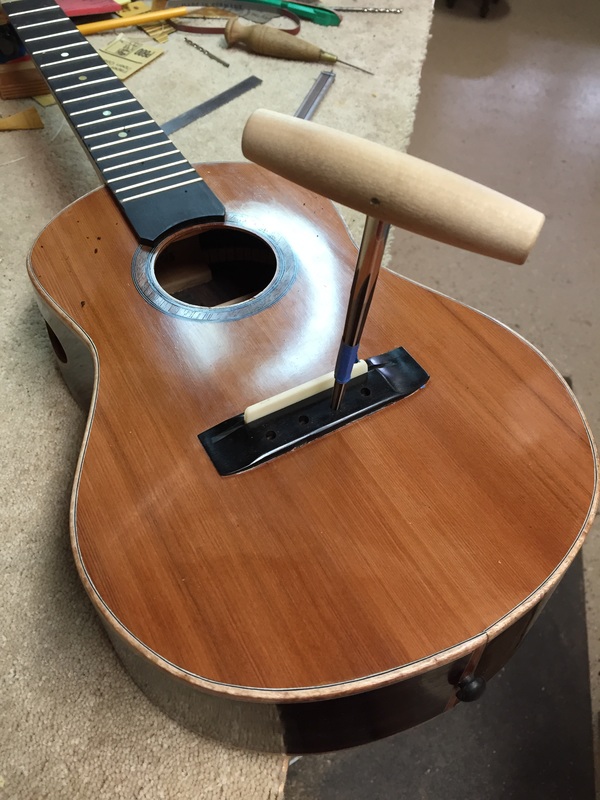
Now mark the location for the bridge pins and drill a small guide hole. Then widen the holes with a larger bit, just large enough to accept the tapered reamer
Now carefully widen each hole being sure to individually fit each pin to seat just right. The pins are apt to be a little bit different so fit them one at a time-and slowly. You don't want to ream the hole too large.
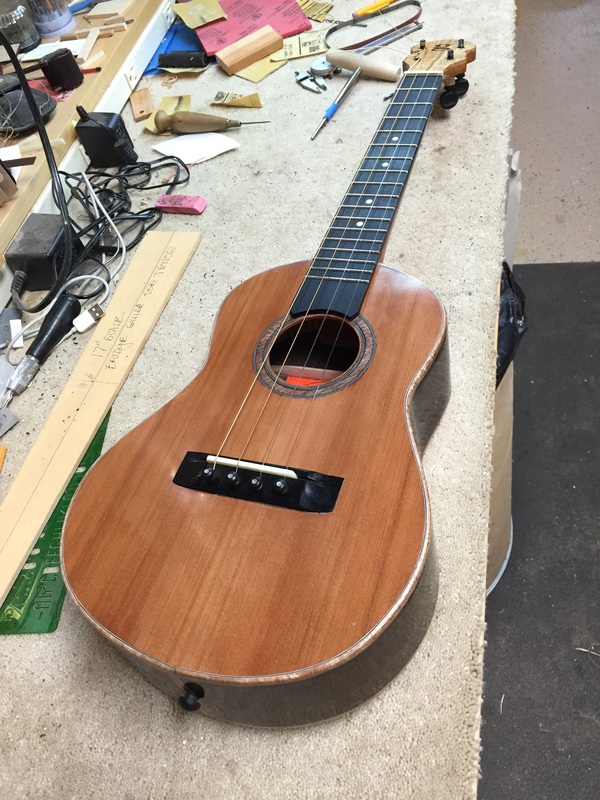
At last the ukulele is finished except for some final bridge and saddle adjustments. Lets hope it sounds good.
