Today Linda's Ukulele began it's song.
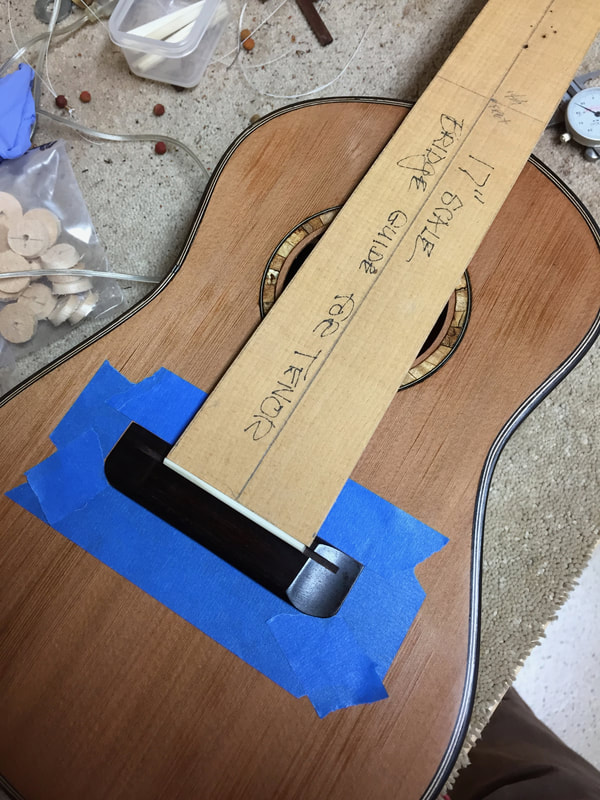
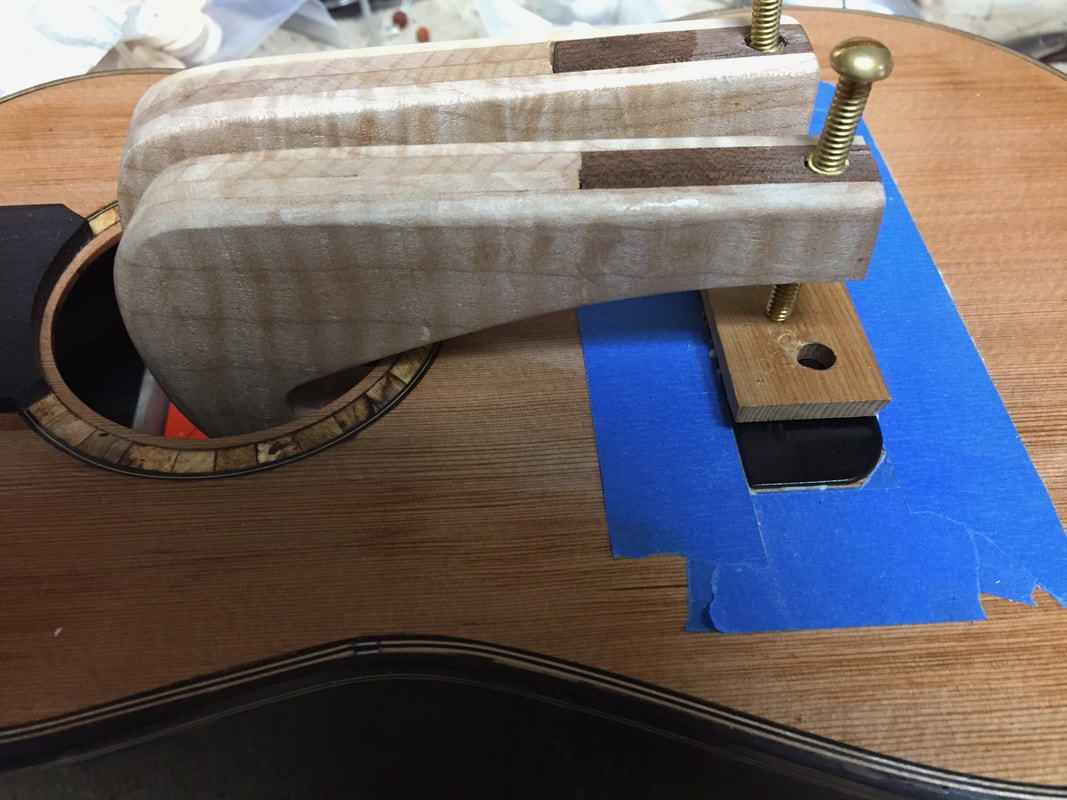
It began with the placement of the bridge, using the wooden 17 inch scale gauge to set it in just the right distance from the nut. Then tape is carefully placed around it.
The tape holds the bridge in place when it is clamped during the glueing; it also defines the area that must be cleared of the shellac finish so that the glue will hold.

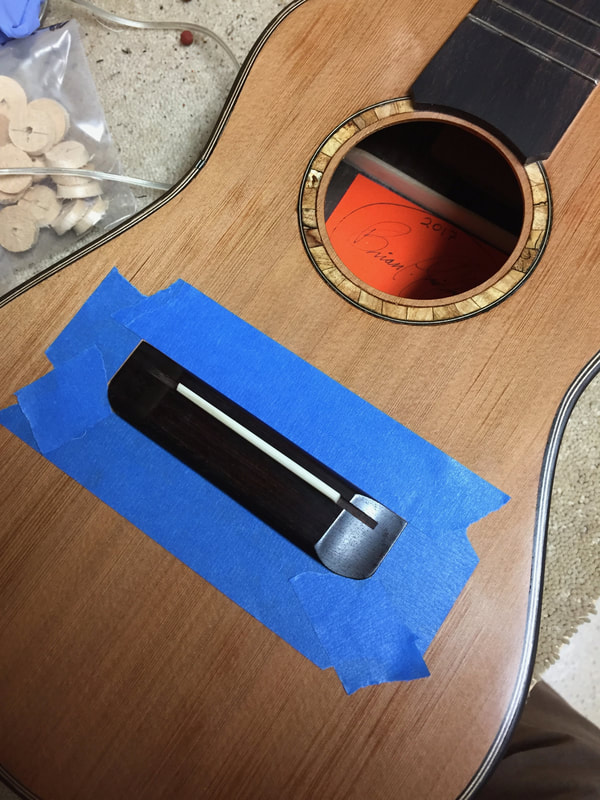
With a razor blade, the shellac is scraped away and the bare cedar exposed.
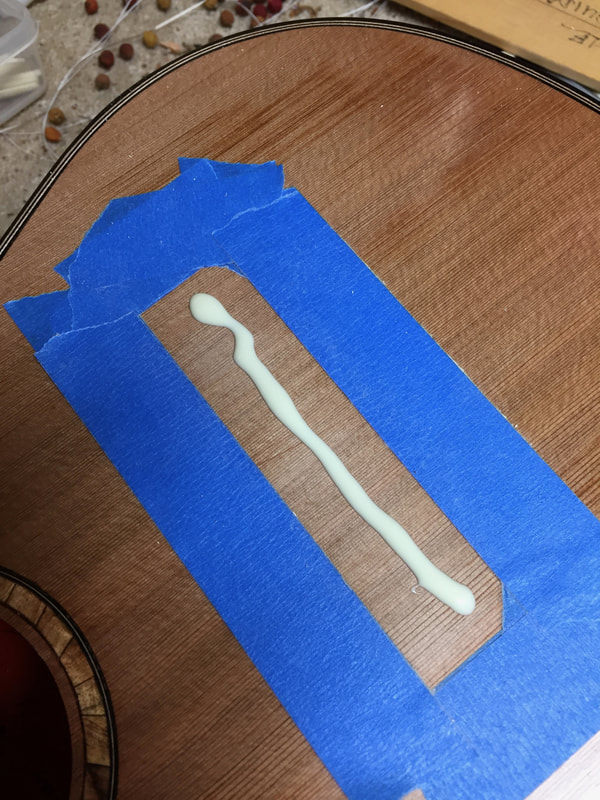 | 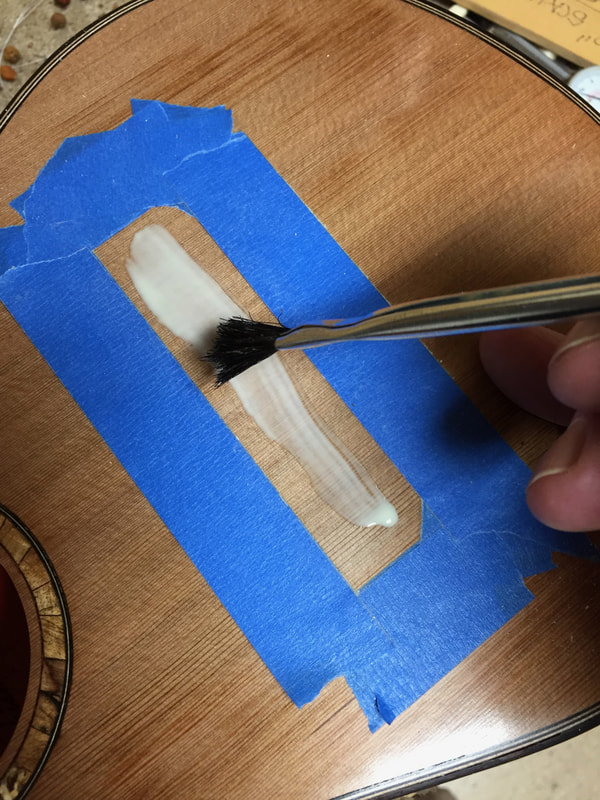 |
Then the glue is applied and spread.
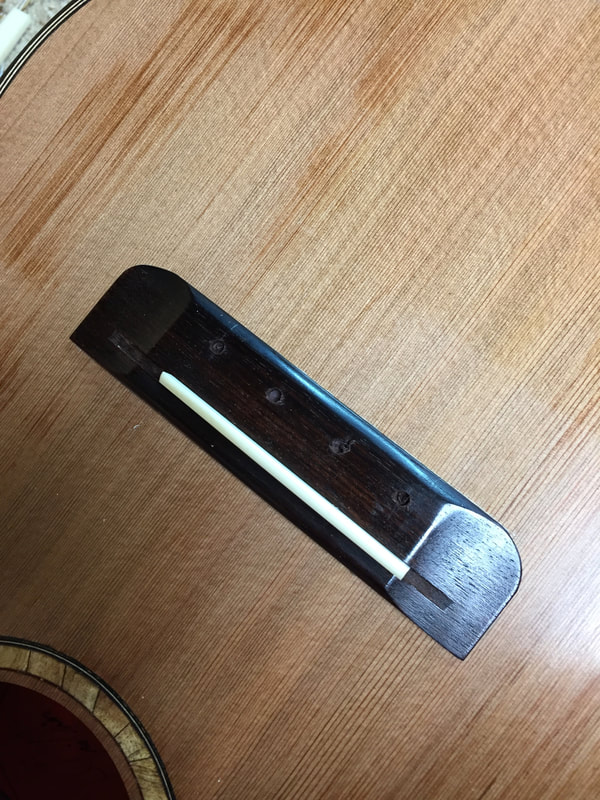
Then the clamps are applied. After a few hours the glue has set up and it is time to drill the holes for the bridge pins.
 | 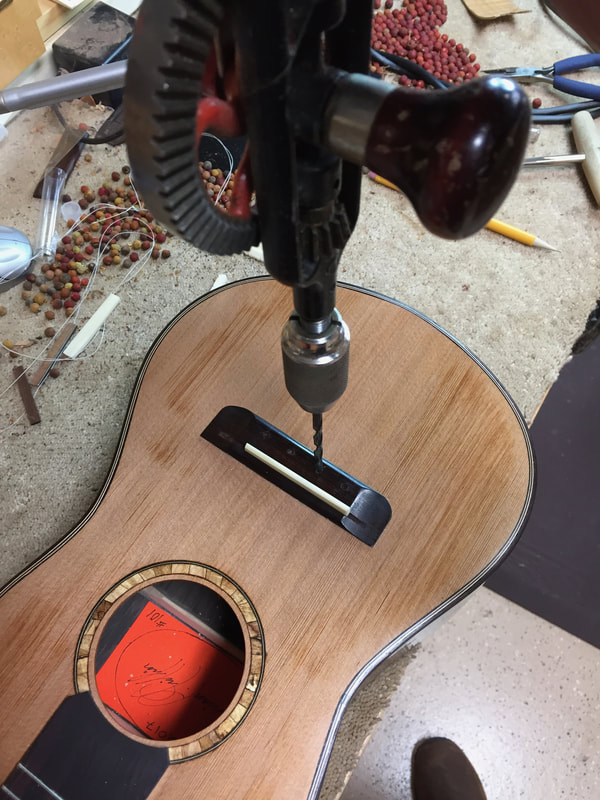 |
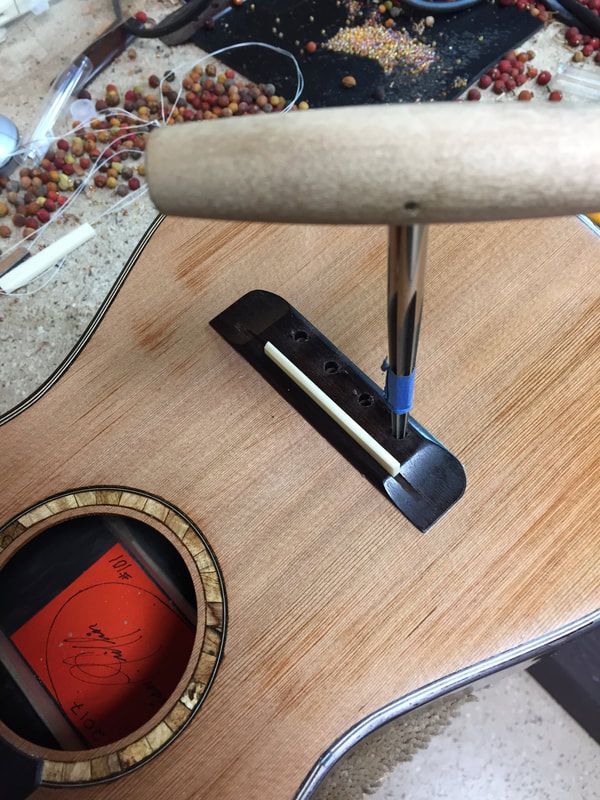
First a pencil mark is made, then a tiny indent with the point of an awl, then a small hole begun with a finger drill, and finally the hand drill is used to drill a hole entirely through the bridge, top and brace beneath. The hand drill allows a slow and careful hole making. this hole is just large enough to accept the point of a tapered awl.
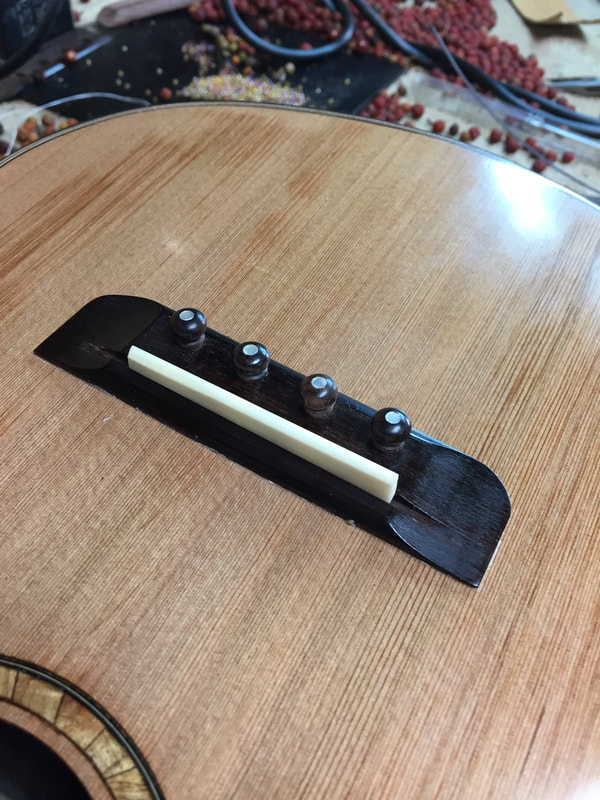
Now it is just a matter of attaching the strings and tuning it up

So here is a toast to Linda's Christmas Ukulele. May she enjoy it's song for years and years. I am very pleased, this Rosewood and Cedar instrument has great tone, lots of volume and sustain. It will grow and mature as she plays it into a really good one. Always a delight to string up a new ukulele and play it in front of the fire at the end of the day. The strings are still stretching but it is sounding very good.
