My quest for just the right binding for these two new Kasha tenors caused me to organize my supply of binding stock. I found two sets of bindings that I liked with these ukes. I also carefully taped together bundles of four identical bindings for future ease of selection.
Next I got out the bender and successfully bent the bindings I had selected.
That done, I got set up to rout out the final binding channel. The cut for the end piece that hides the joint at the rear of the instrument. Here is how I did it.
Next I got out the bender and successfully bent the bindings I had selected.
That done, I got set up to rout out the final binding channel. The cut for the end piece that hides the joint at the rear of the instrument. Here is how I did it.
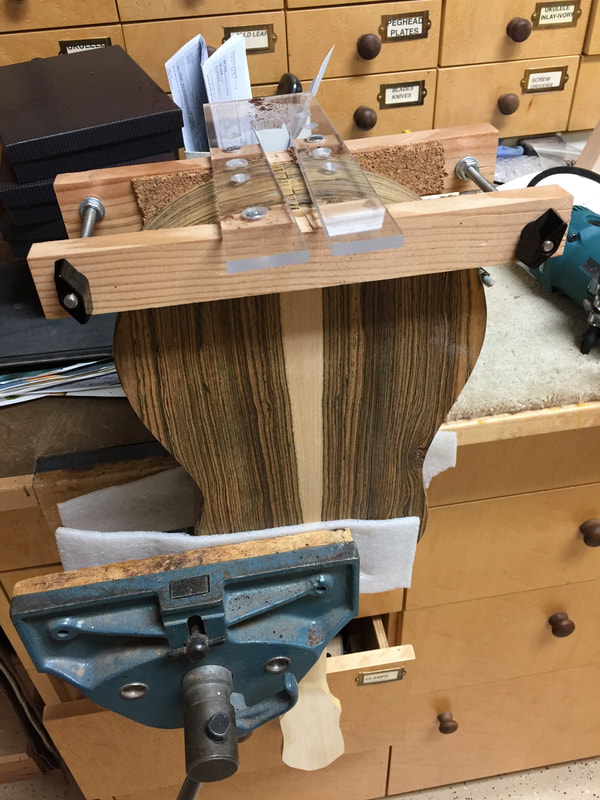
As gently as possible I hold the instrument in the carpenters vise and attach the router guide in its proper place.
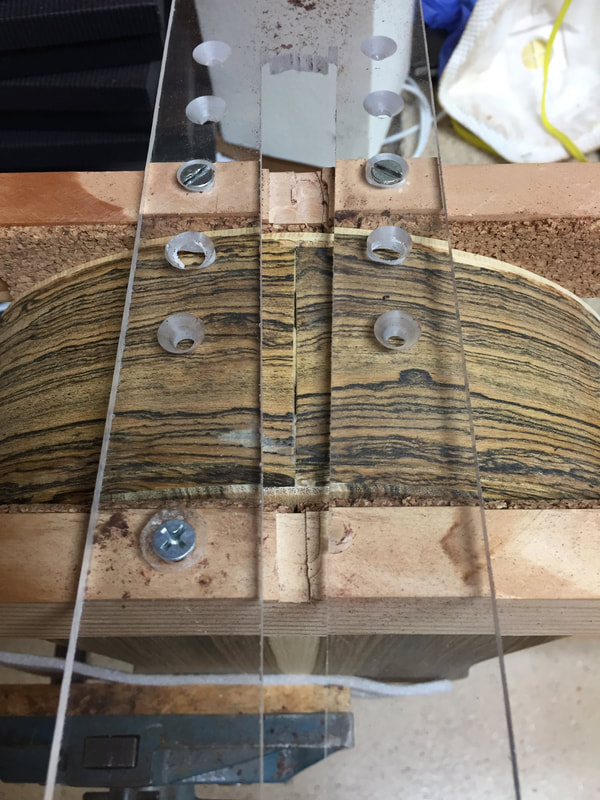
this Jig of 1/4 inch acrylic and wood is adjustible so you can vary the width of the cut.
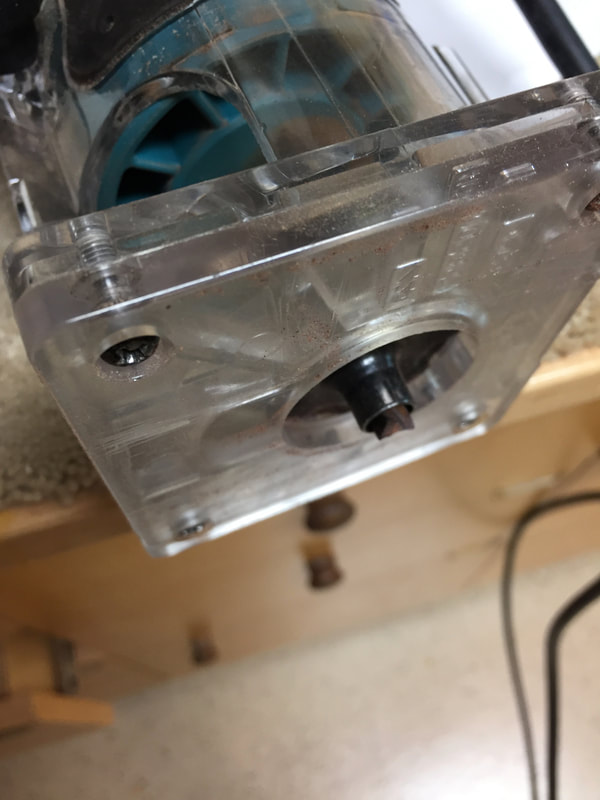
Here is the router, set up with its guide. and you can just see the tip of the router bit protruding from the guide. The farther it protrudes, the deeper the cut will be.
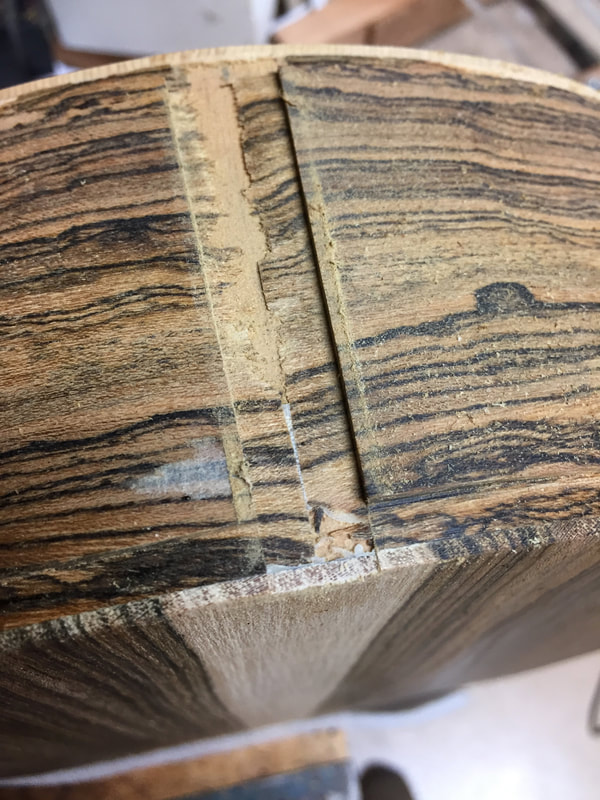
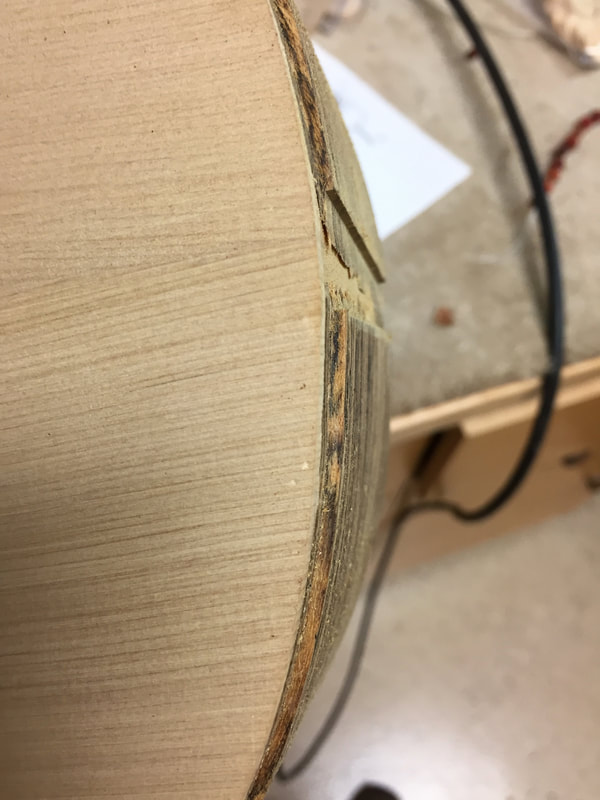
Here is the cut. Important that you don't cut too deep or you will intrude on the soundboard and back. This was just right.
If the cut had been any deeper it would have notched the soundboard and looked awful- so it is very important do set the depth of the cut, just right.
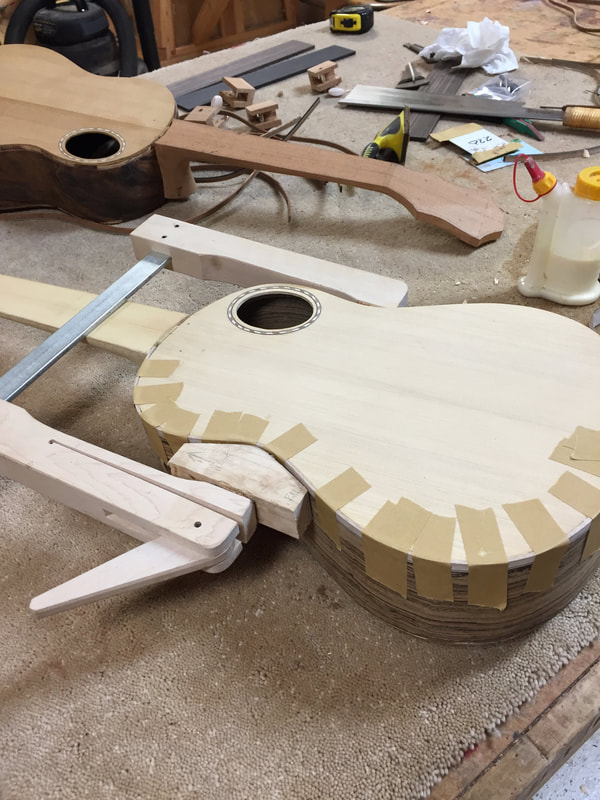
.And now, one at a time, I can install the bindings. Cutting them to length and carefully glueing them into the notches holding them with this special tape. A clamp always helps to bring the binding up tight at the big curve. I got three installed, The rest tomorrow.
