Today I finished Laura's #2019. I got it strung up and the MiSi pickup installed. Here was the process.
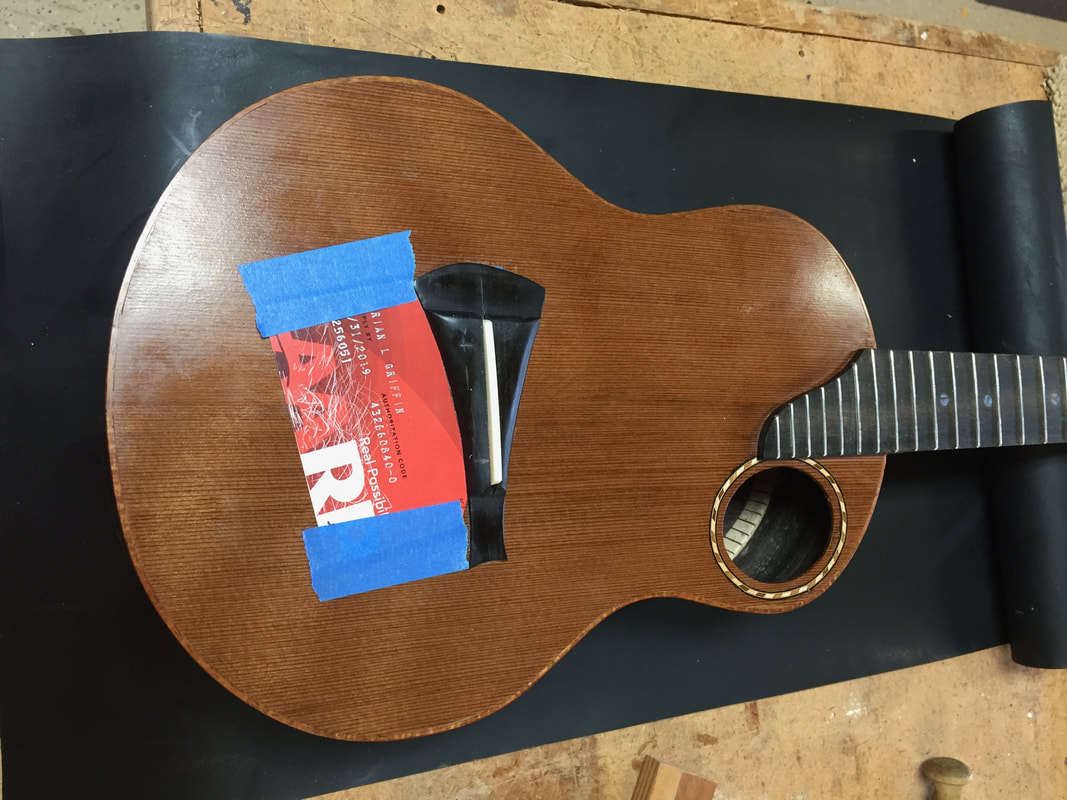
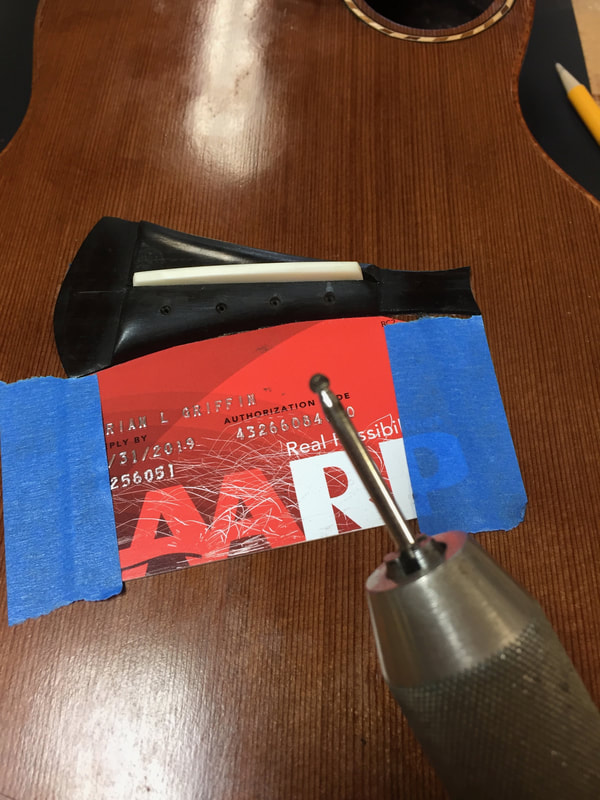
Ive learned the hard way that before drilling the string holes in the bridge you want to protect against slips. These un-used AARP cards that they keep sending me, are perfect plastic protectors.
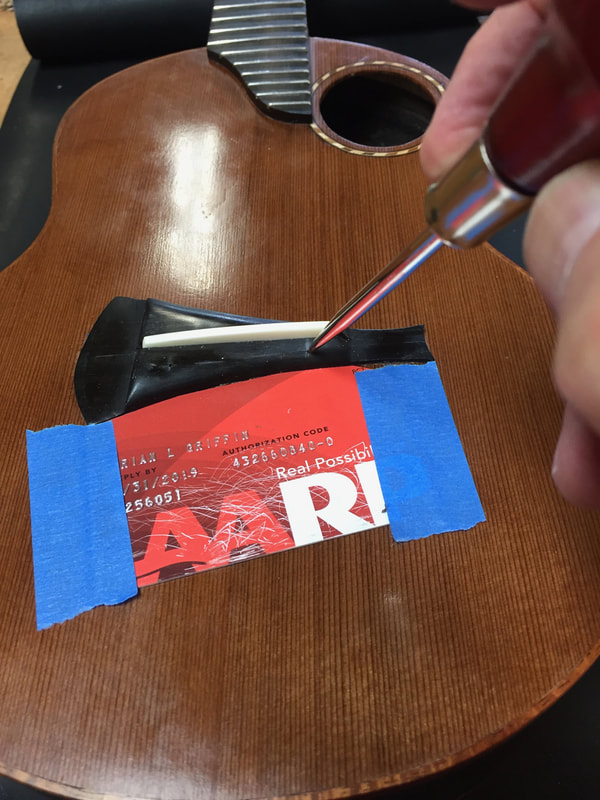 First, stretch a string to determine just where the 1st and 4th string holes should be. Then mark that spot with a sharp awl to guide the drill. | 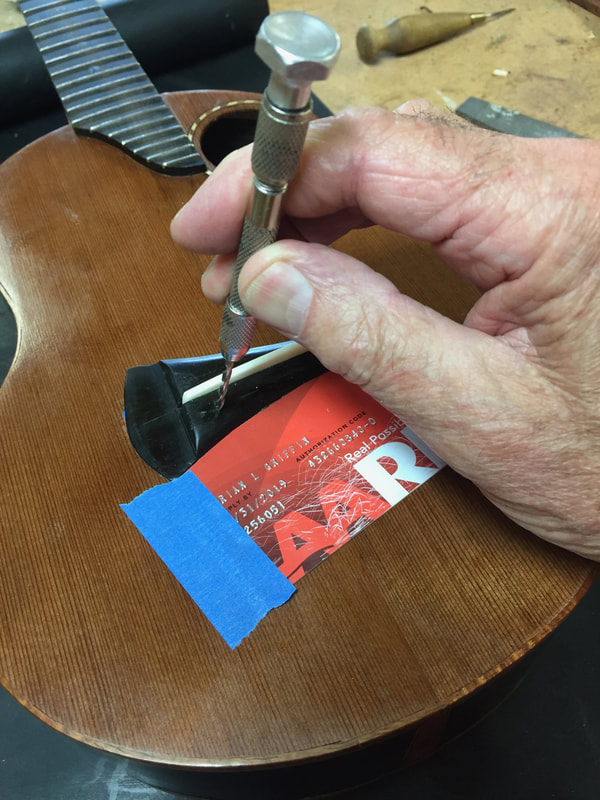 Now with a small finger drill, expand that mark made by the awl in order to guide the final drill bit. |
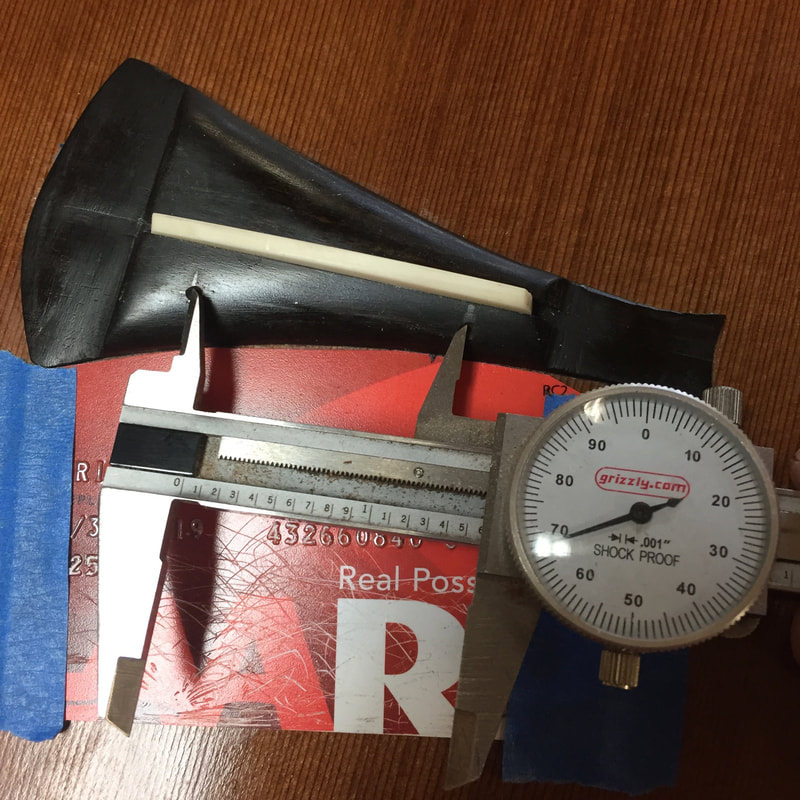 Then measure the distance between the two holes. In this case it was 1570. Divide that number by three and the distance between the frets is 523333. Mark off the location of the holes for the C and the E string and prepare them for the drill. | 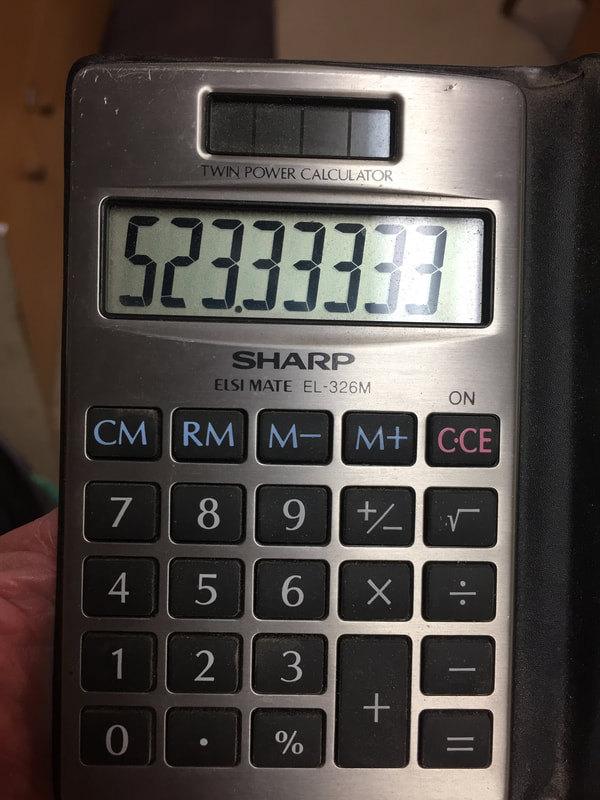 |
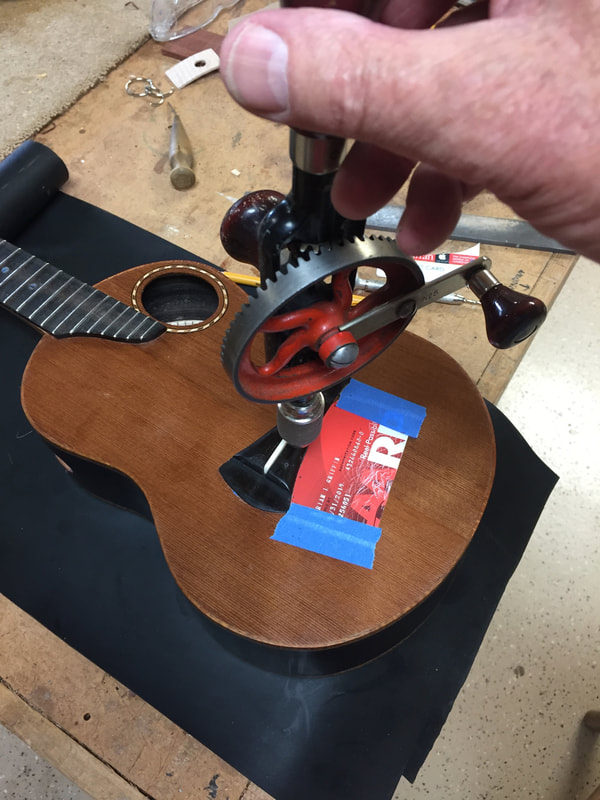 |  |
Select the drill bit for each string and drill the holes with an old fashioned hand drill. Its a good idea to also round out the edge of the hole with a round shaped diamond bit. This prevents string wear as the string exits the hole and turns sharply to the saddle. Now we are ready to install the strings.
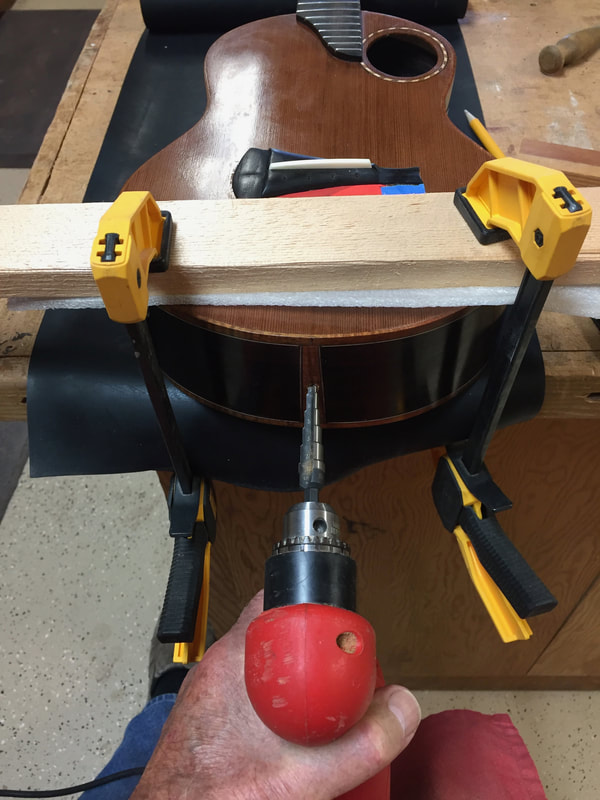
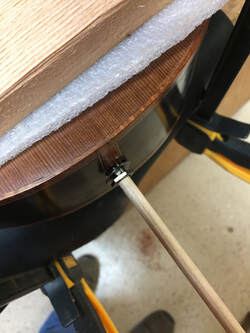
But first we have to install the pickup. That requires drilling a big hole through the butt block exactly in the center. I use a "step drill bit" does a great, smooth job.
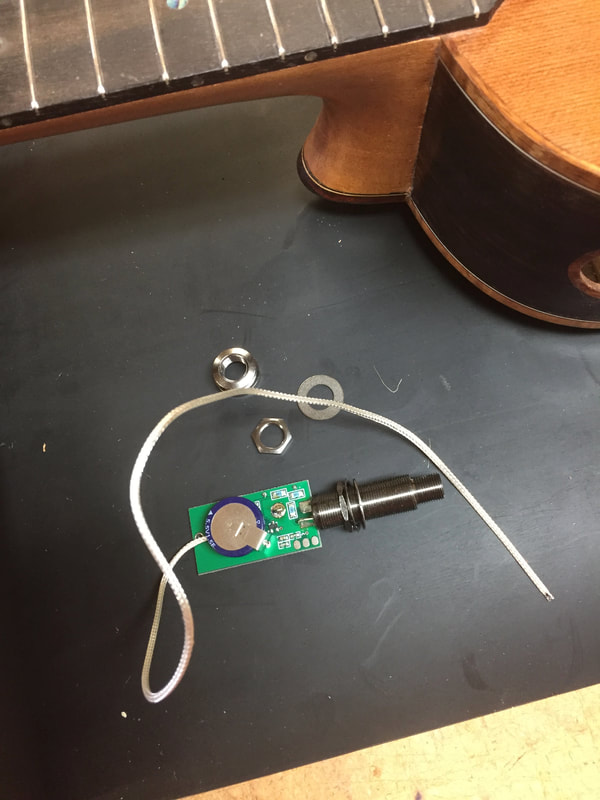 | 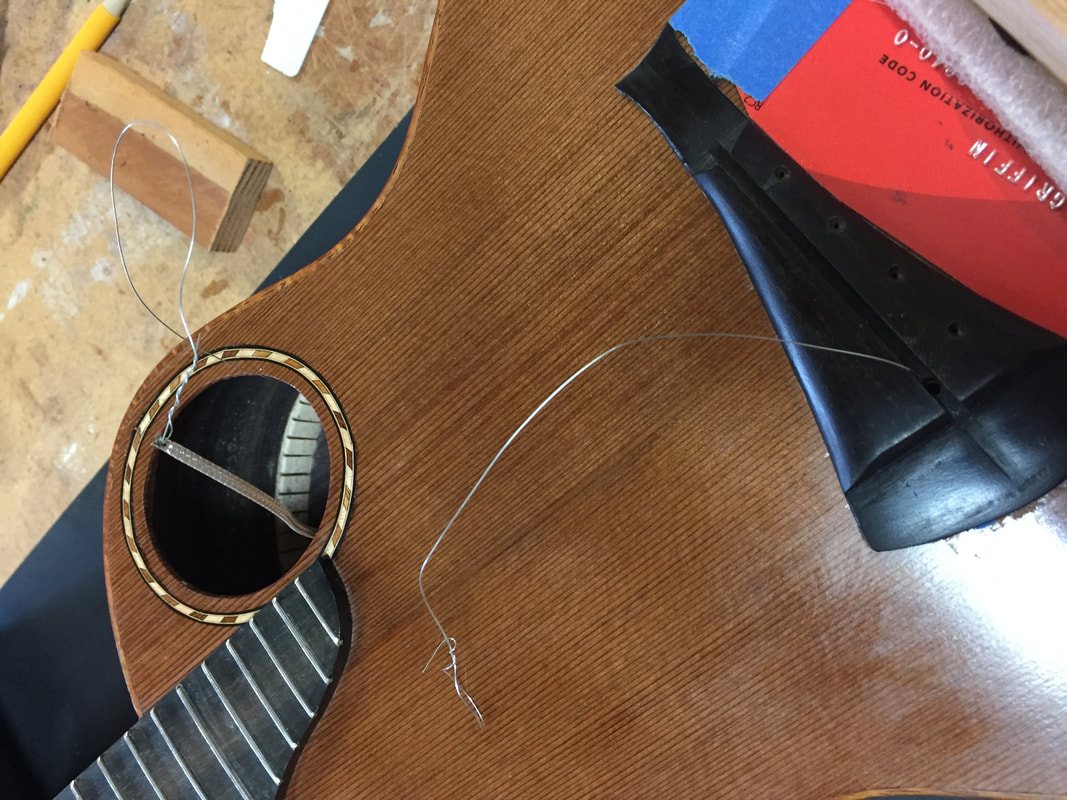 Lft. the MiSi pickup with attaching washer, nut and strap button. Somehow we must get that coax cable out of the uke through a tiny hole drilled in the slot of the bridge. A thin wire is inserted through the hole in the bridge, tied to the cable and the cable is then drawn through the hole from the inside of the instrument. |
 Now the pickup barrel is coaxed out of the hole and secured with washer and nut. | 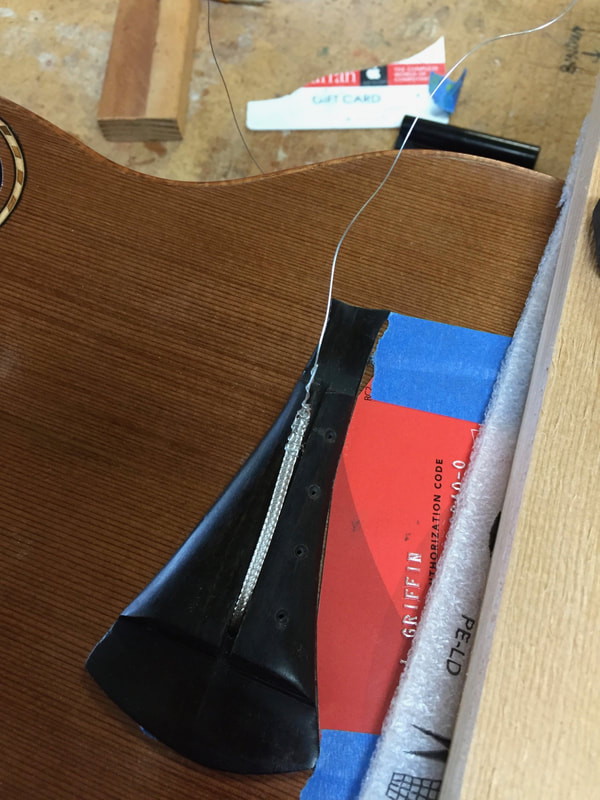 The coax piezo cable is laid in the slot and the saddle placed over it |

The pickup is tightened up firmly, the strings attached, tensioned and tuned.
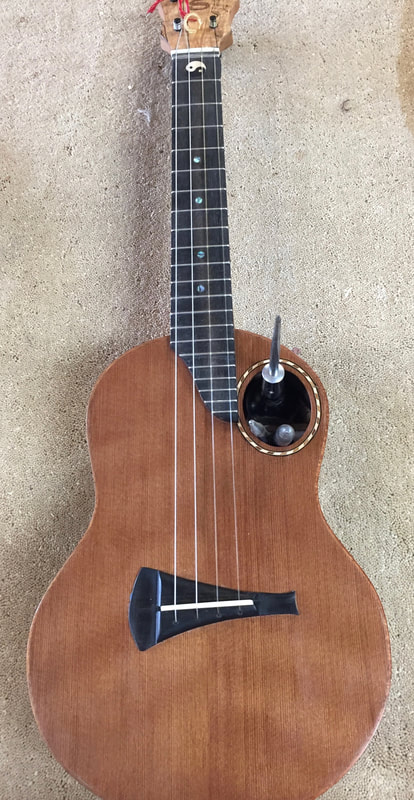
And this ukulele is ready to sing. the tools seen in the sound hole are applying pressure to the label as the glue sets, the last act in finishing the instrument.
This ukulele did not disappoint. It is a good one!
This ukulele did not disappoint. It is a good one!
