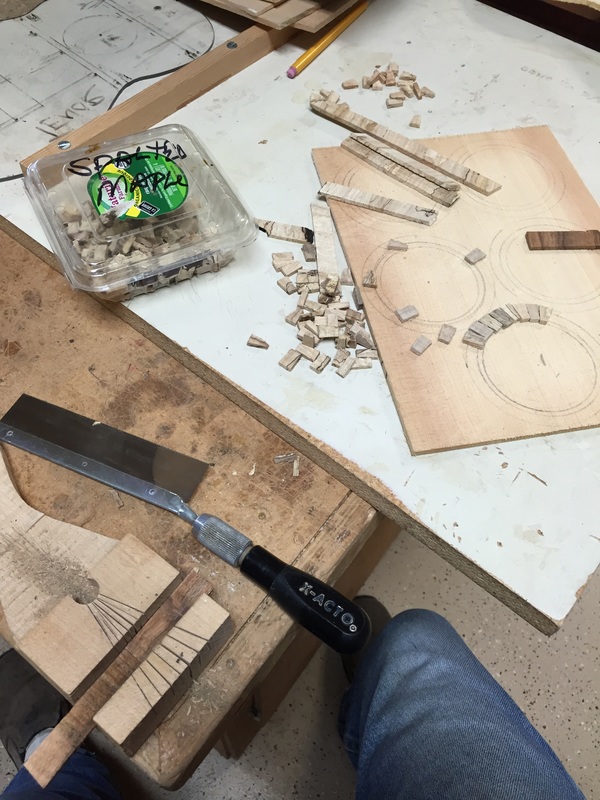
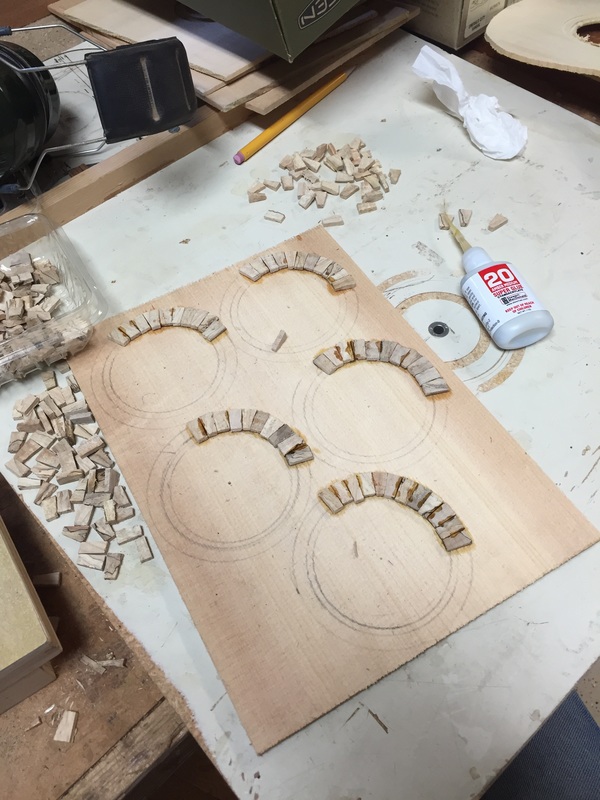
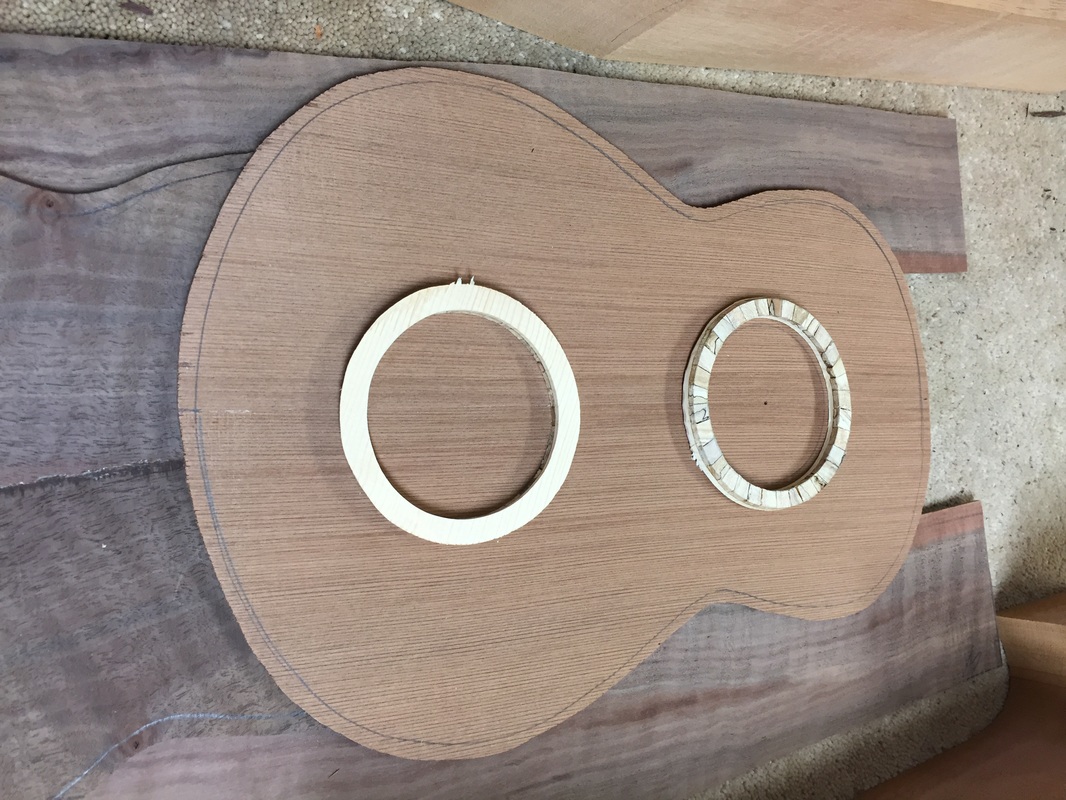
Little pieces of spalted maple are cut with a fine exacto saw. I love this wood, and it makes great rosettes. Each piece is then glued with super glue to a scrap piece of sitka spruce onto which I have drawn the circle of the rosette.
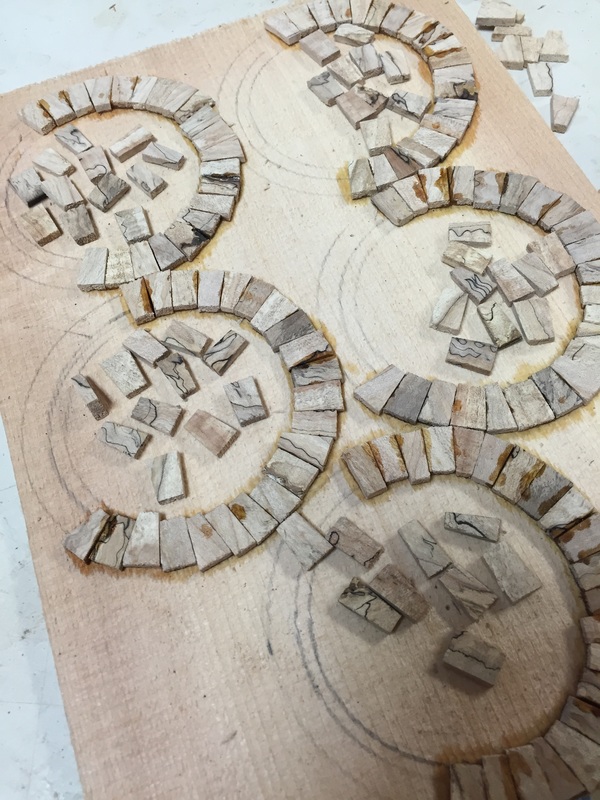
Then, one piece at a time they are glued down in place. each piece selected for its character and placed best side down.
One at a time, bit by bit, the circles of wood are completed. Eight or ten pieces are glued down and then I move to the next circle so that the first pieces can set up.
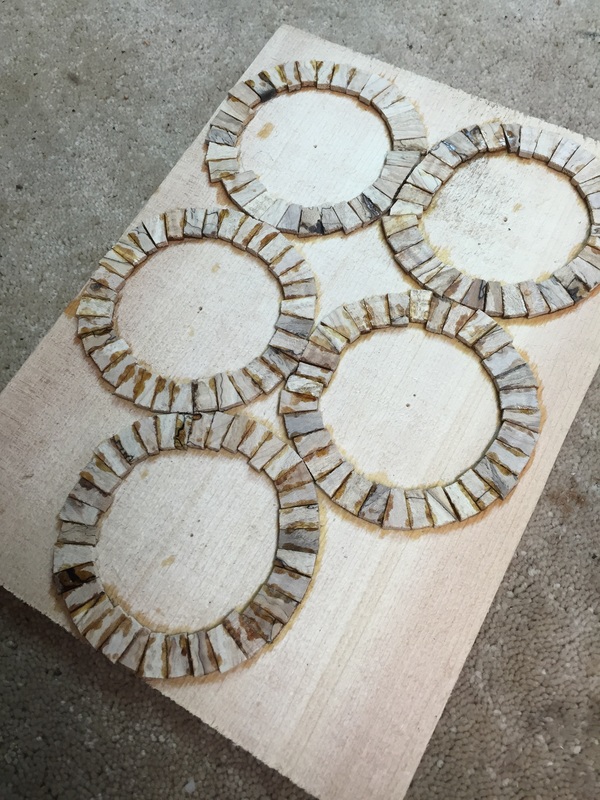
Finally, the circles are completed. Let it set up for a few hours and then it will be ready for the circle cutter.
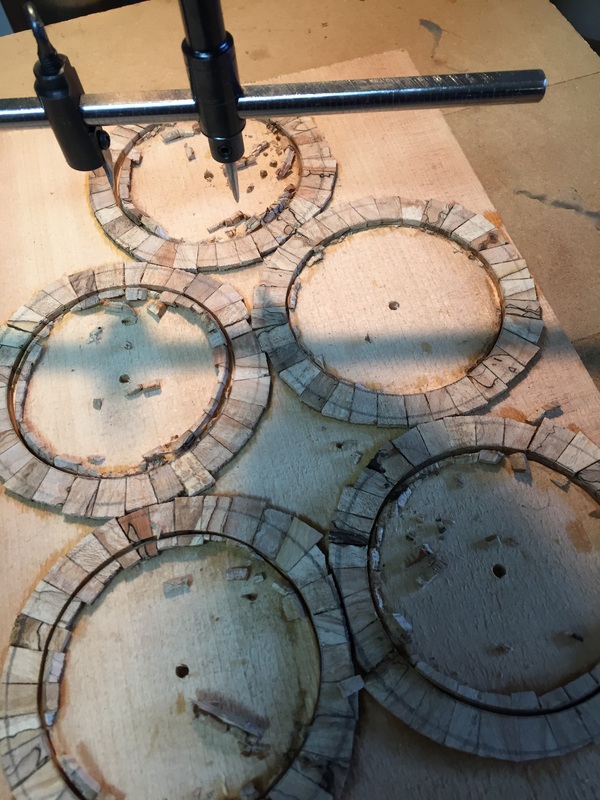
I sharpened up the cutting knives to be sure this would work well. Then put the circle cutter on the drill press
and set it to an almost but not quite depth that just misses cutting all of the way through. That job will be reserved for the thickness sander.
and set it to an almost but not quite depth that just misses cutting all of the way through. That job will be reserved for the thickness sander.
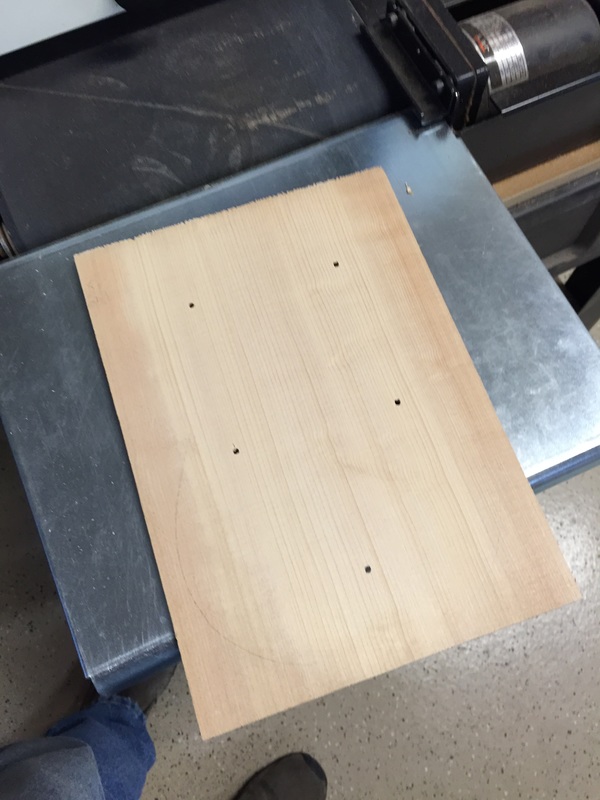
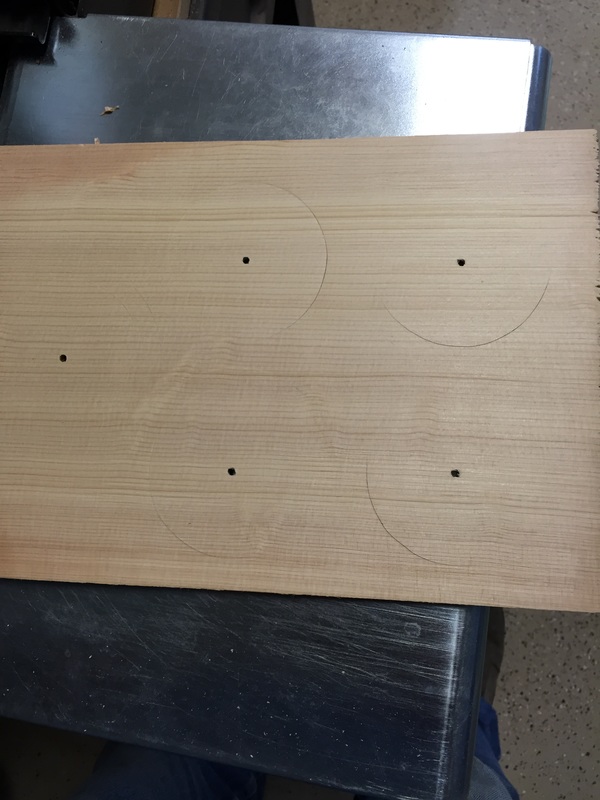
The board is put upside down through the thickness sander to sand away the spruce backing to free the rosettes.
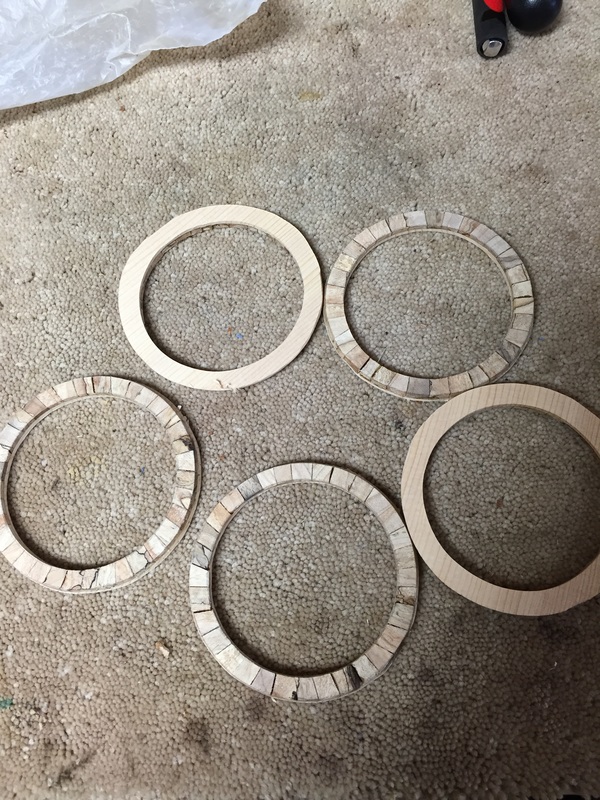
| after repeated passes, Now you can see the cuts showing. A few more and Here is the result, five nice rosettes glued to their spruce backing. | They will be inserted into grooves cut into the Redwood top and surrounded with purfling. They will be put in with the backing up. It will be sanded down flush exposing the rosette. |
