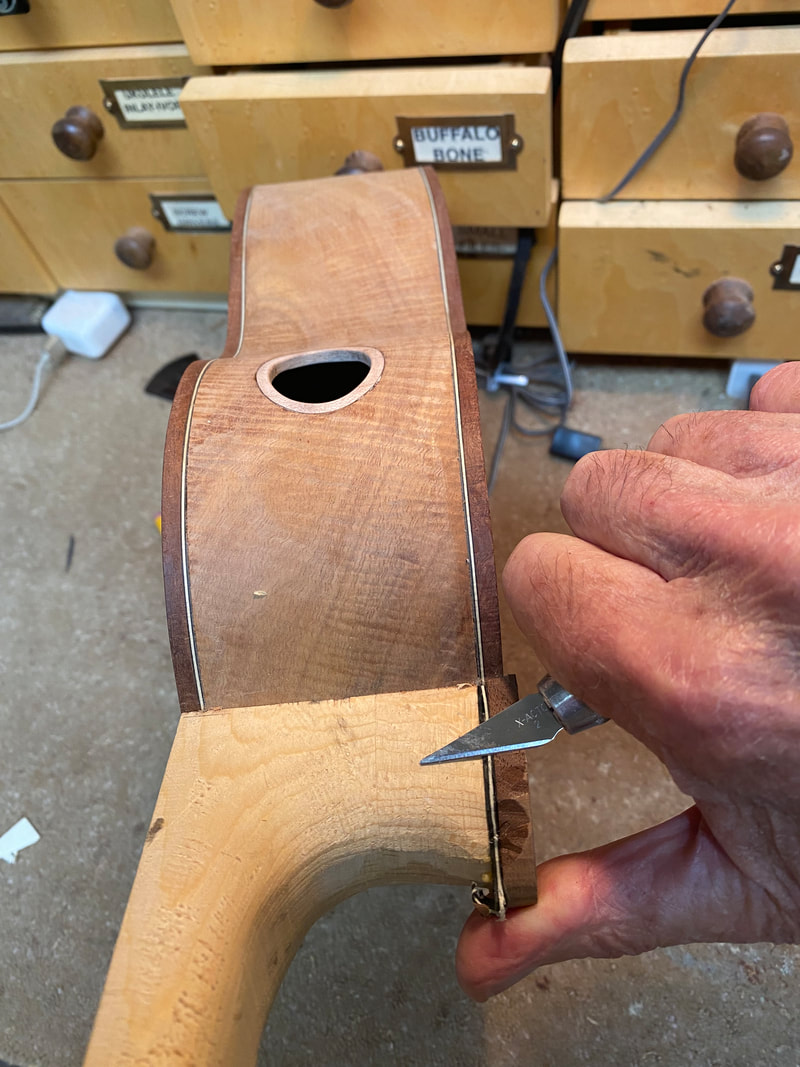
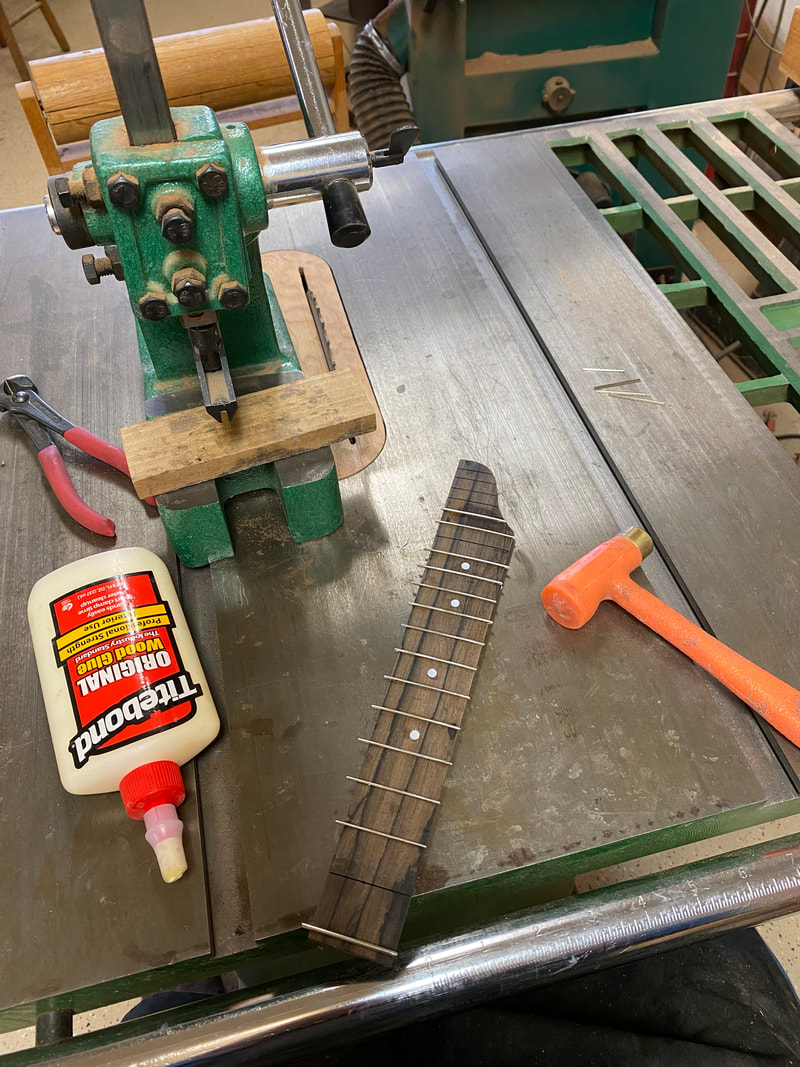
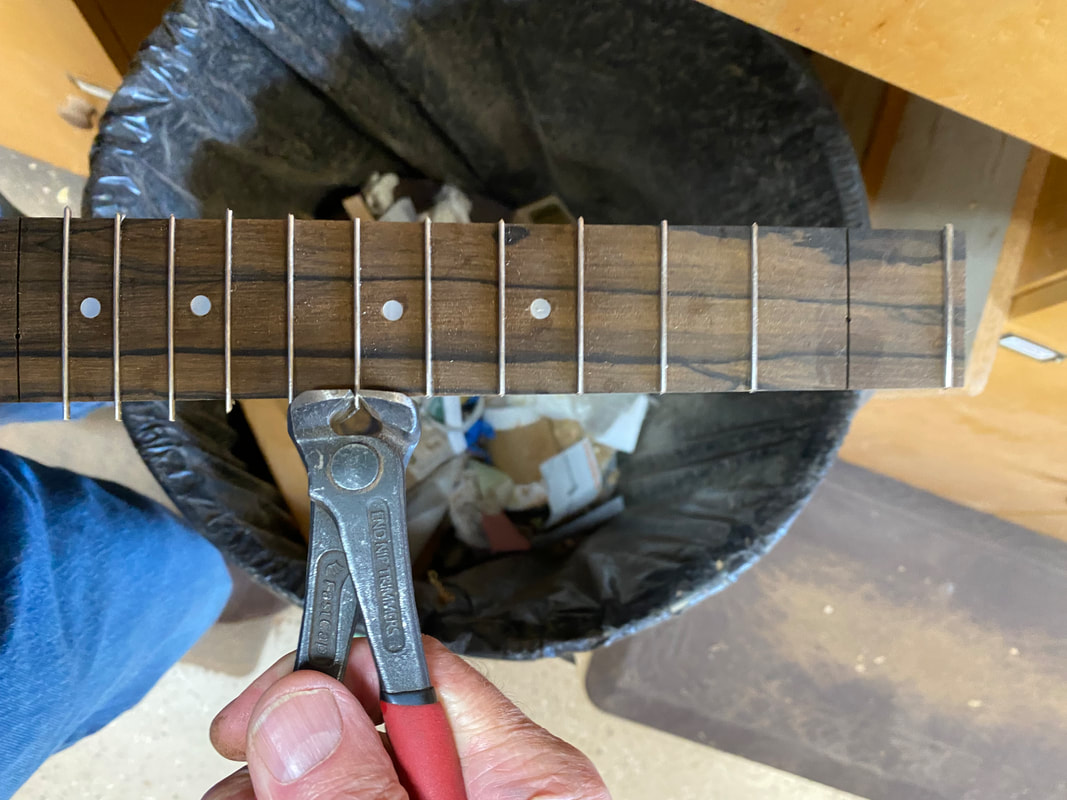
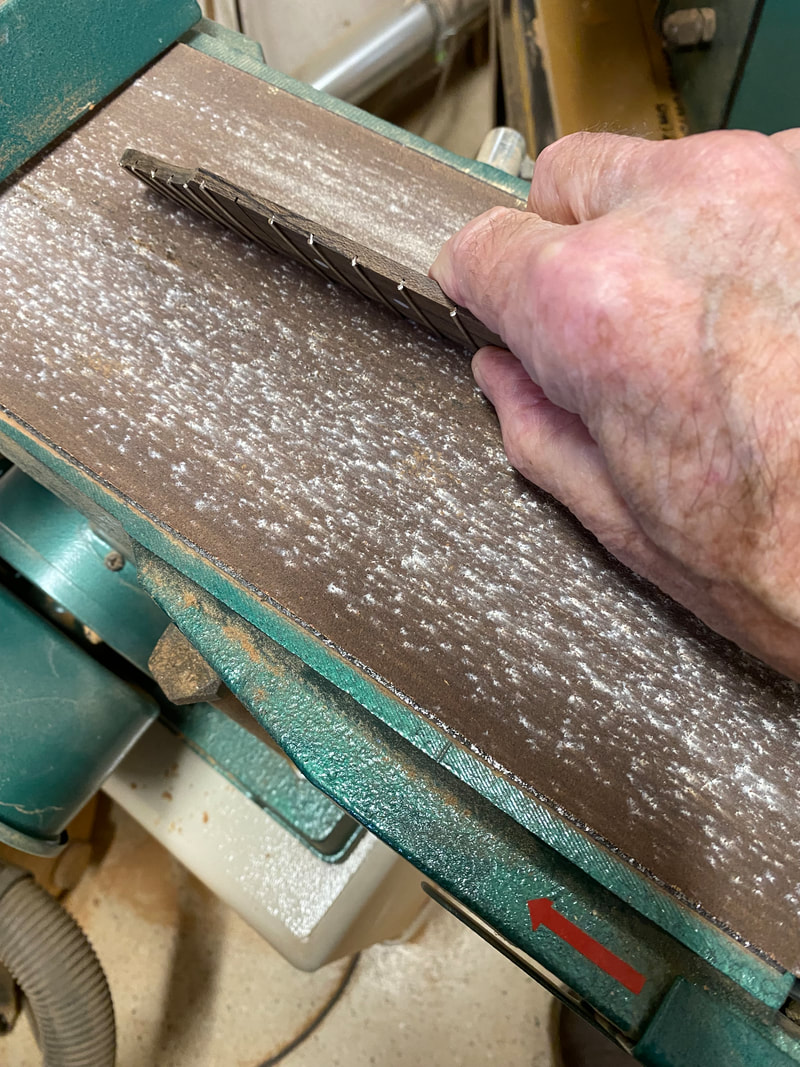
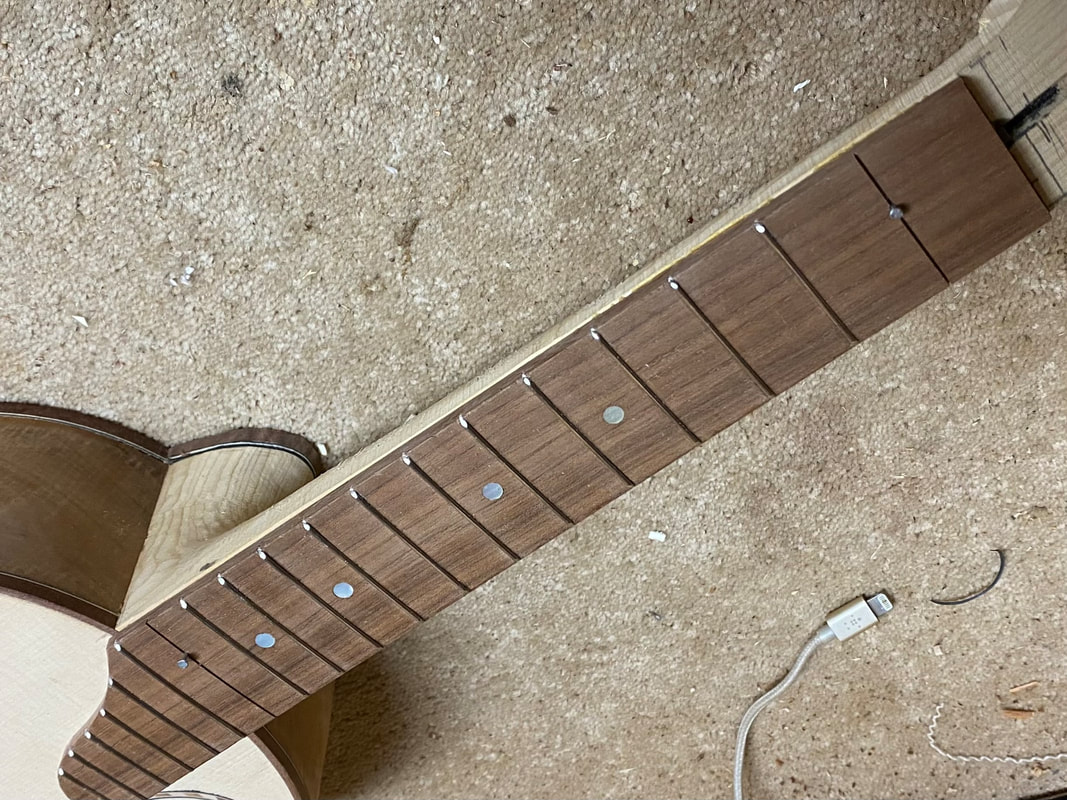
This hard and dense wood was grooved for the frets and sanded to a 12 foot curvature called a "radius". Then trimmed to its final tapered shape, 1 1/2 inches wide at the nut, 1 3/4 at the 12th fret. The frets installed and now it is ready to glue to the neck.
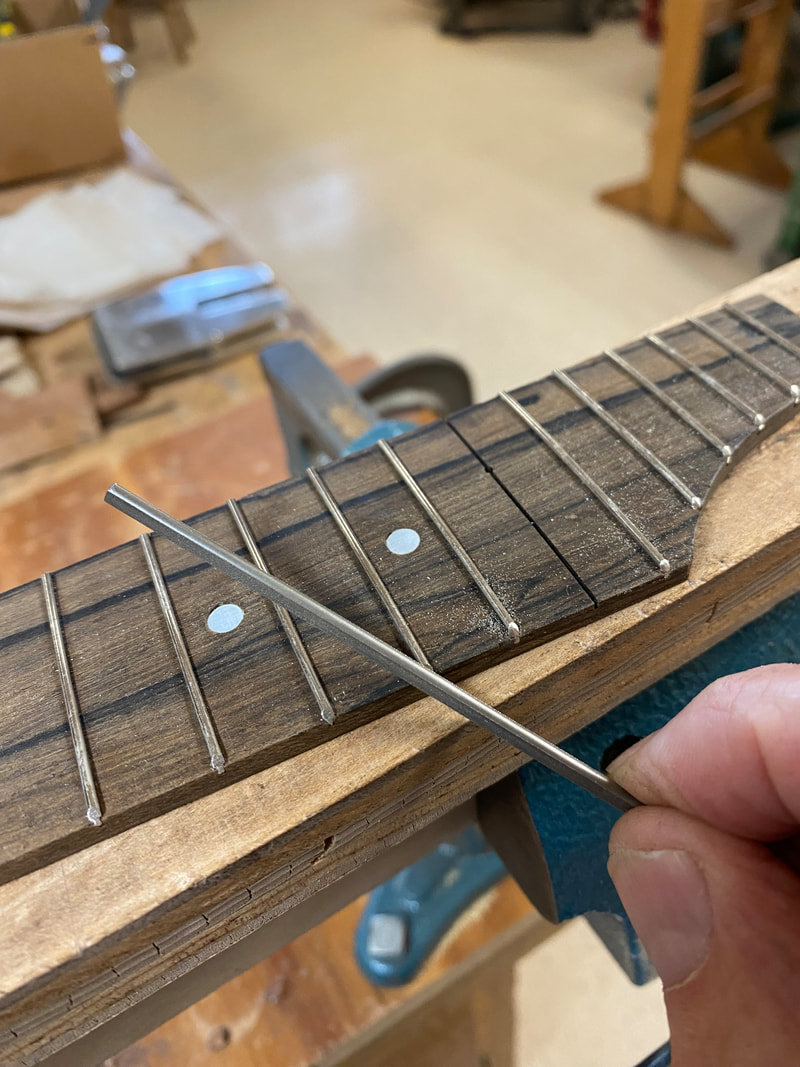
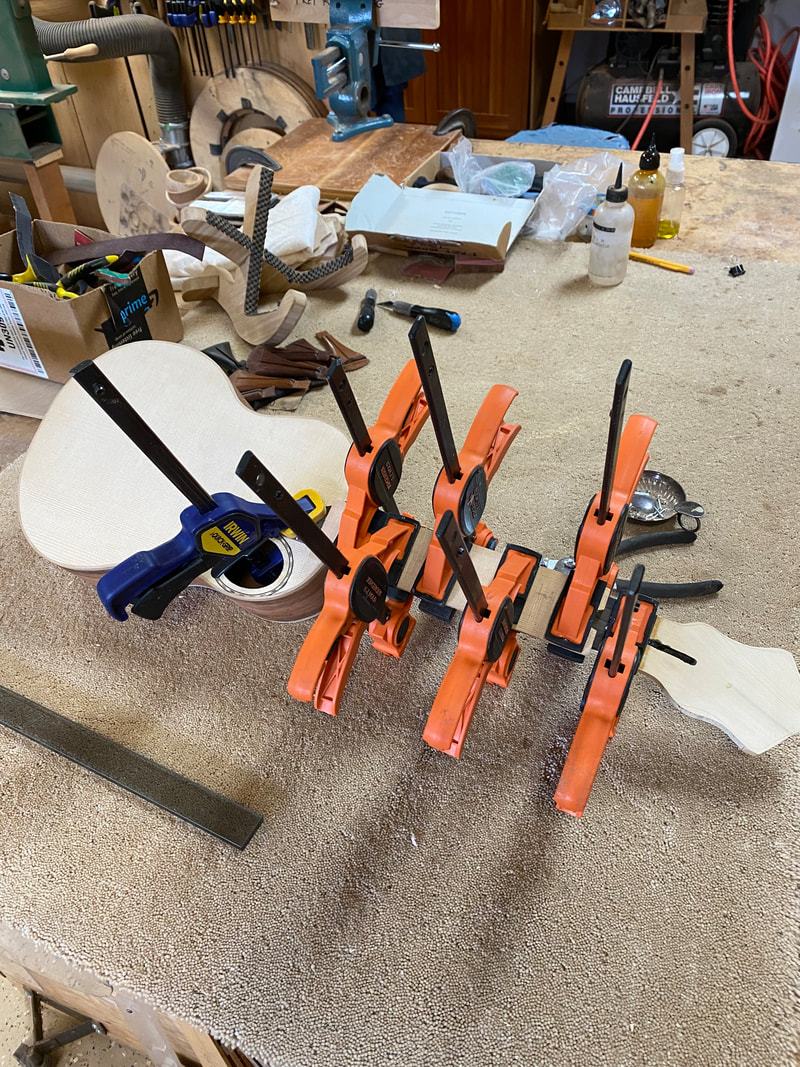
Note the two brads seen in the two grooves that do not yet have frets. They will prevent the fretboard from slipping from its proper location when glued and clamped. The missing frets will be put in after the glue dries.
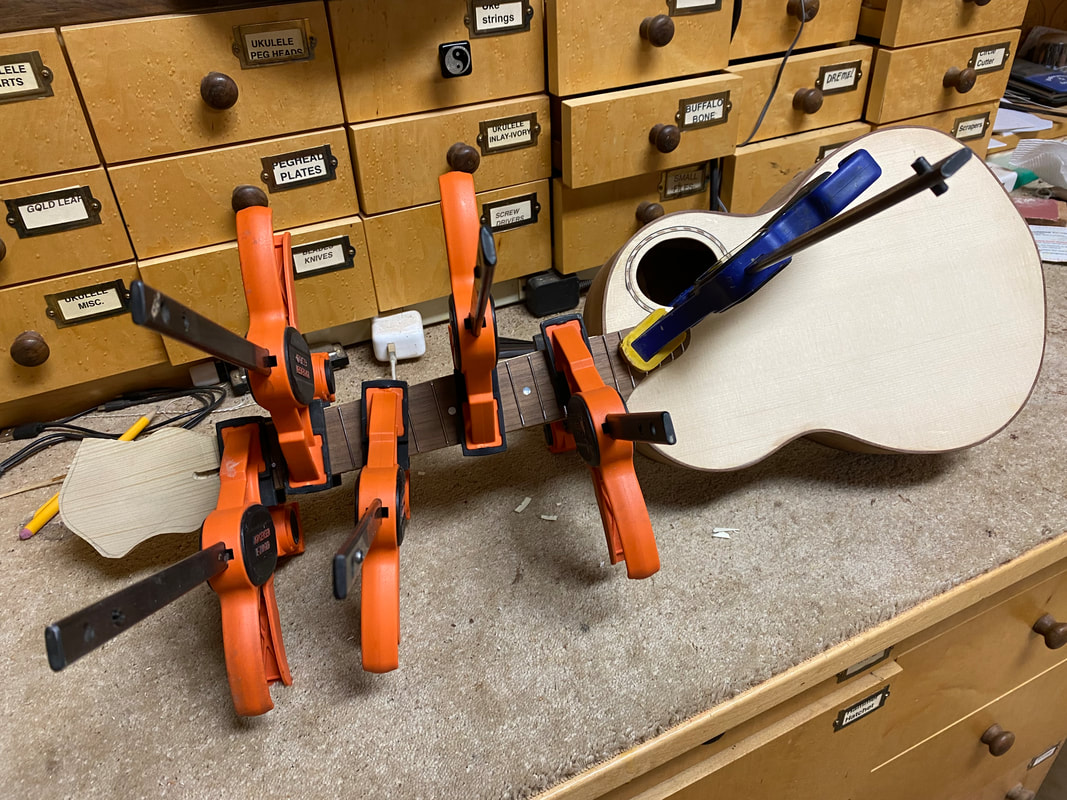
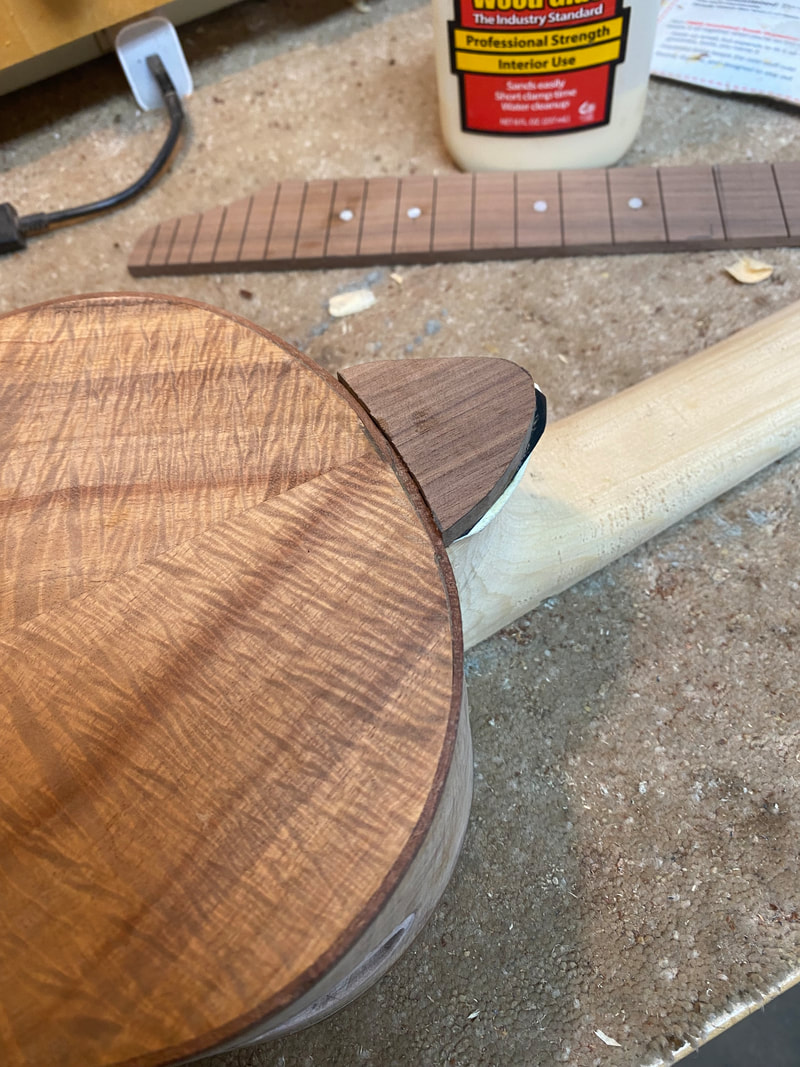
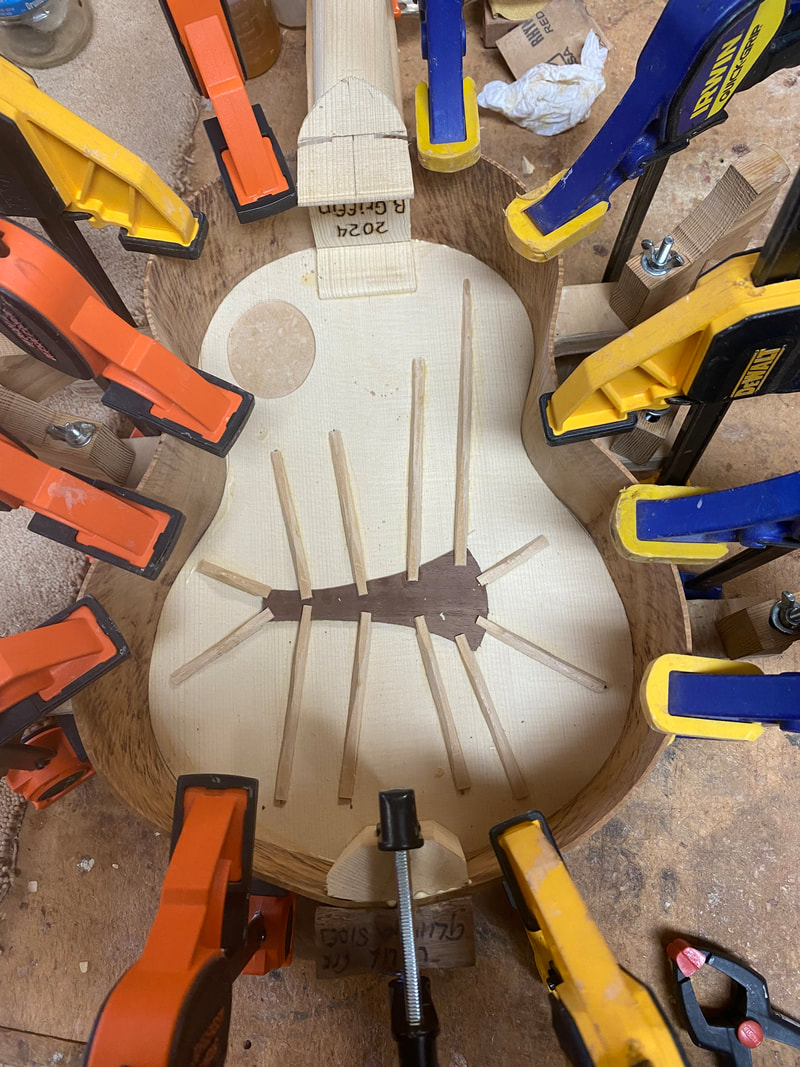
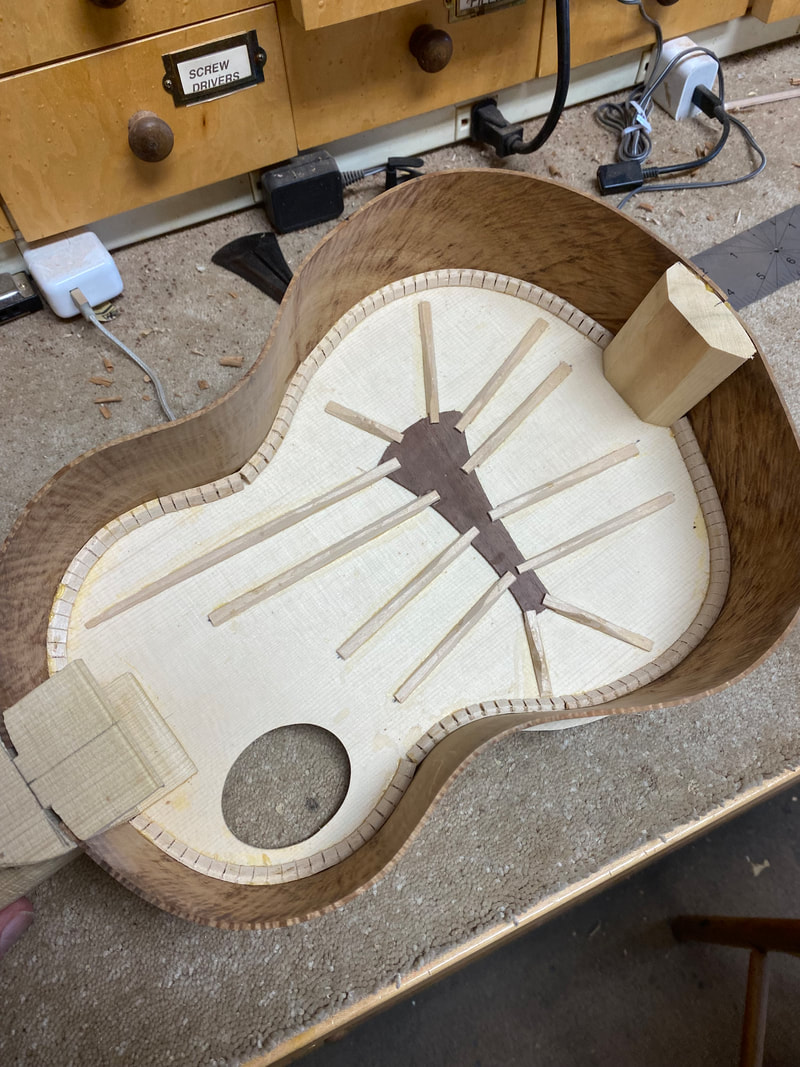
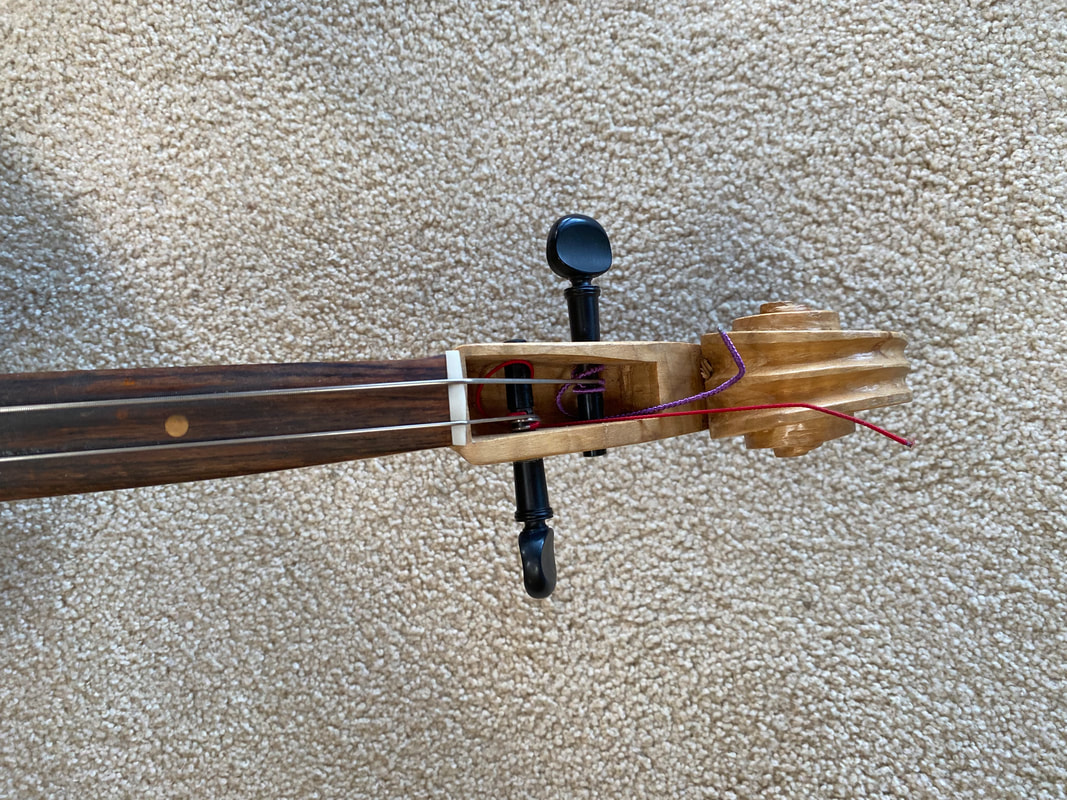
After a couple of hours I will be able to fit the peg head plate and nut.
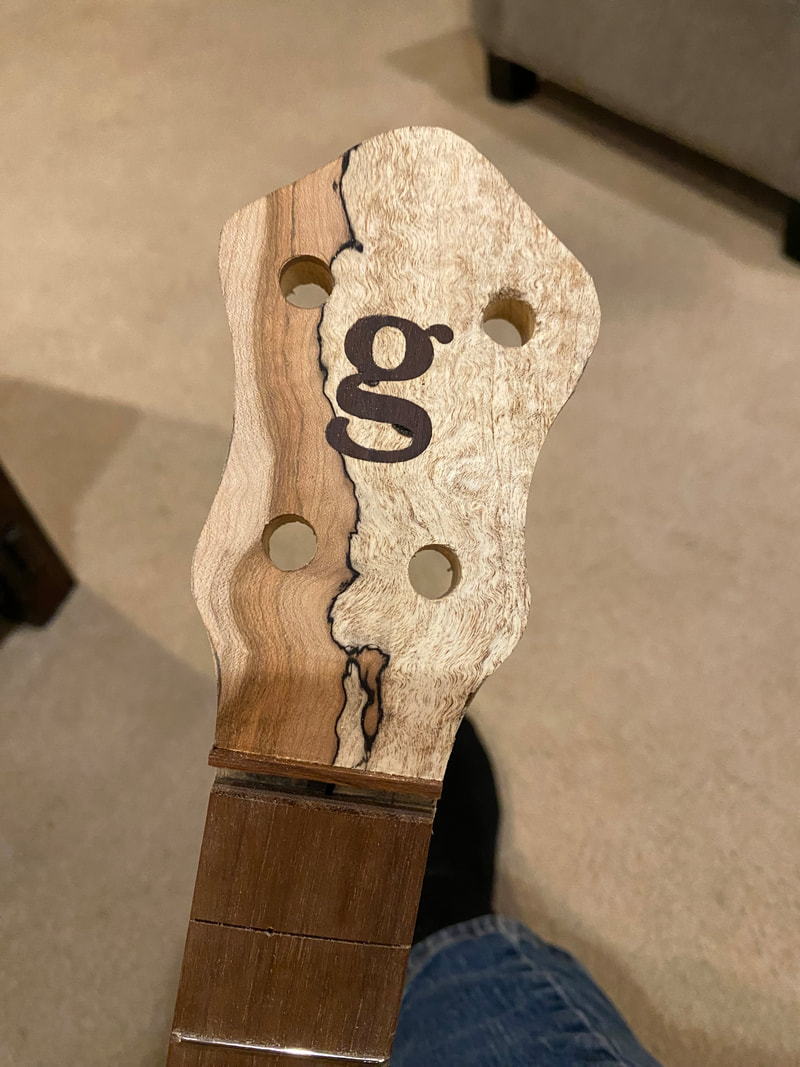
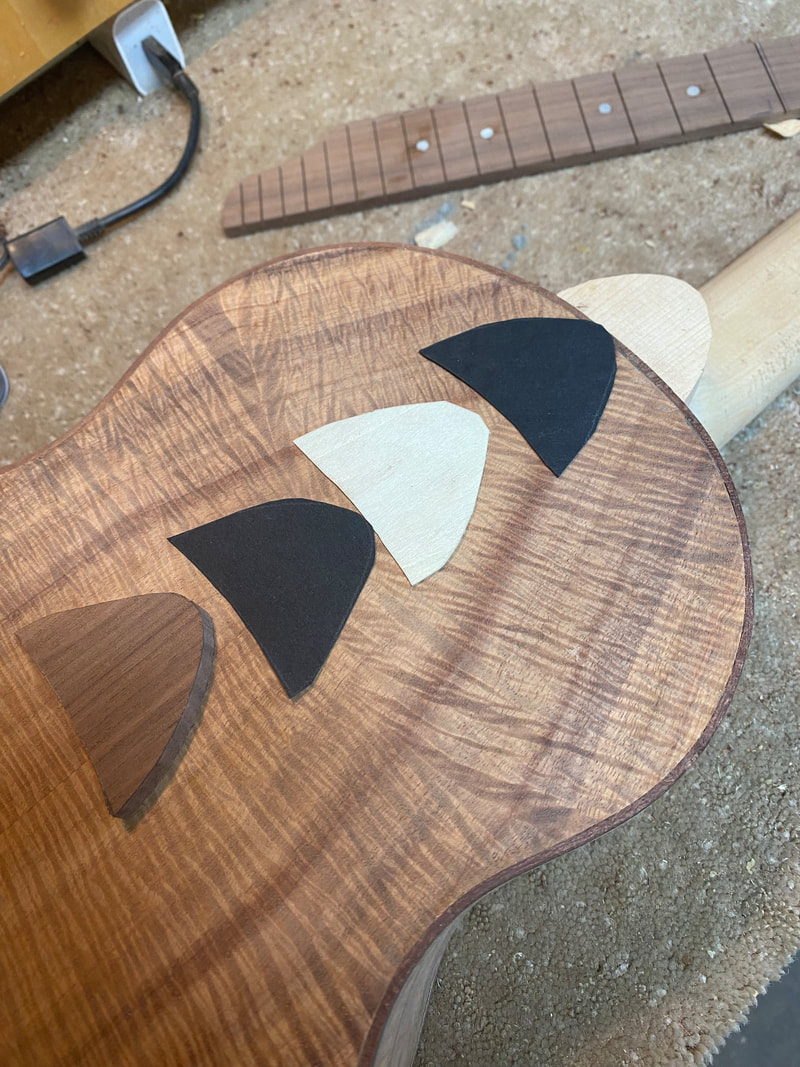
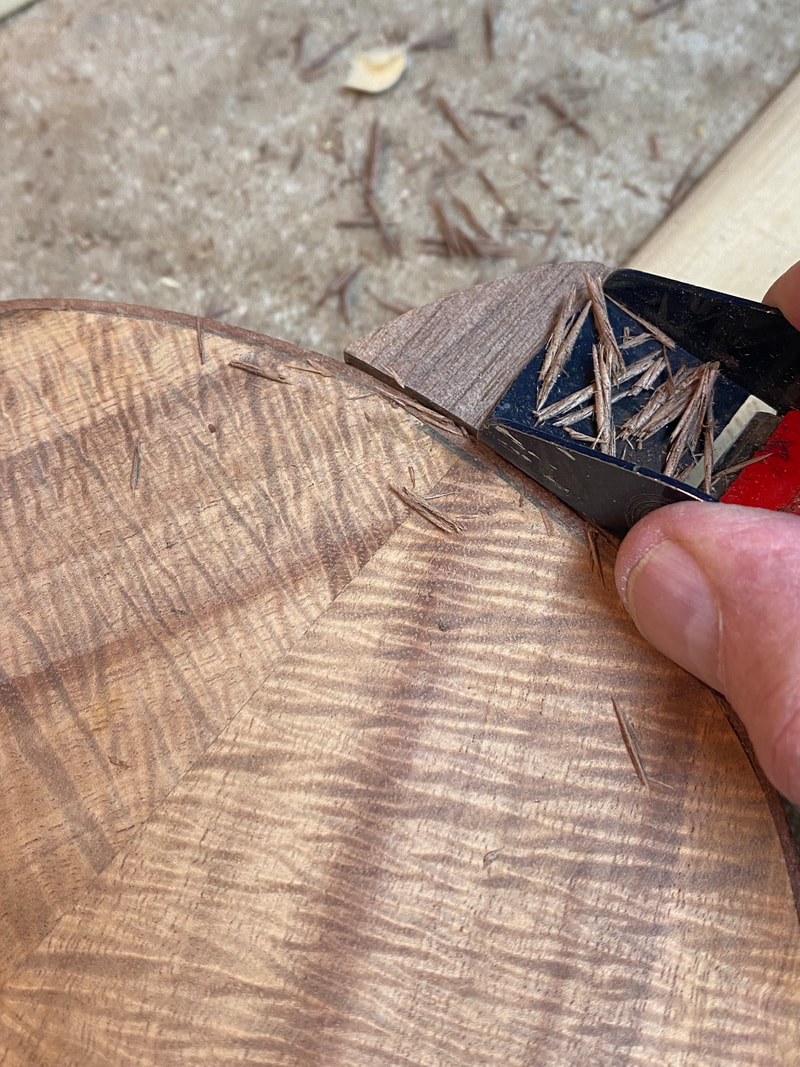
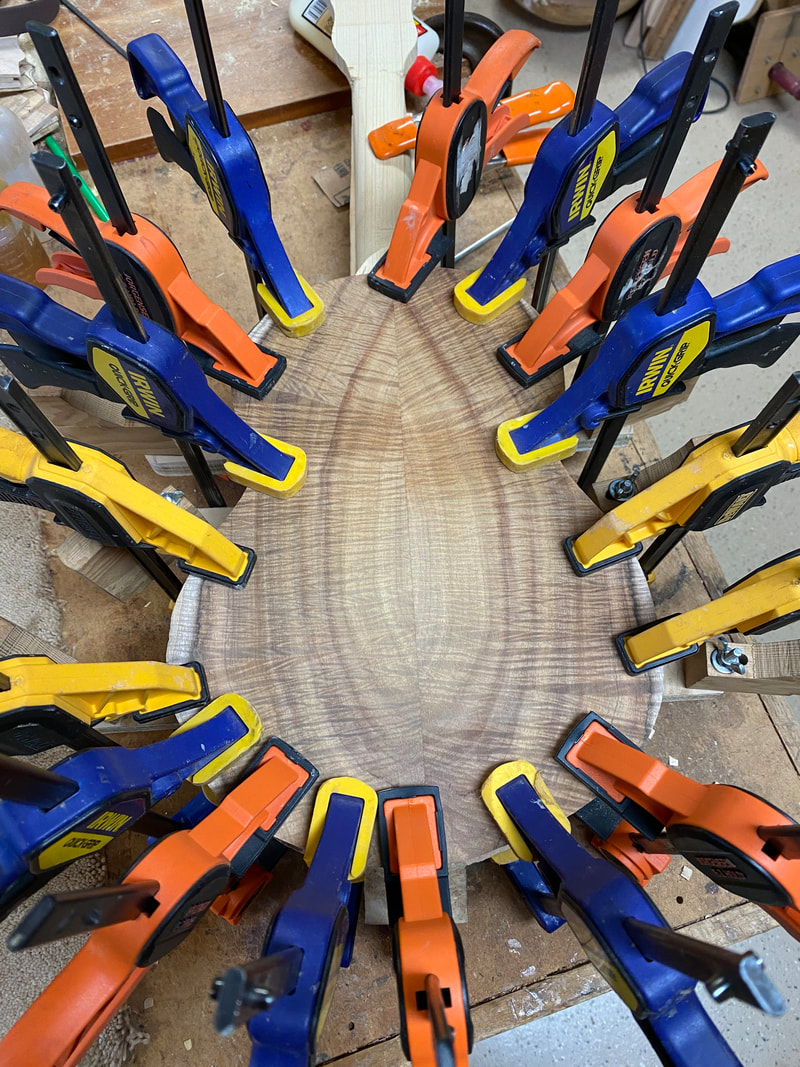
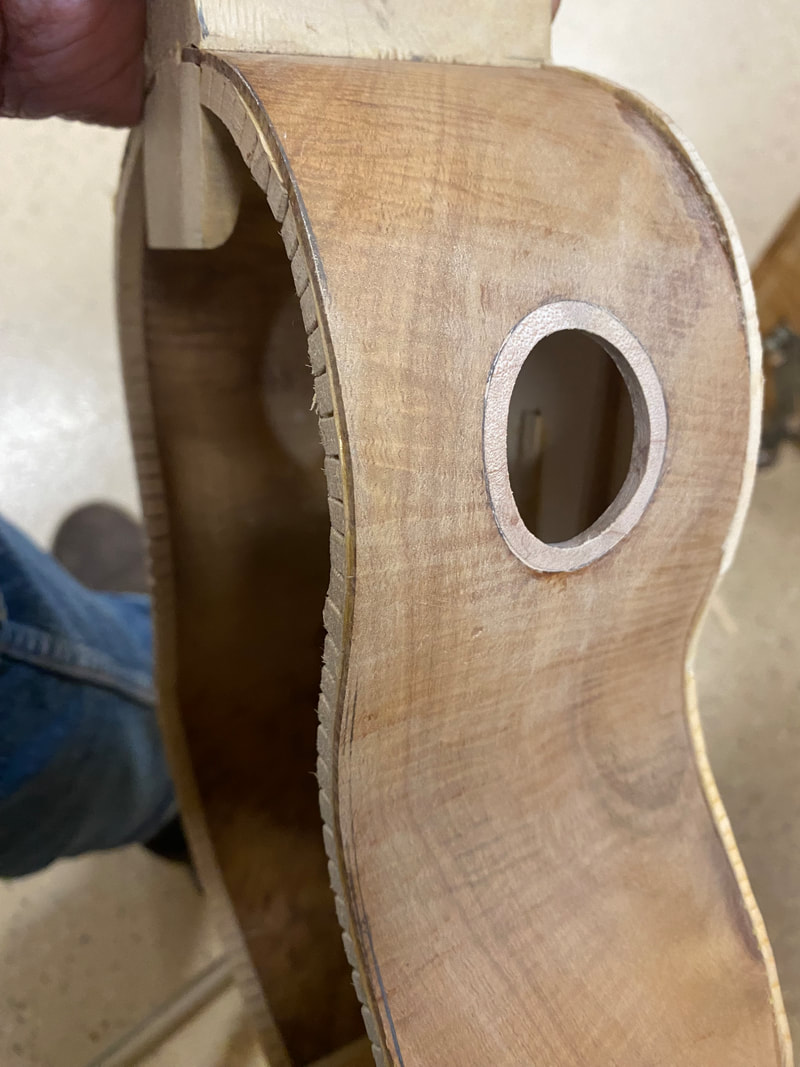
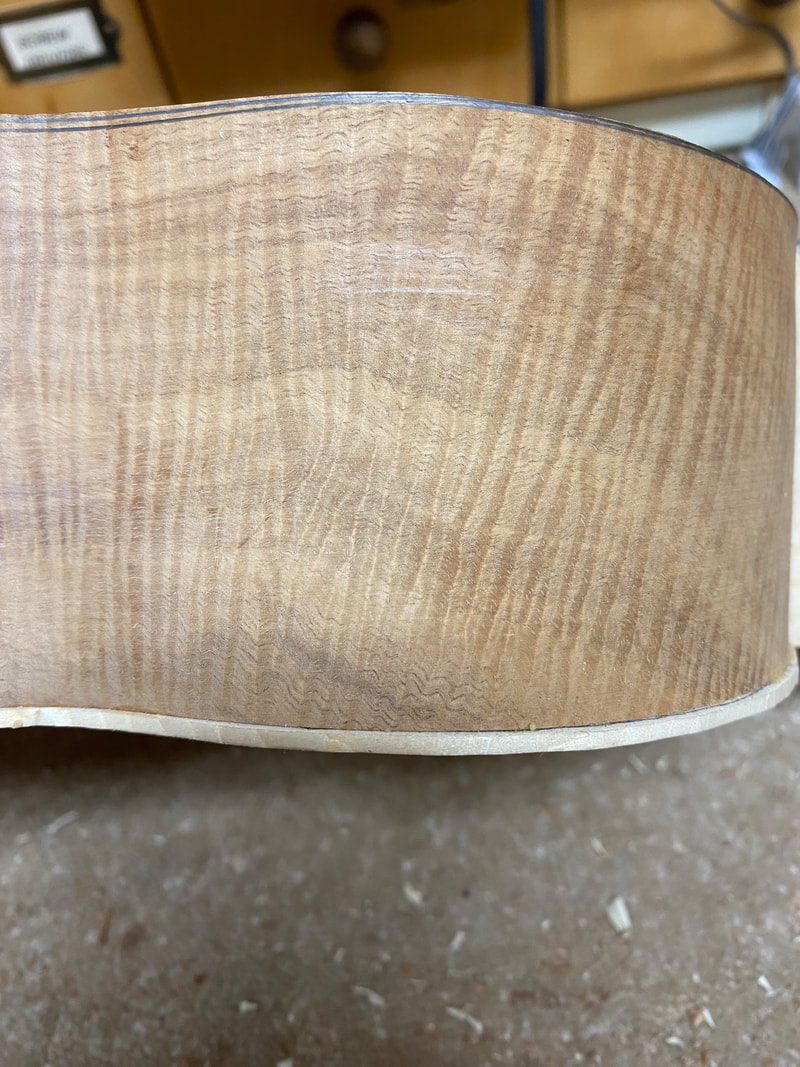
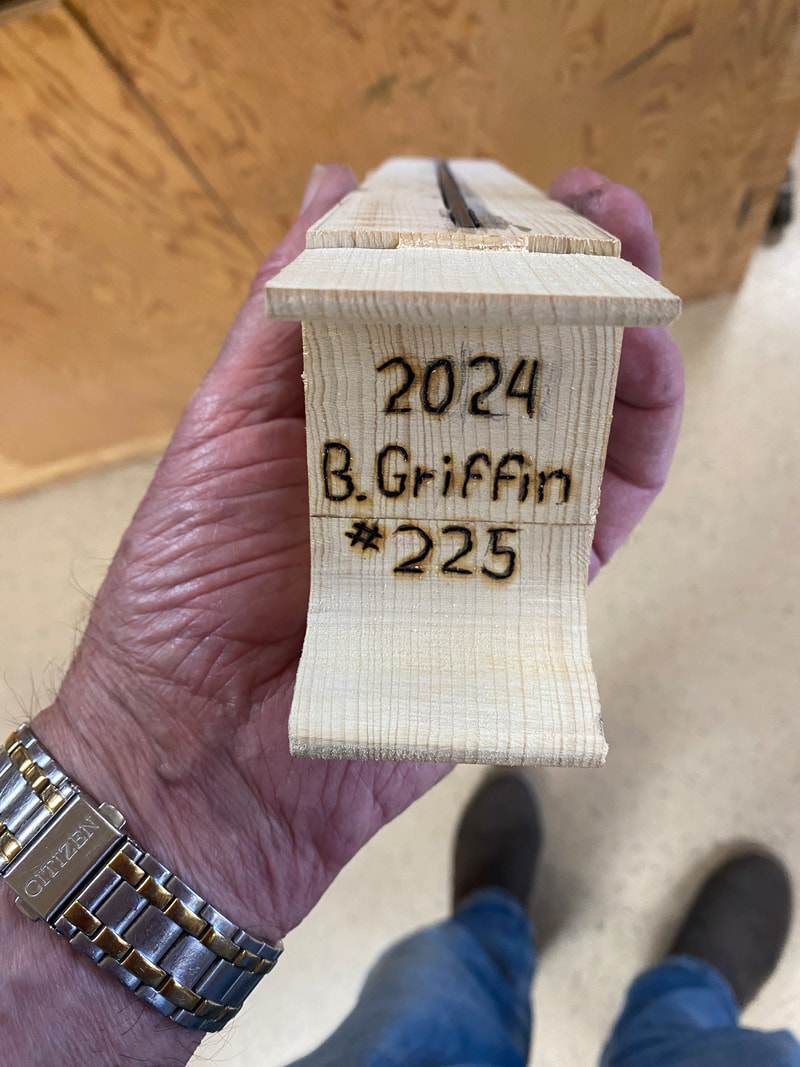
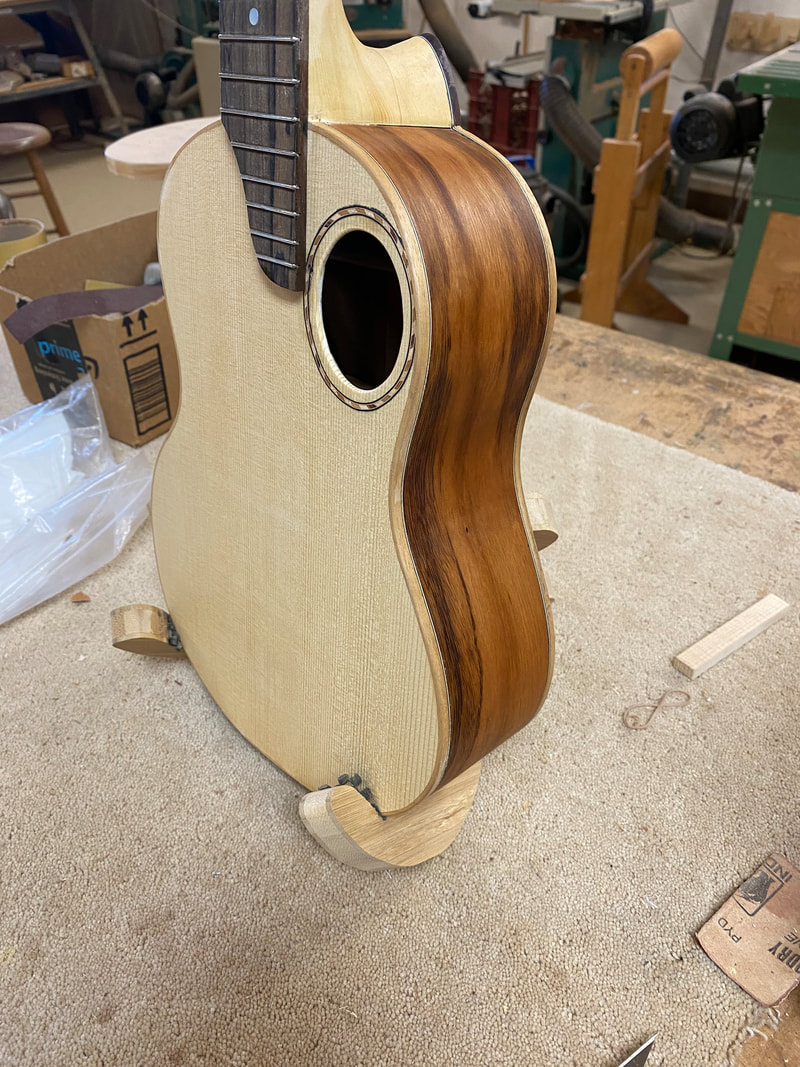
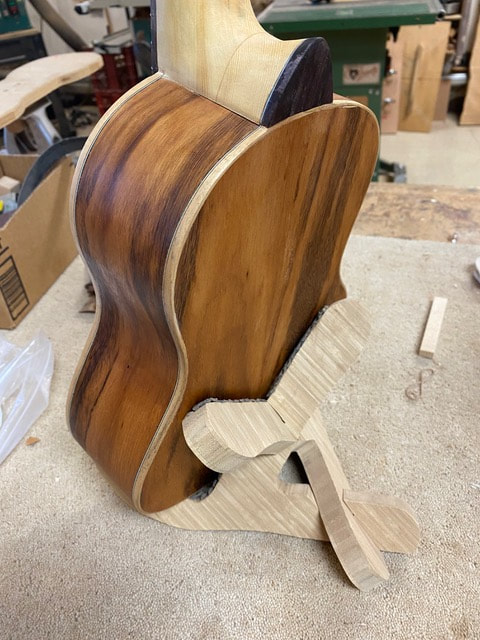
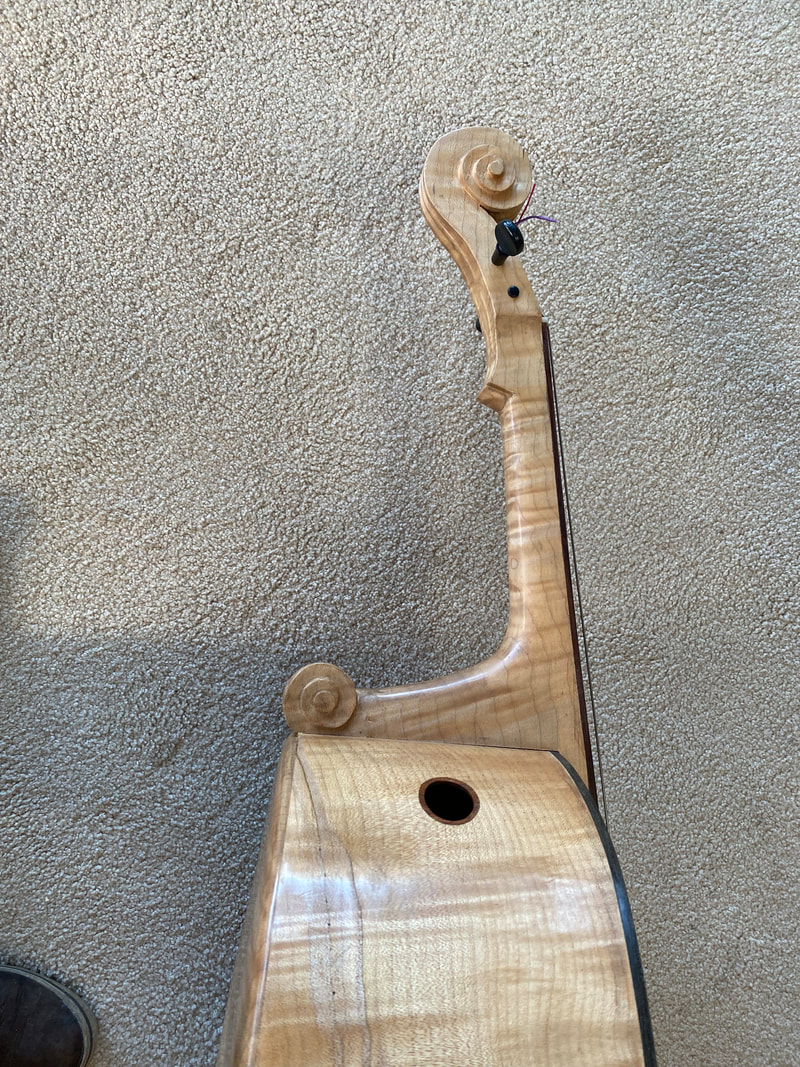
I thought this was a pretty one